
- Who is this for
- Admins, the people allowed to edit documents, and everyone who reads them
- Permissions
- An Admin turns it on and chooses who may edit. Everyone signed in can read.
Process documentation is a short written guide for one entity, or for the Allocation page, such as how your team runs a Project or who fills in Allocation. People read it in a side panel that opens from the ⓘ button in the table tools. Your workspace may use different names for entities (see Terminology); this page uses the defaults.
Why use it
New joiners and occasional users keep asking the same questions: which status means what, who fills in which field, when a record is ready. A process document keeps the answer next to the table, instead of in a chat or a file nobody can find.
Example: An admin wants the team to use Projects the same way. They write a short document on the Project tab of Administration → Entity & fields: what each status means and who sets the Owner. A member opens the Projects page, clicks the ⓘ and reads it without leaving the table.
How it works
Each place that can carry a document has its own switch on Administration → Features, under the main Process documentation switch.
- Each built-in entity has its own document. Entities you create yourself never have one.
- The Allocation page has its own document.
- RAIDD, OKR and Skills pages cover several entities. Their ⓘ opens one panel with a tab for each entity whose switch is on: Risk, Assumption, Issue, Dependency and Decision for RAIDD; Objective and Key Result for OKR; Skill and Role for Skills. The panel opens on the tab for the entity you were viewing.
- Anyone signed in can read a document while its switch is on, whatever access they have to the records.
- Gantt and Pulse have no ⓘ. Neither do the small tables inside a record panel.
Read a process document
Anyone can do this. The ⓘ is the first button of the tools on the right of the table toolbar, just before Automations (if on) and Filter. Hover over it and it reads the entity's name followed by "'s process", such as "Demand's process" or "Allocation's process".
- Open the page of the entity, such as Projects, or Allocation.
- Click the ⓘ button. The document opens in a side panel from the right.
- On RAIDD, OKR and Skills, click a tab to read another entity's document.
- To close the panel, click the cross, click outside it or press Esc.


At the bottom you see who edited the document last and when. If nobody has written it yet, the panel reads No process documentation yet.
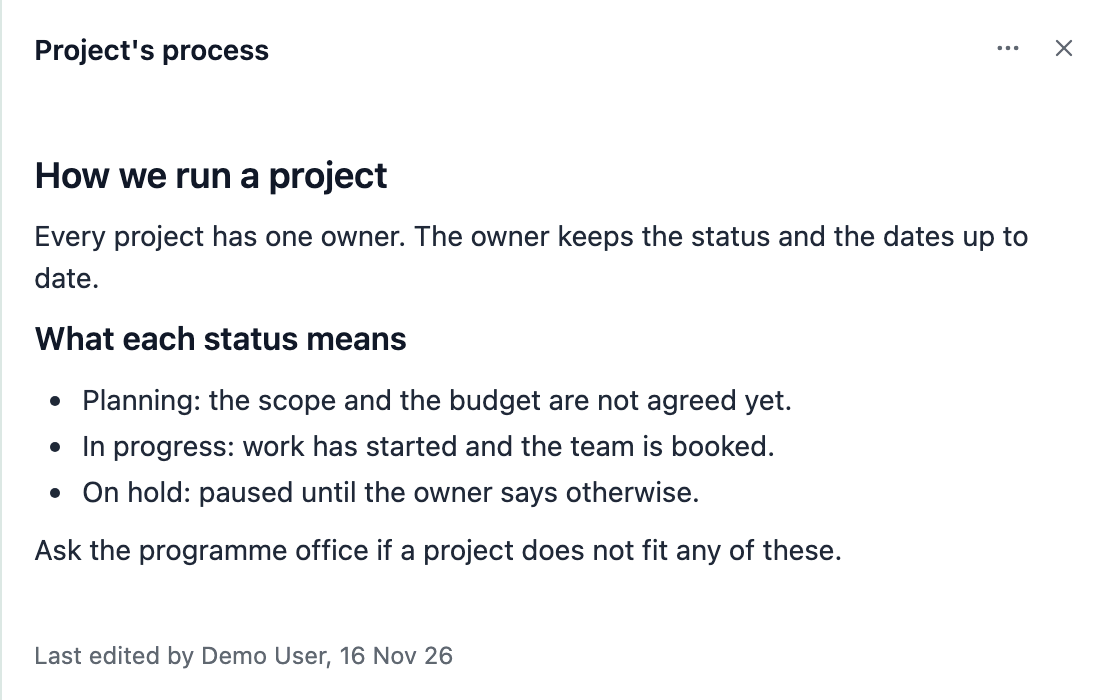
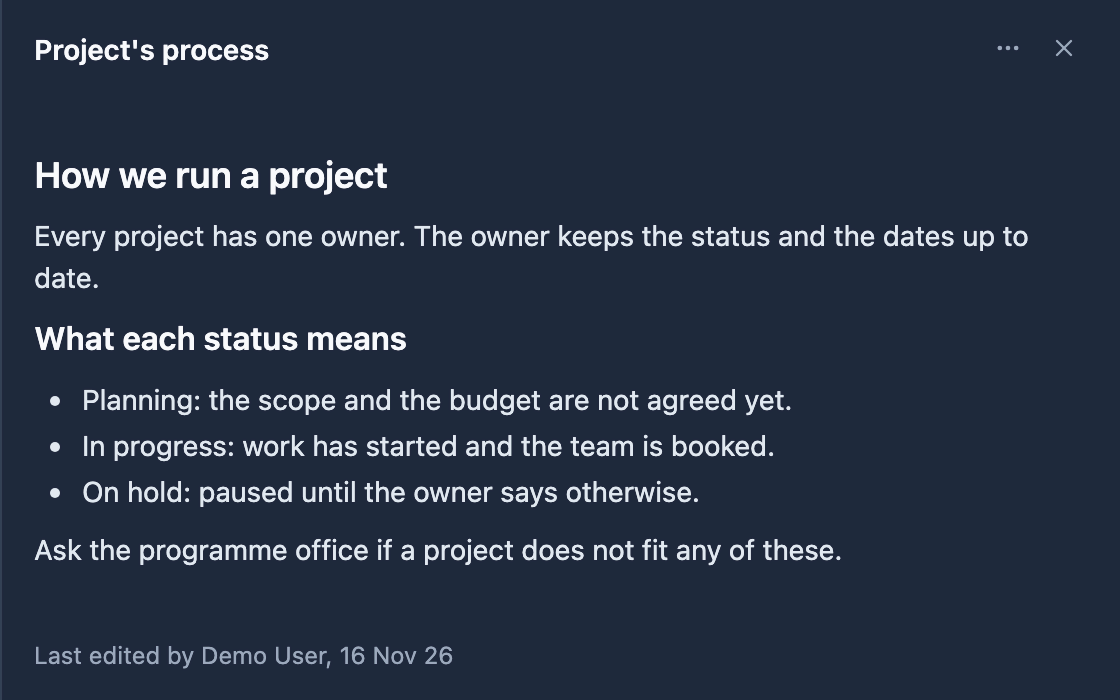
If you can edit the document, the panel also offers Write documentation (when empty) and a Documentation actions menu with Edit and Activity log. Everyone else sees only Activity log in that menu.
See what changed in a document
- In the panel, open the Documentation actions menu and choose Activity log.
- Read the entries, newest first. On a tabbed panel the log covers every tab.
- Expand an entry to compare the Before and After text.
Turn on process documentation
Only Admins can do this.
- Open Administration → Features.
- Turn on Process documentation. On its own this shows nothing.
- Under it, turn on the switch for each place that should have a document, such as Project or Allocation. All of them start off.
- Click Save.
A place also needs its own feature. The Allocation child needs Allocation, and an entity's child needs that entity's feature. If you turn a switch off, nobody can see that document, Admins included. The text and its history are kept and come back when you turn it on again. See Turn features on or off.
Write the document as an admin
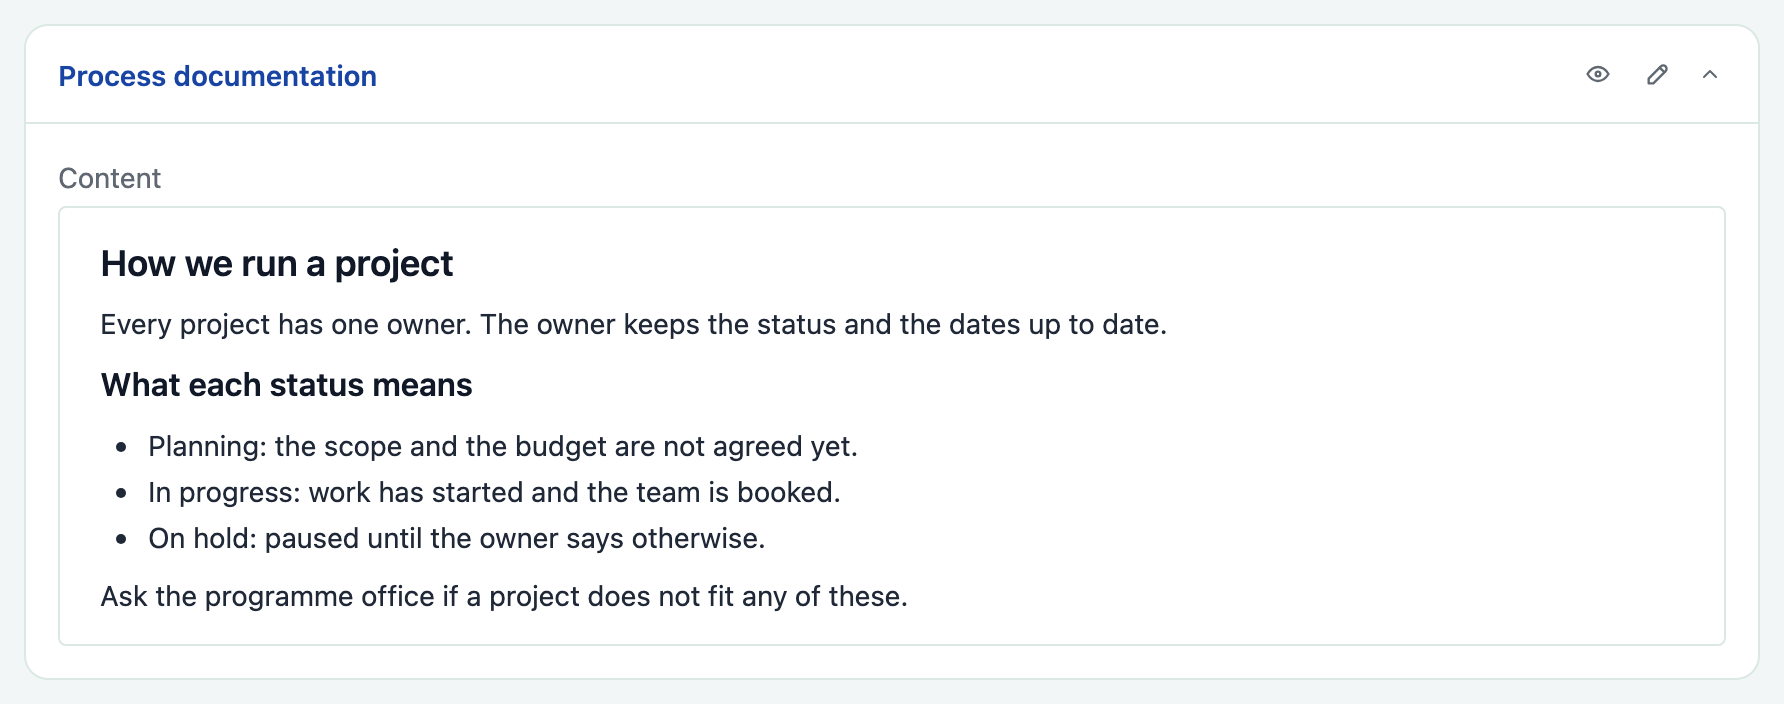
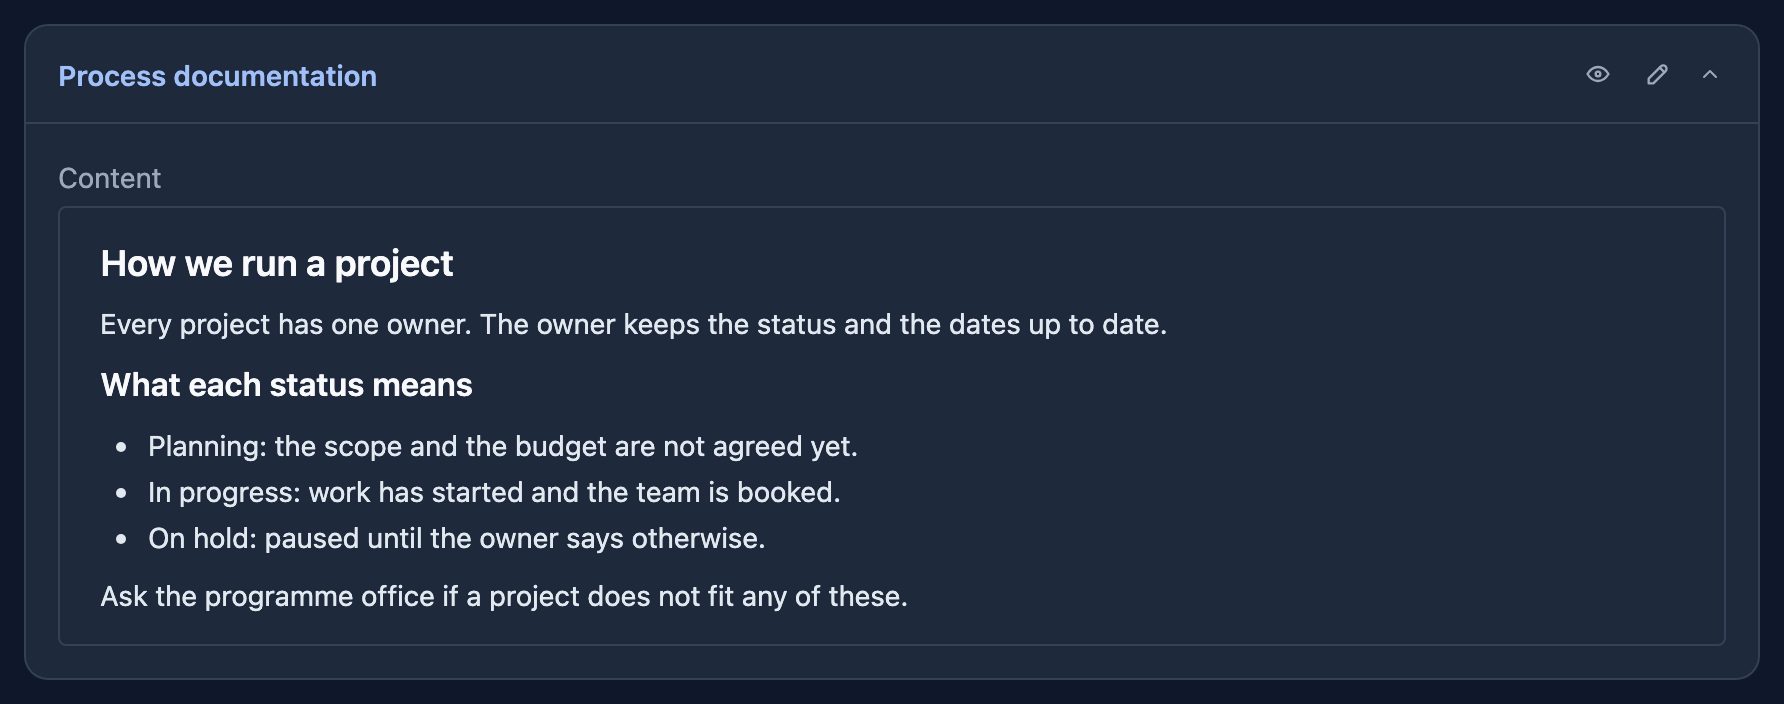
Admins write each document on a card. If you do not see the card, check that its switch is on.
- Open Administration → Entity & fields and click the entity's tab. For the Allocation page, click the Allocation tab.
- Find the Process documentation card. For an entity it sits under the Terminology card.
- Click the pencil on the card and write in the editor.
- Optional: click Preview in the card footer to see the unsaved draft in the real side panel.
- Click Save settings. The card shows Saving…, then Saved.
Click Cancel to throw the draft away. It does not ask first. The eye icon in the card's header opens the saved text in the side panel.
Edit from the side panel
People with permission can edit in place, without going to Administration.
- Open the ⓘ panel.
- Click Write documentation, or open Documentation actions and choose Edit. You can also double-click the text.
- Write in the editor. Use the toolbar for text styles, lists, quotes, links, alignment, tables and images.
- Click Save. A toast confirms Documentation saved.
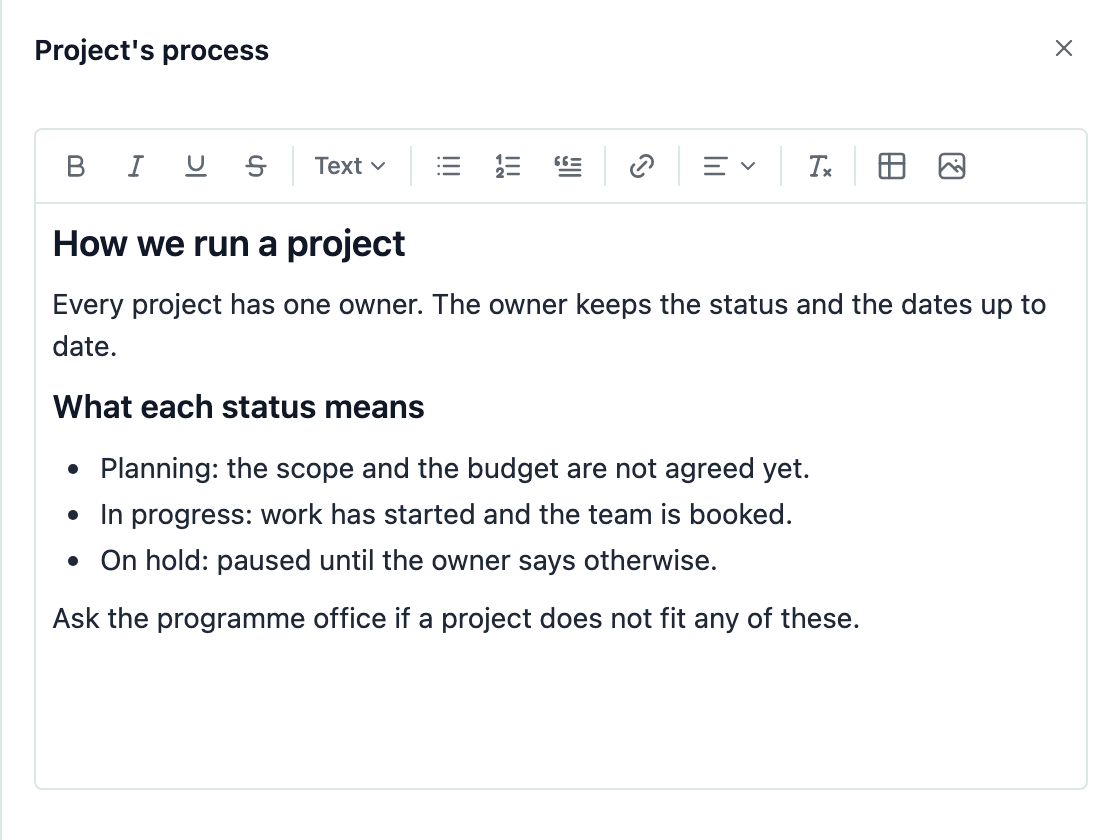
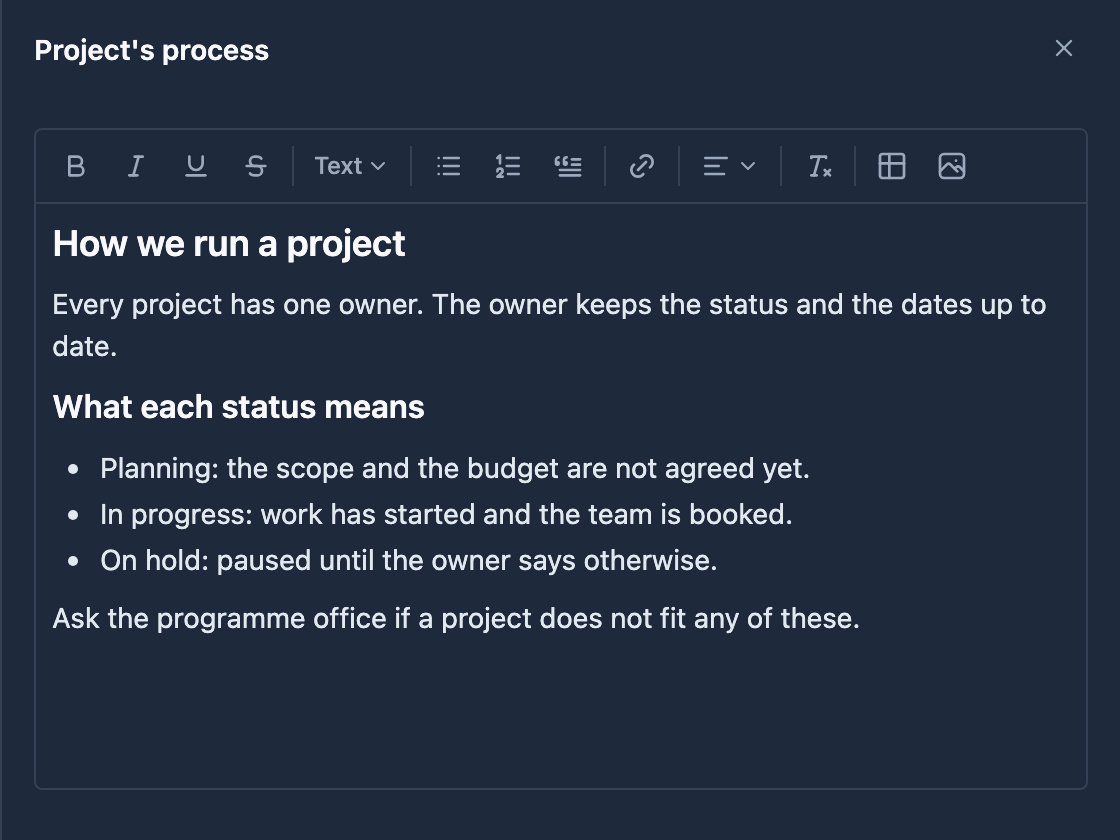
Click Cancel to leave without saving. If you close the panel or switch tab with unsaved edits, Gembaa asks Discard your changes?. Click Discard to drop them.
To add an image, click Image in the toolbar, or paste or drag the image into the text. You can add several at once.
Choose who can edit
Admins can always edit. Who else can depends on the entity.
Entities with their own permissions grid. Give a role the Edit process documentation permission.
- Open Administration → Entity & fields and click the entity's tab.
- On the Permissions card, click the pencil.
- In the Edit process documentation row, choose Full Access in the column of each role that may edit. The other level is Hidden.
- Click Save.
No role has this permission at first. A role that has Full Access on the whole entity also counts as an editor. The row appears for roles only, not Public, Self or fields, and reads Feature disabled while that entity's switch is off. See Access control.
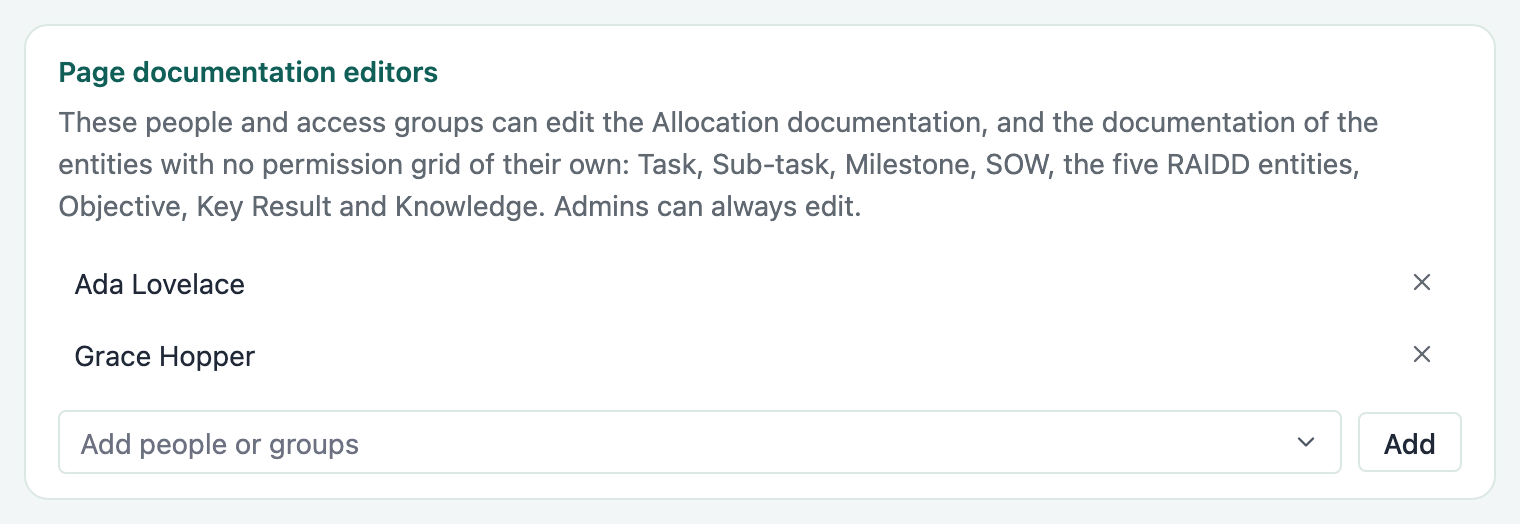
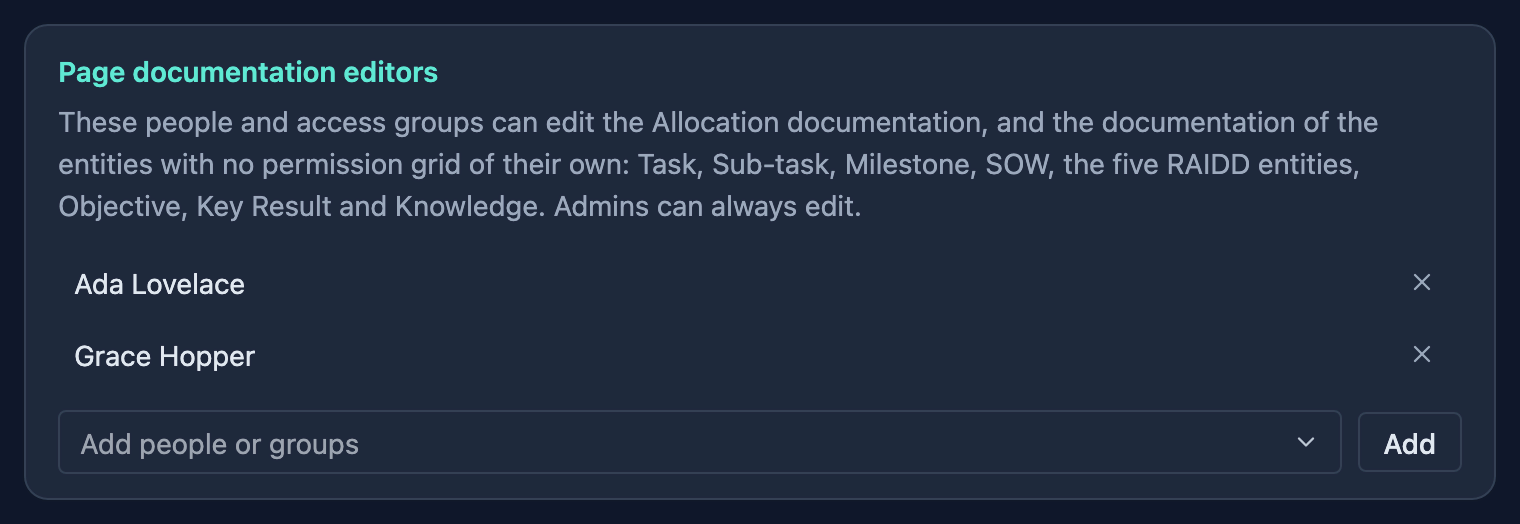
Everything else. Task, Sub-task, Milestone, SOW, the five RAIDD entities, Objective, Key Result, Knowledge and the Allocation page have no permissions grid of their own. For these, Admins add people and access groups to Page documentation editors.
- Open Administration → Entity & fields and click the Allocation tab.
- On the Page documentation editors card, click Add people or groups.
- Choose people or access groups, then click Add. A toast confirms Editors updated.
- To remove someone, click the cross beside their name. Each change saves at once.
Until you add anyone, the card reads Only Admins can edit page documentation. If you try to edit without permission, Gembaa says You do not have permission to edit this documentation.
Go further
- Ask your admin to turn on the documents you want, or to let your role edit them. See Turn features on or off.
- Decide who may edit with roles and groups in Access control.
- See who changed a document, and when, in Admin activity.
- Set the working rules the Allocation document usually describes in Allocation settings.
Good to know
- Page documentation editors is on the Allocation tab only, and the tab needs Allocation on. With Allocation off, nobody can change who edits the documents of Task, Sub-task, Milestone, SOW, RAIDD, OKR and Knowledge.
- The ⓘ on the Tasks page opens the Task document. The OKR page's ⓘ opens a panel titled "OKR's process" with Objective and Key Result tabs.
- Sub-task has its own switch and document. Its ⓘ shows only on the Sub-task page, which has no entry in the left menu.
- Knowledge has a switch, but no page shows an ⓘ for it, so there is nowhere to read its document. Leave it off.
- Images can be PNG, JPEG, GIF or WebP, up to 5 MB each. Gembaa saves every image as a still picture, so a GIF shows only its first frame.
- A document can be up to 1 MB of text. Larger ones will not save.
- Saving a document you did not change does nothing.
- Admin changes appear in the activity log as Process documentation changed, and editor changes as Page documentation editors changed.