
Milestones
- Purpose
- Mark key dates such as gates, deliveries and sign-offs on a program, project, task or sub-task, and see them on the Gantt.
- Who is this for
- Project and program managers
- Prerequisites
- A program, project, task or sub-task to attach the milestone to.
- Permissions
- Access to the record the milestone belongs to. Milestones follow the access of their parent.
A milestone is a single point in time: a kick-off, a steering committee, a release, a go-live or any date that matters. Each milestone belongs to one record, and you can see all of them together on the Milestones page or on the Gantt as diamonds.
Your workspace may use a different name for Milestone. An admin can change it in Terminology.
How it works
A milestone belongs to exactly one Parent: a program, a project, a task or a sub-task. Set the parent when you create the milestone. To move it later, open the milestone's Links tab and use Replace parent. The Parent field in the panel stays locked.
A milestone belongs only to its own parent. A milestone on a task does not roll up to the project.
Default fields:
| Field | What it holds |
|---|---|
| Title | The milestone's name. Required. |
| Parent | The record it belongs to. Required. |
| Date | The single date. Required (see date-field milestones below). |
| Status | On Track, At Risk, Off Track, Completed or On Hold. |
| Category | Kick-off, SteerCo meeting, SIT release, UAT release, Go-live or Key date. Required. Sets the colour of the diamond on the Gantt. |
| Assignee | One person from Staff. |
| Description | Any detail. |
Admins can add fields and change the Status and Category options. See Entities and custom fields.
Add from a record
- Open the program, project, task or sub-task.
- Select the Milestones tab. It lists that record's milestones in date order.
- Click Add Milestone. The Parent is filled in and cannot be changed.
- Enter a Title, Date and Category.
- Optional: set Status and Assignee.
- Click Add. The milestone appears in the list.
A record with no milestones shows "No milestones yet". Each row has a menu (the three dots at the end of the row) with Edit, Duplicate and Delete.
Add from Milestones page
- Open Milestones in the left menu.
- Click Add Milestone.
- Search for the Parent and pick it. Results are grouped by type: program, project, task and sub-task.
- Fill in the Title, Date and Category.
- Click Add. The milestone appears in the table.
The page lists every milestone you can see, with a Parent column. It has the usual table tools: tabs, filters, sorting and export. Only admins see Import data. There is no row grouping on this table. See Filter, sort and group.
Use date-field milestones
Every date field on a program, project, task or sub-task also has a milestone of its own, created for you. A project's Start date and End date therefore appear in its Milestones tab, with the field name as the title. Custom date fields added by an admin do too.
These behave differently from milestones you add yourself:
- The Title comes from the field and is read-only. Hover it to read "This name comes from the date field it mirrors. Rename the field to change it."
- The Date is editable, in the table, in the Edit dialog or on the field itself. Both stay in step. The same date rules apply, so a start date cannot be moved after the end date.
- Date is locked only if you cannot edit the field on the host record. Hover it to read why.
- You can set Status, Category, Assignee and Description on them as normal. A new one gets the category Key date. If an admin has removed that option, it gets the first Category option instead.
- You cannot delete or duplicate them. They go away when the record is deleted or the date field is removed, and the Knowledge entries on them go too.
- If the field has no date yet, the milestone exists with an empty date and does not show on the Gantt.
Choose whose milestones
By default the Milestones page lists milestones of every parent type: Programs, Projects, Tasks and Sub-tasks. To narrow a tab, use Visible milestones. To bring a type back, open the Visible milestones list and tick it.
- Open Milestones in the left menu.
- Click Customise.
- Under Visible milestones, click the × on a parent type. The type leaves the list.
- Click Save changes at the right of the tab row. The tab keeps the choice.
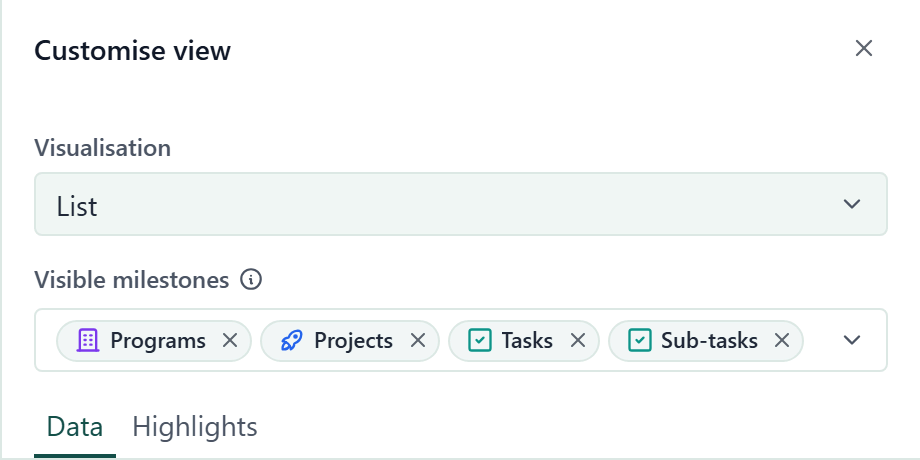
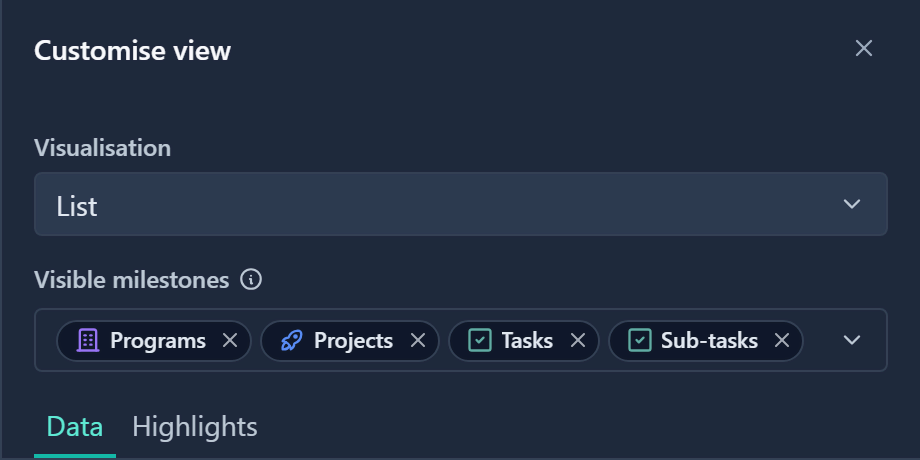
A type you leave out disappears from the table, the board, the tab counts, the Parent filter and CSV or Excel exports.
Hover the info icon beside Visible milestones for a reminder. Admins can set it on Milestone presets in Preset tabs.
Filter by parent
- Click Filter and find the Parent row.
- Open the value list. It holds every program, project, task and sub-task, grouped under a header for each type.
- Tick the records you want, or tick a type header to choose all of that type.
- Click Apply.
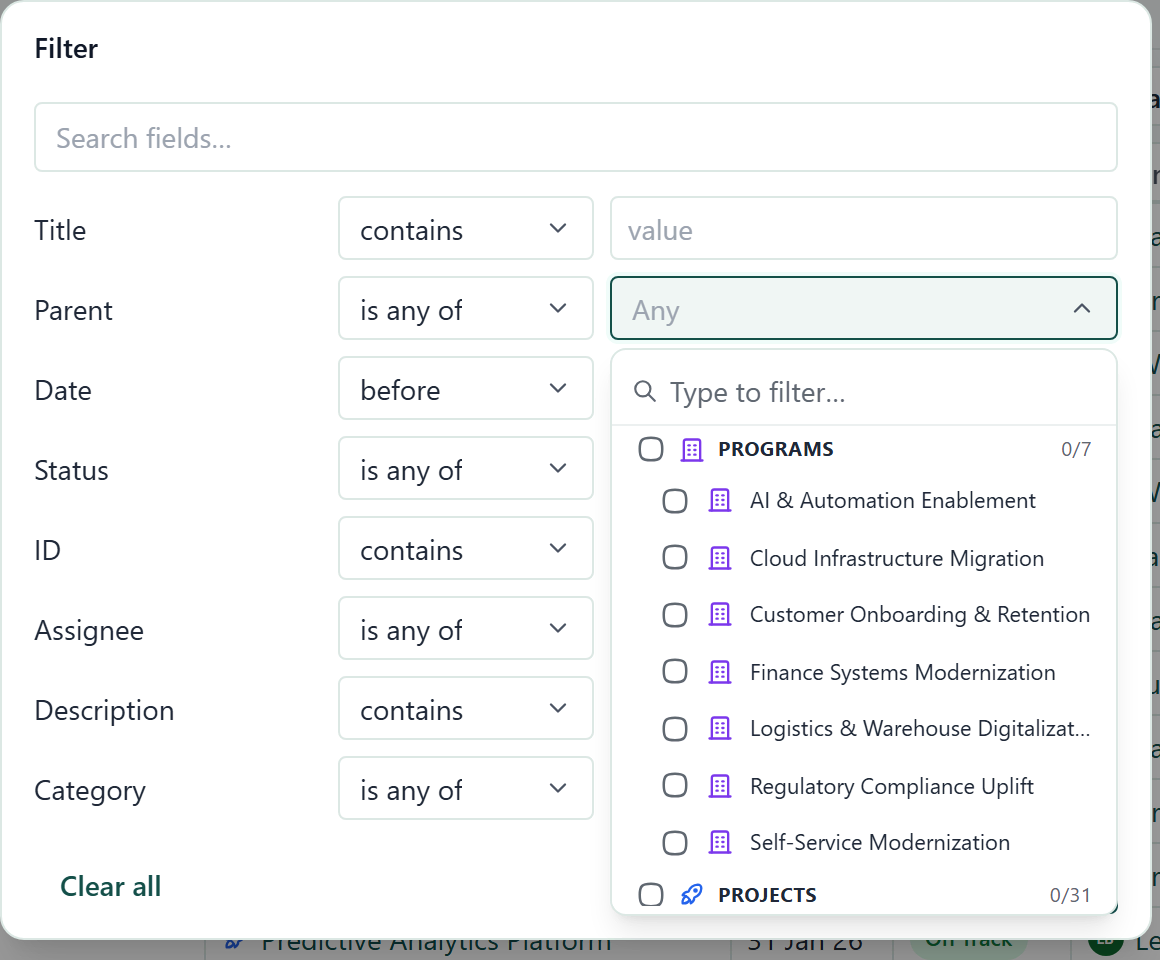
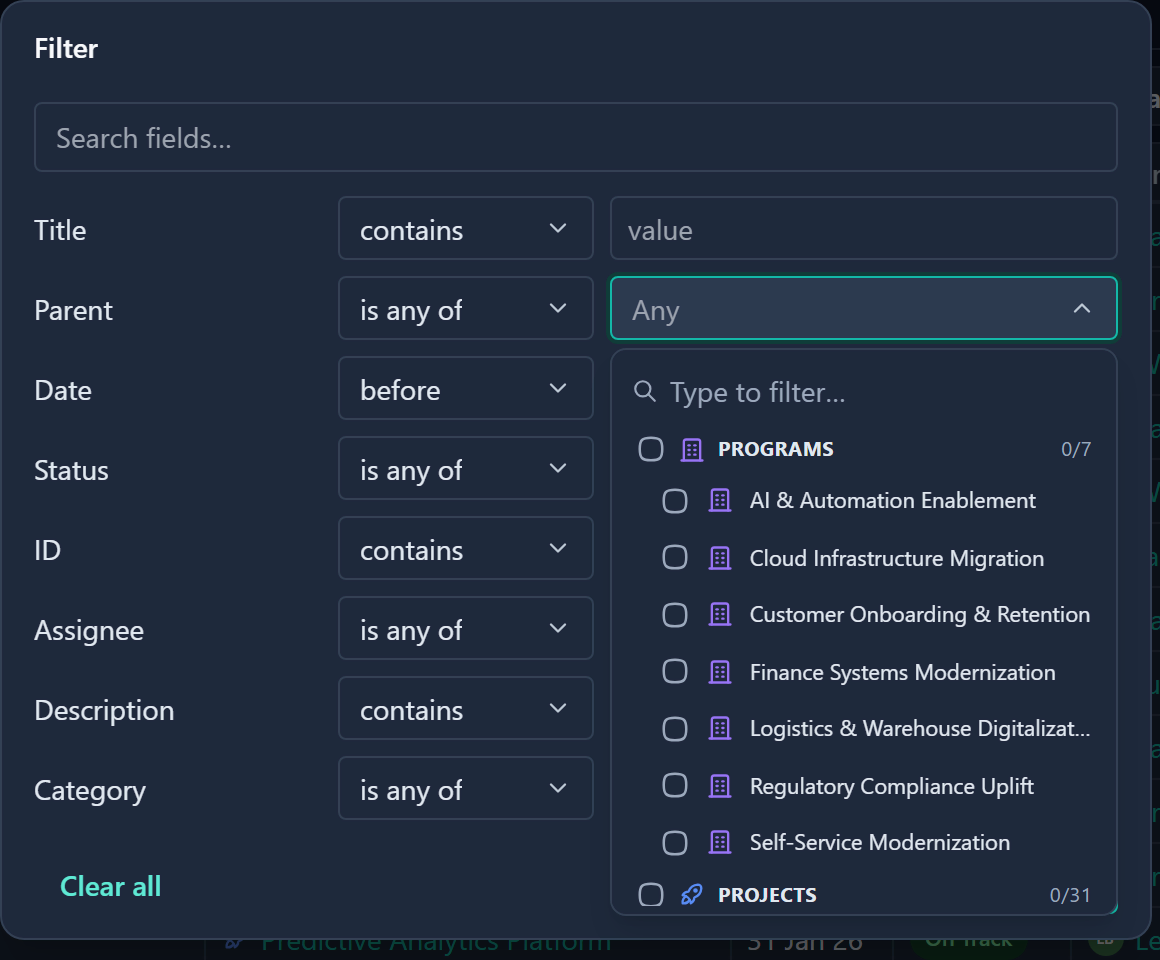
Ticking a type header saves a choice such as All Programs, which also matches programs created later. Unticking one record under it turns the choice into a fixed list. See Filter, sort and group.
Show on the Gantt
Each milestone with a date is drawn as a diamond on the timeline, coloured by its Category. Hover a diamond to see its name, date and status. Drag a diamond to reschedule it. A date-field milestone follows the limits of its field. See Gantt for the options that show or hide milestones.
Edit or delete
- Double-click a field in a table to edit it.
- Open the milestone to see all its fields in a narrow panel.
- Use the row menu (the three dots at the end of the row) for Edit, Duplicate or Delete. For a date-field milestone the Edit dialog changes Date, and only Title is locked.
- Delete asks you to confirm and removes only that milestone.
Good to know
- Milestones inherit the access of their parent. If you cannot see the parent record, you cannot see its milestones, and they do not count towards any total you can see.
- Deleting a program, project, task or sub-task deletes its milestones, and the Knowledge entries on them. The confirmation counts them.
- Milestones have Comments, and their access comes from the parent program or project, through its Comments on Milestones permission. Click the Comments icon in the milestone's panel header. See Comment on a record.
- Duplicating a milestone keeps the same parent and prefixes the title with "Duplicate of".
- Milestones can be charted on the Dashboard.
- The read-only ID column (the record number) is the first column in a new tab. Older tabs hide it; show it in Customise. Name cannot be hidden.
- A milestone's panel has a Links tab. Its Parent group shows the record the milestone belongs to, and typed links such as blocks or relates to are listed there too. See Link records.