
Create, edit and delete records
- Purpose
- Add a record, change its values in the table or the panel, duplicate it and delete it, including what else a delete takes with it.
- Who is this for
- Everyone
- Prerequisites
- Access to the module you want to work in.
- Permissions
- The Add permission to add and duplicate, Read / Write to edit, and Full Access on the record to delete. Admins can do all of these.
Every module in Gembaa, such as Projects, Programs or Staff, is a table of records. This page covers the day-to-day actions on a record: adding one, changing its values, duplicating it and deleting it.
How it works
You can change a record in three places.
| Where | How you open the editor | When it saves |
|---|---|---|
| Table cell | Double-click the cell | When you press Enter or Tab. Clicking away discards the edit |
| The record panel | Click the value once | When you press Enter or Tab. Clicking away discards the edit, except in rich text and the record name |
| Edit dialog | Row menu or panel menu, then Edit | When you click Edit at the bottom of the dialog |
If a field cannot be edited, hover over it. A tooltip says why (for example, the value is calculated, or you do not have permission).
Right-click anywhere on a table row to open the same menu as the Row actions button at the end of the row. It holds Edit, Duplicate and Delete, plus the other record actions listed under Good to know.
Add a record
- Open the module.
- At the top right of the table, click Add followed by the record type, for example Add Project. The dialog opens.
- Fill in the fields. A red asterisk marks each required field. The record's name is always required.
- Optional: if the dialog ends with Show all fields (N more), click it to fill in the remaining fields too.
- Click Add. The new record appears in the table straight away, and a toast reads "Added" followed by the record name.
On an empty table the same button sits in the middle of the page. Your workspace may use different names for the modules (for example "Initiative" instead of "Project"). The steps are the same. Click the record name in the toast to open the record.
Show all fields in the Add dialog
An admin chooses which fields the Add dialog asks for first (see Choose which fields the Add dialog shows). If the admin left some out, the dialog ends with a Show all fields (N more) button, where N is how many are waiting. If every field is already shown, there is no button.
- In the Add dialog, click Show all fields (N more). The remaining fields appear below a More fields divider, and the button reads Show fewer fields.
- Fill in the fields you need.
- Optional: click Show fewer fields to tuck them away again. What you typed is kept.
- The dialog starts with the extra fields hidden every time you open it.
- Whatever you typed in a hidden field is saved when you click Add, and a hidden field's default value still applies.
- Required fields and fields the dialog was opened with are always shown upfront. For example, Add on a Kanban column fills in the status, so that field shows even if an admin left it out.
- The Edit dialog shows every field, with no button.
If Add is greyed out, you do not have permission to add records in that module. Hover over it to see the reason.
Two record types have an extra required field. A RAIDD entry needs a value in Links, so it is tied to at least one record. A top-level Objective needs a value in Affects. Both show a red asterisk.
If the save fails, a message reads "Couldn't add" followed by the record name, with the reason underneath. The same pattern applies to "Couldn't edit", "Couldn't delete" and "Couldn't duplicate".
Use the keyboard
The Add and Edit dialogs work without a mouse.
- Tab and Shift + Tab move between the fields and stay inside the dialog. When the dialog closes, focus returns to the button that opened it.
- A relation field (a link to other records) is a Tab stop. Press Enter, Space or ↓ to open its picker. Press ↑ or ↓ to move through the search box, the rows and Update.
- Tab closes a single-record picker and moves on to the next field. In a picker that takes several records, Tab moves on to Update.
- Tab closes the list of a select field and keeps your pick.
- Tab in an empty date field leaves it at once.
- Esc in a date field with nothing to undo closes the dialog.
Fix a failed field
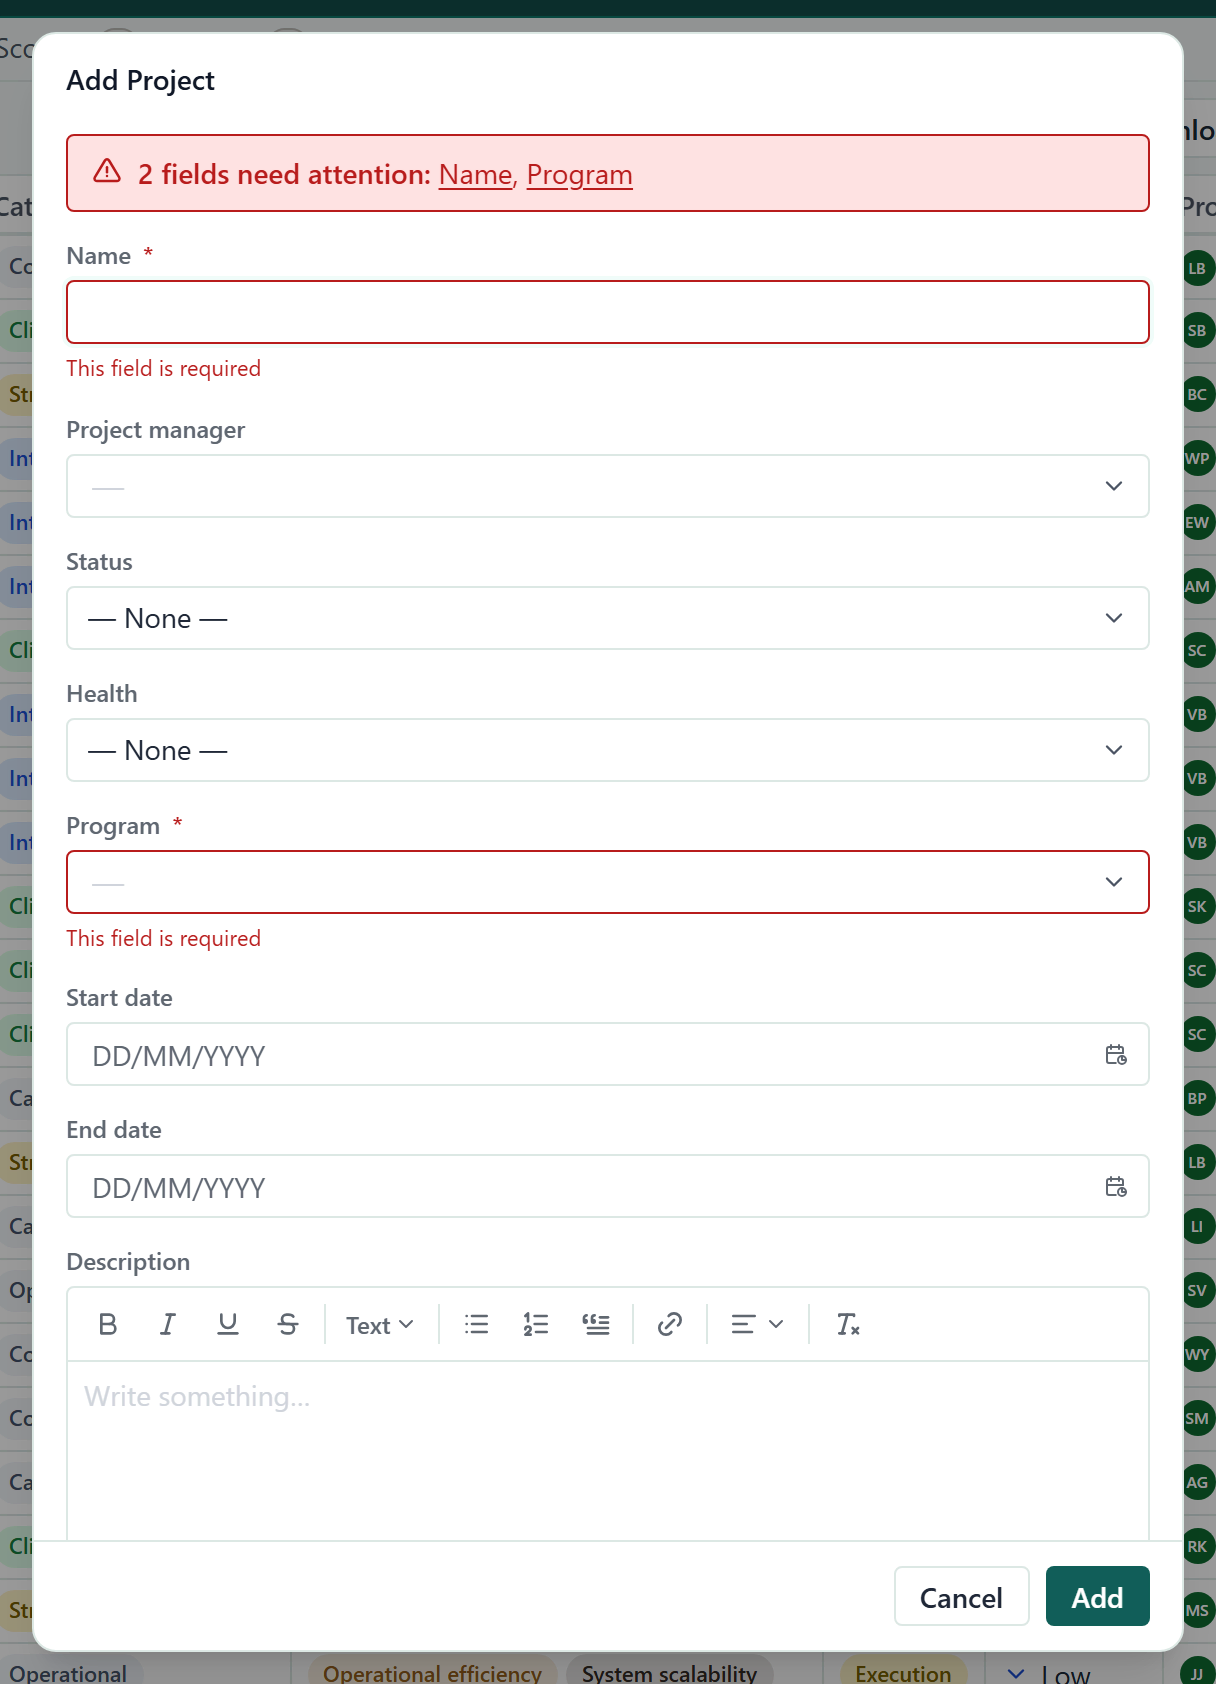
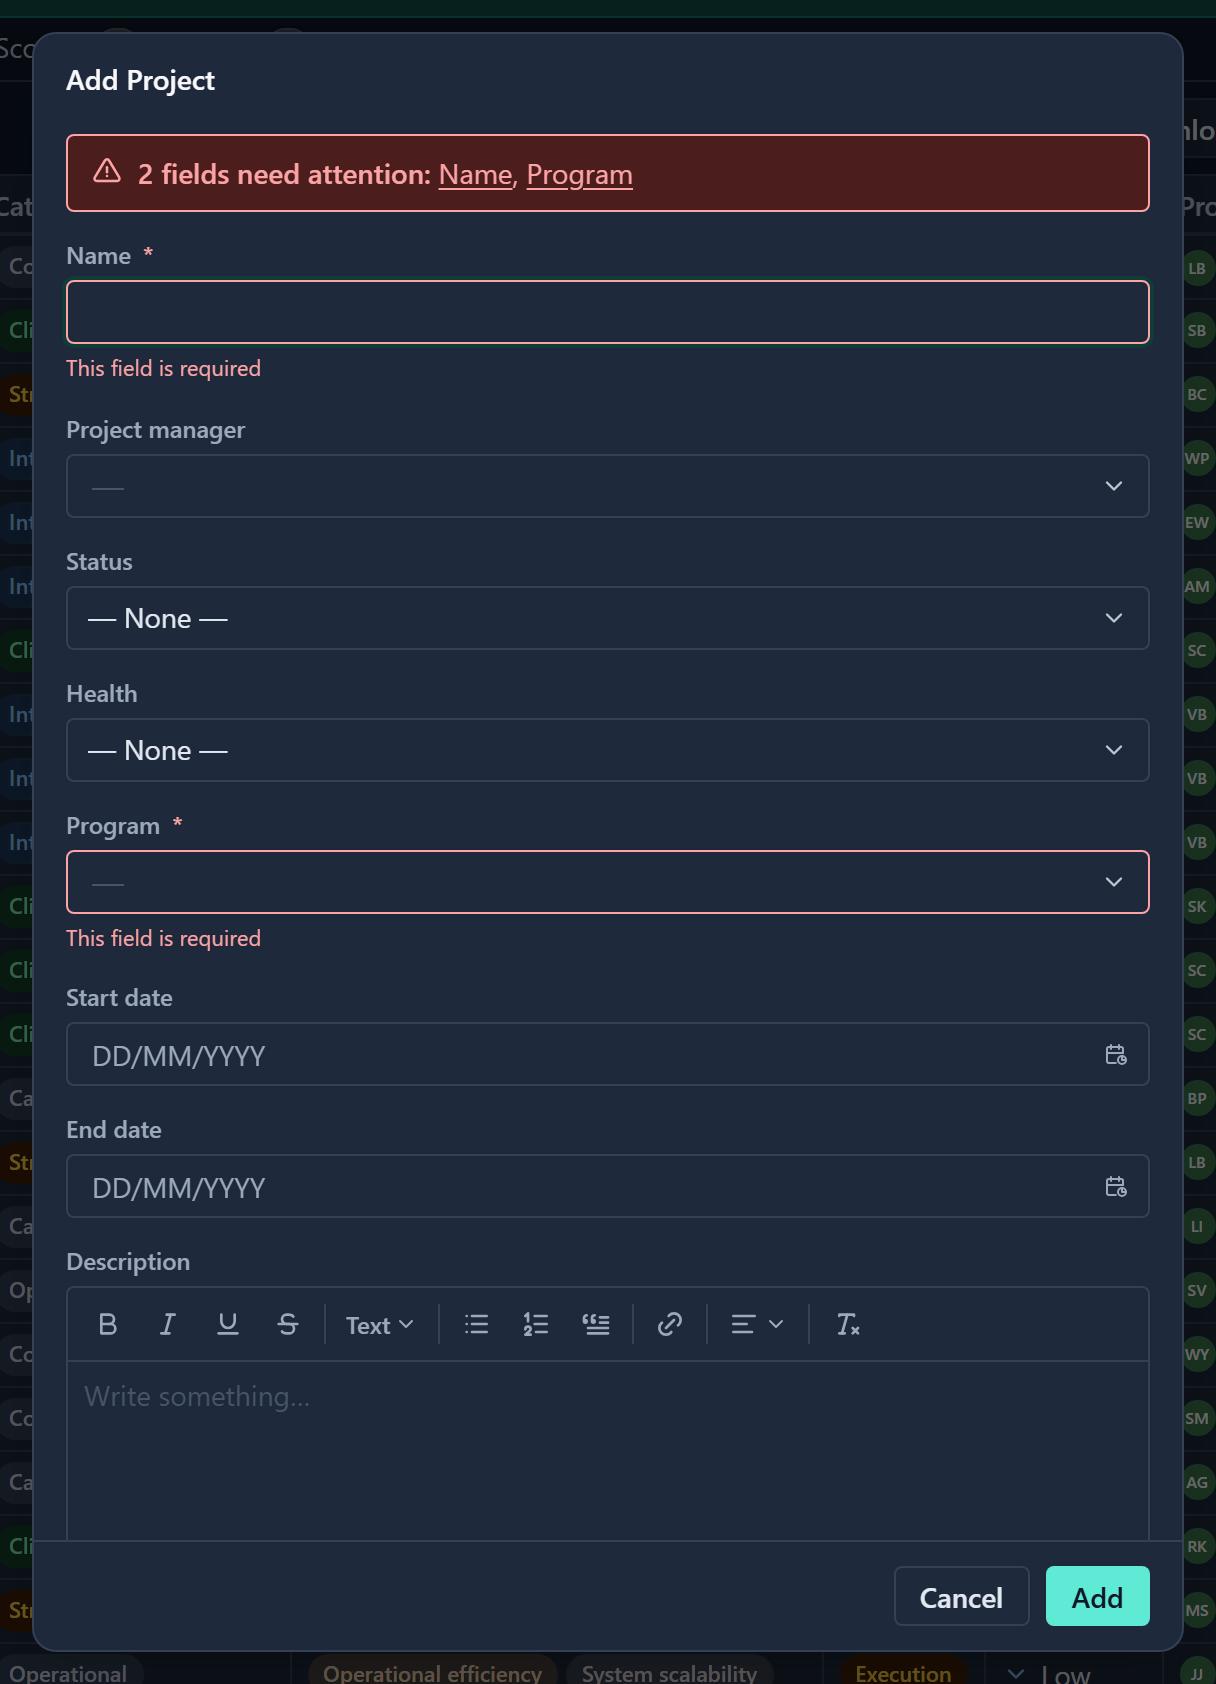
When you click Add or Edit, Gembaa checks the form first. If something needs fixing, a summary at the top of the dialog reads "1 field needs attention:" or "3 fields need attention:", and each problem links to its field. Click an entry to jump to it.
Typical messages:
- "This field is required"
- "Enter a valid email address"
- "Enter a valid URL"
- "End date must be on or after the start date"
Nothing is saved until every problem is fixed. If a problem is in a field behind Show all fields, the dialog opens More fields and moves the cursor to that field. Clicking the entry in the summary does the same.
Edit a value
- Double-click the cell you want to change.
- Type or pick the new value.
- Press Enter or Tab to save.
A small bubble above the value confirms the result: "Saving…" if the save takes a moment, then "Saved". If the save fails, the value returns to what it was and the bubble reads "Couldn't save · reverted".
Press Esc to cancel. Clicking away from the cell also cancels, and the bubble reads "Not saved" with a reminder to press Enter next time. If you save a value that is the same as before, nothing changes and you see "Nothing to save".
Single-clicking a row does not edit it. It opens the record in the panel.
Edit in the panel
Each field in the panel saves on its own, so there is no Save button and nothing is left unsaved when you close it. For the steps, see Edit in the panel.
Edit several fields
- Click the Row actions button at the end of the row, or the Record actions menu in the panel header.
- Click Edit.
- Change the fields you need in the Edit dialog.
- Click Edit to save them together. A toast reads "Edited" followed by the record name, with the names of the fields you changed underneath.
If you click Edit without changing anything, the toast reads "No changes made" and nothing is updated. Closing the dialog with Cancel discards your changes.
Duplicate a record
- Open the Row actions menu or the panel's Record actions menu.
- Click Duplicate. Gembaa creates a copy with the same values, named "Duplicate of" followed by the original name, and a toast reads "Duplicated" followed by the name.
If you are in the panel, the panel stays on the original record. Duplicate does not copy the original's comments.
Delete a record
- Open the Row actions menu or the panel's Record actions menu.
- Click Delete.
- Read the confirmation, then click Delete. A toast reads "Deleted" followed by the name.
Deleting is permanent. There is no archive and no undo.
Check what else deletes
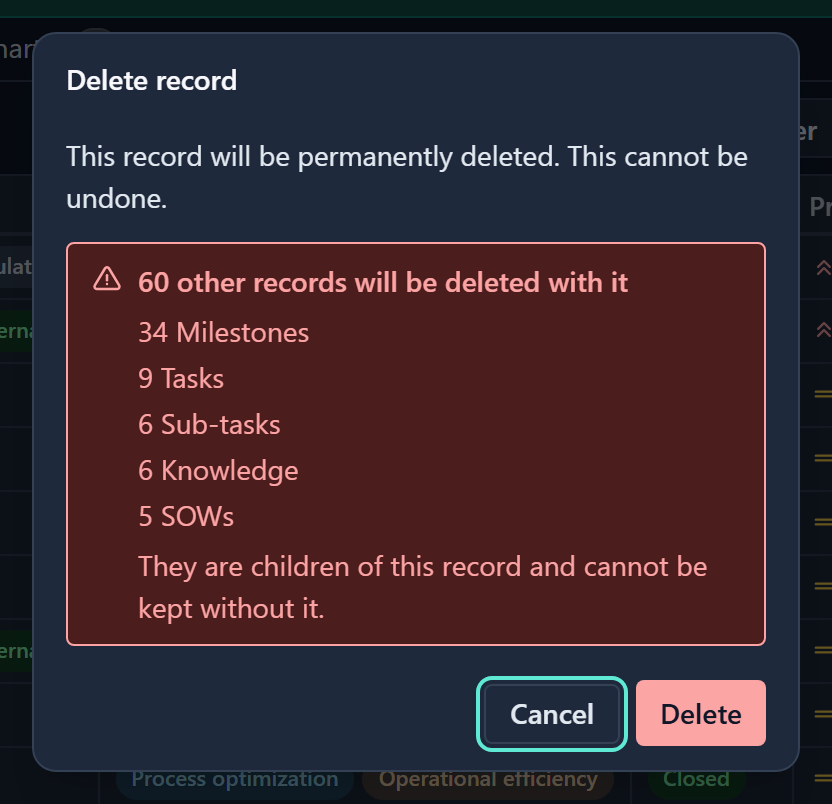
Some records own other records. A Program may own Projects, and a Project may own Tasks, which may own Sub-tasks. When a record owns others, the confirmation shows a red box above the buttons. It leads with the total, for example "31 other records will be deleted with it".
Underneath, it breaks the total down by type ("12 Tasks, 19 Sub-tasks") and states that they are children of this record and cannot be kept without it.
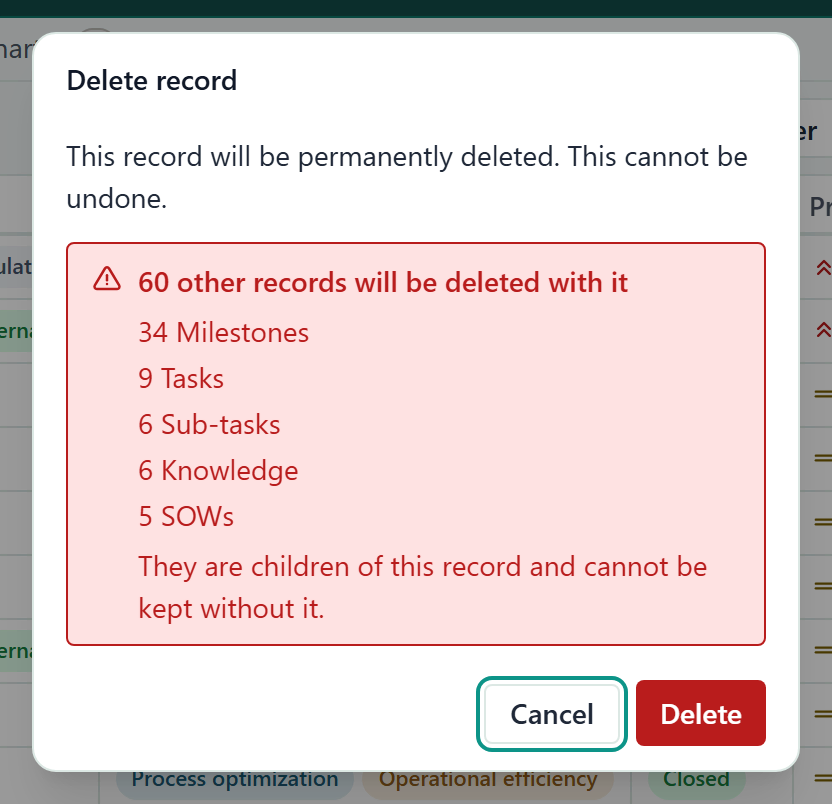
Read this before you confirm. If the box is not there, only the record itself is deleted.
What a delete takes with it:
- Records the deleted record owns, at every depth, such as the Tasks of a Project. The box lists them.
- Knowledge entries attached to the record, and to every record deleted with it. The box counts them under Knowledge.
- For a RAIDD entry, its sub-tasks.
- Comments on the record, with their replies. There is no way to bring them back. See Comment on a record.
Records that merely link to the deleted record are not deleted. Only the link goes. That includes typed links from the Links tab: Gembaa removes them with the record, and the history of the record at the other end shows the change. See Link records.
If the cascade reaches records of a feature an admin has switched off, the box shows the total only, with no lines per type.
Deleting needs Full Access on the record, which an admin can grant. If you do not have it, the delete is refused and a message says the record could not be deleted. See Access control.
On a Staff record that your company directory manages, Delete is greyed out while the person is active. Hover over it to see why.
Deactivate or activate staff
On a Staff record created in Gembaa, the menu also has Deactivate (or Activate, if the person is already inactive). It needs the same permission as Delete. Deactivating keeps the record but marks it Inactive and means the person cannot be given new allocations. The Add allocation dialog still lists them, greyed out and tagged Deactivated. See Staff.
Where your company directory manages the person, the item is not shown: the directory decides whether they are active. Such a Staff record cannot be deleted until the directory has deactivated it.
Good to know
- A milestone that comes from a date field cannot be duplicated or deleted. A delete is refused with "This milestone comes from a date field. Clear the date or remove the field instead." Deleting the record that holds the date also deletes the milestone.
- Formula fields, fields set up as rollups, and system fields such as who created the record cannot be edited by anyone.
- Every record gets an ID from Gembaa when you add it, such as RISK-12. You cannot type or change it. It shows as a column and as a field in the panel.
- Every record change is logged. See Activity history.
- The menu for a record can also offer Activity log, Download one-pager, Add allocation and Finance, depending on the record type and your access.
- To add many records at once, use Import from CSV.