
Entities and custom fields
- Purpose
- Shape each table in your workspace: add, edit, reorder and remove fields, set up formulas and rollups, mark fields required and decide where they sit in the record panel.
- Who is this for
- Admins
- Prerequisites
- Know which table you want to change and what the new field should hold.
- Permissions
- Admin role.
An entity is a kind of record, such as Project, Task or Staff. Each entity has fields, which become the columns in its table and the rows in its record panel. Open Administration → Entity & fields to add custom fields, change their settings and choose which section of the record panel each one appears in.
This page uses the default entity names. Your workspace may use others. See Terminology.
How it works
The page has one tab per entity, plus Allocation, which has its own settings (see Allocation settings). The tab shows the entity's icon and name, then its fields grouped by section. Each section matches a place in the record panel:
| Section on this page | Where it shows in the record panel |
|---|---|
| Header | The compact line under the record name. It holds the record name plus up to three more fields. |
| Overview | The Overview tab. |
| Details | The Details tab. |
| Specialised sections, such as Milestones, RAIDD, Allocation and Knowledge | A tab of related records. These are managed by the platform and cannot hold custom fields. |
| Members (Team only) | The Members tab of a team. It is a locked row. |
| Links | The Links tab, on every entity that has one (Program, Project, Task, Sub-task, Milestone, each RAIDD entity, Skill and Objective). It is a locked row with no settings. |
The Projects, Tasks, Sub-tasks and Key results tabs no longer exist, so they have no row here. Those records are listed on the Links tab instead (see Link records).
Each field is a row with a drag handle, a small icon for its type, its name and a three-dot Field actions button. Right-click a field row to open the same menu at the pointer.
A Required badge or a lock icon marks protected fields. An On create badge marks a field that the Add dialog asks for upfront (see Choose which fields the Add dialog shows).
Click a locked row that has a chevron, such as Members or Milestones, to set that list's default columns. See Set the default sort of a related list.
An entity can have up to 50 fields. Gembaa ships the entities. You add fields to them and rename them, but you cannot create a new entity.
Every entity also has a locked ID field. See Change the ID prefix.
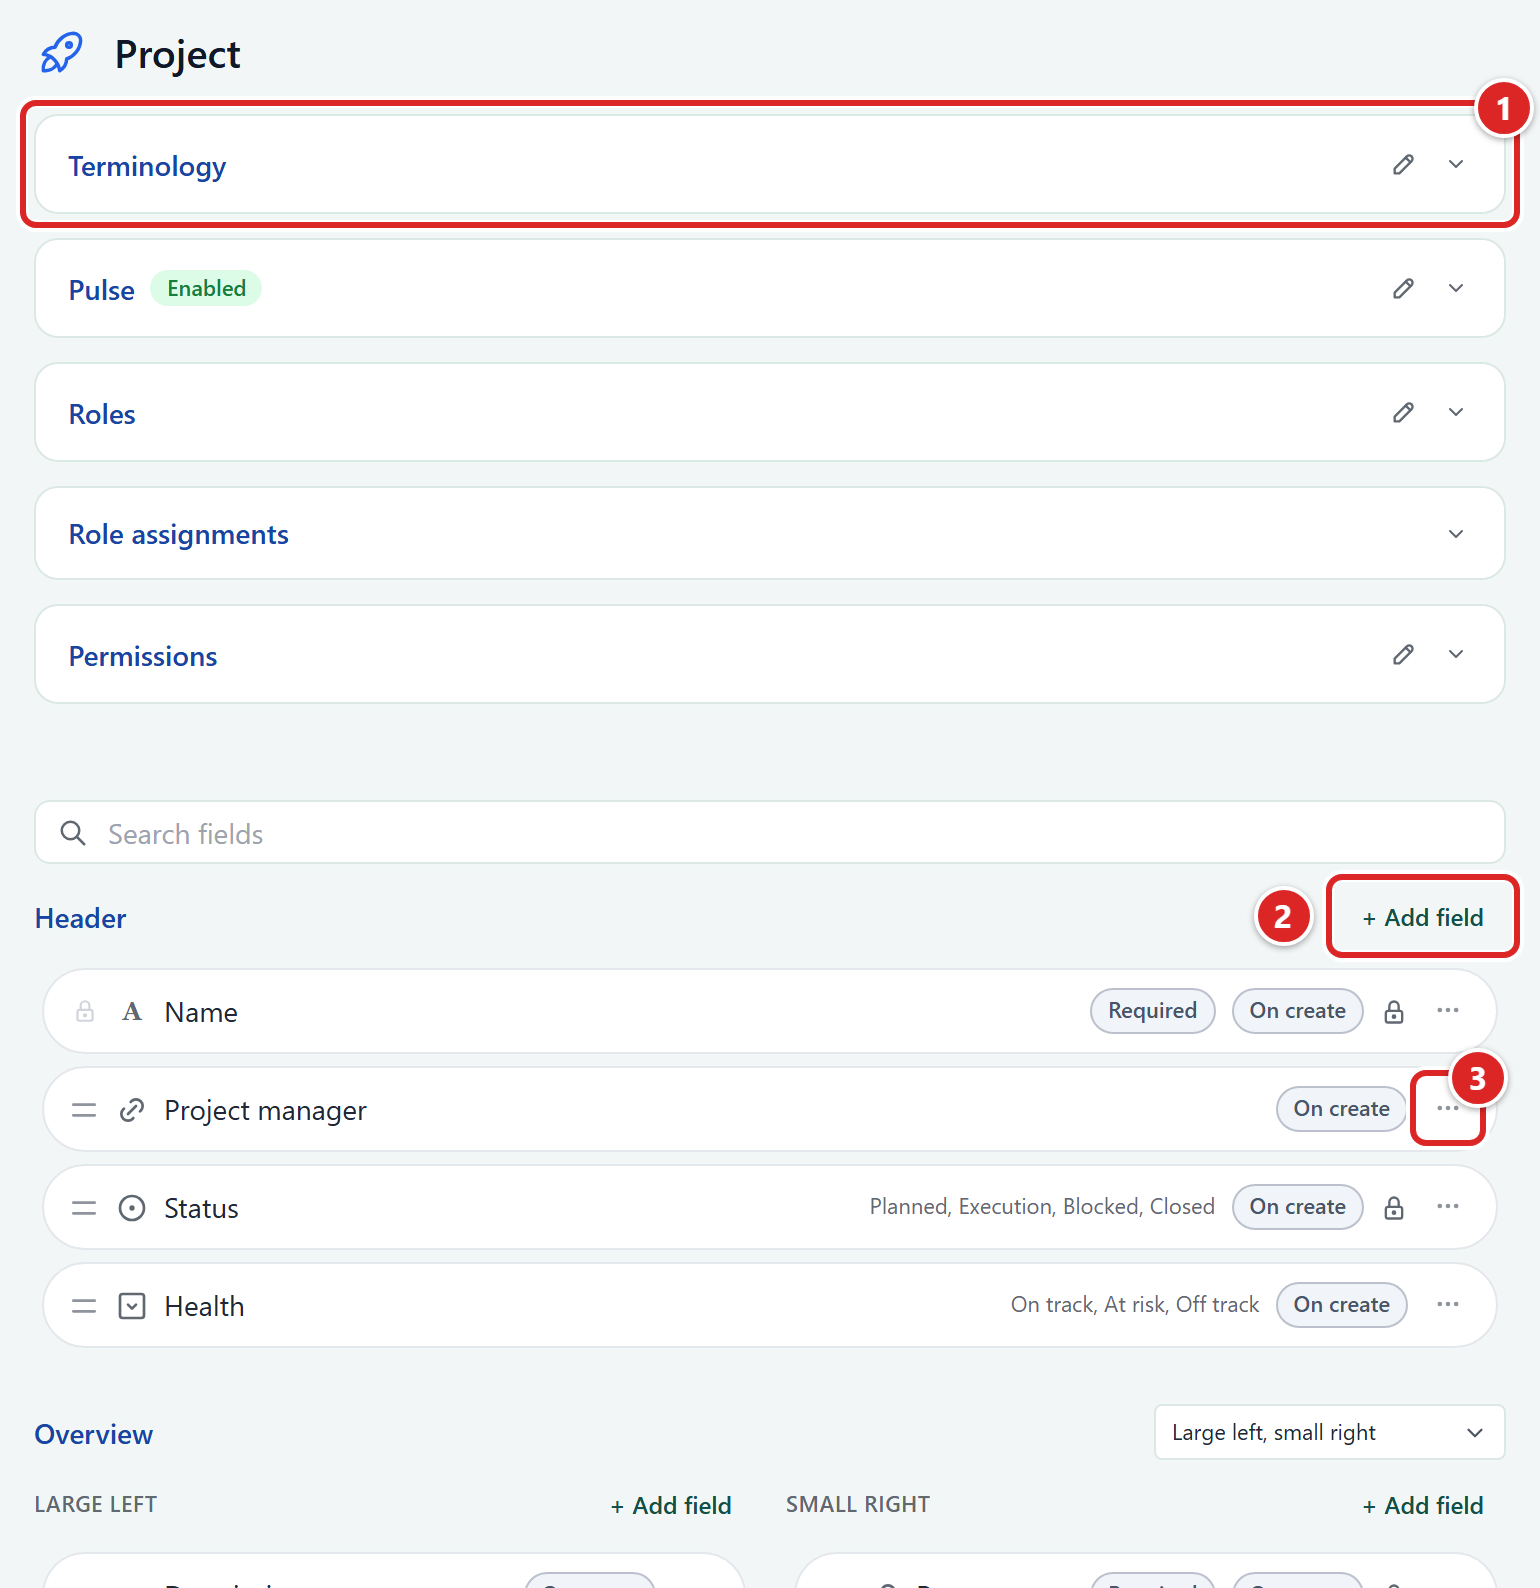
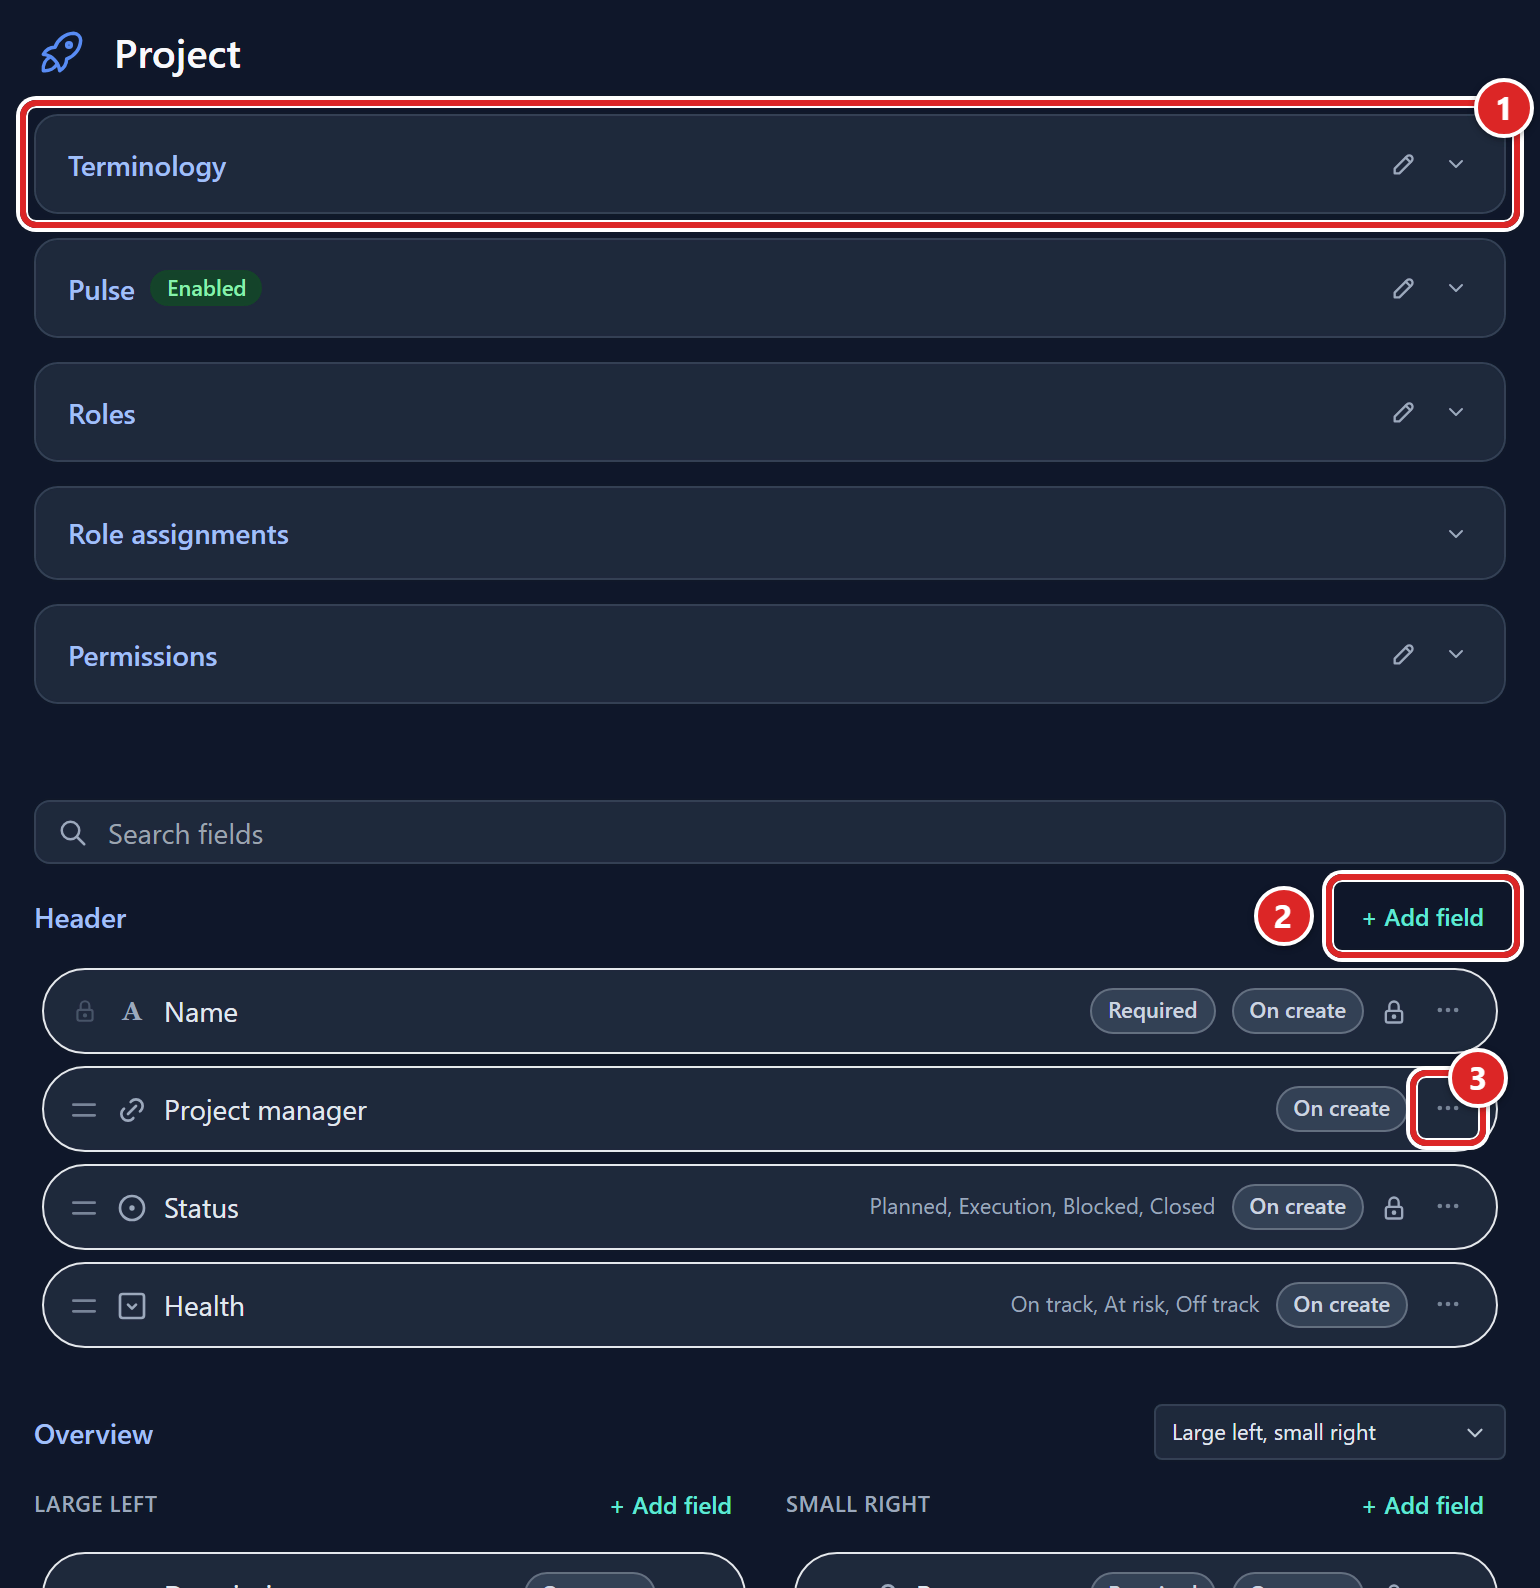
- The settings cards: Terminology, the cards of any module the entity uses (such as Pulse), then Roles, Role assignments and Permissions.
- Add field, beside the section it adds to.
- The three-dot Field actions button on the right of a field row. Each row also has a drag handle on the left and an icon for its type.
Add a custom field
- Open Administration → Entity & fields.
- Select the entity's tab.
- Click Add field beside the section you want, for example Overview.
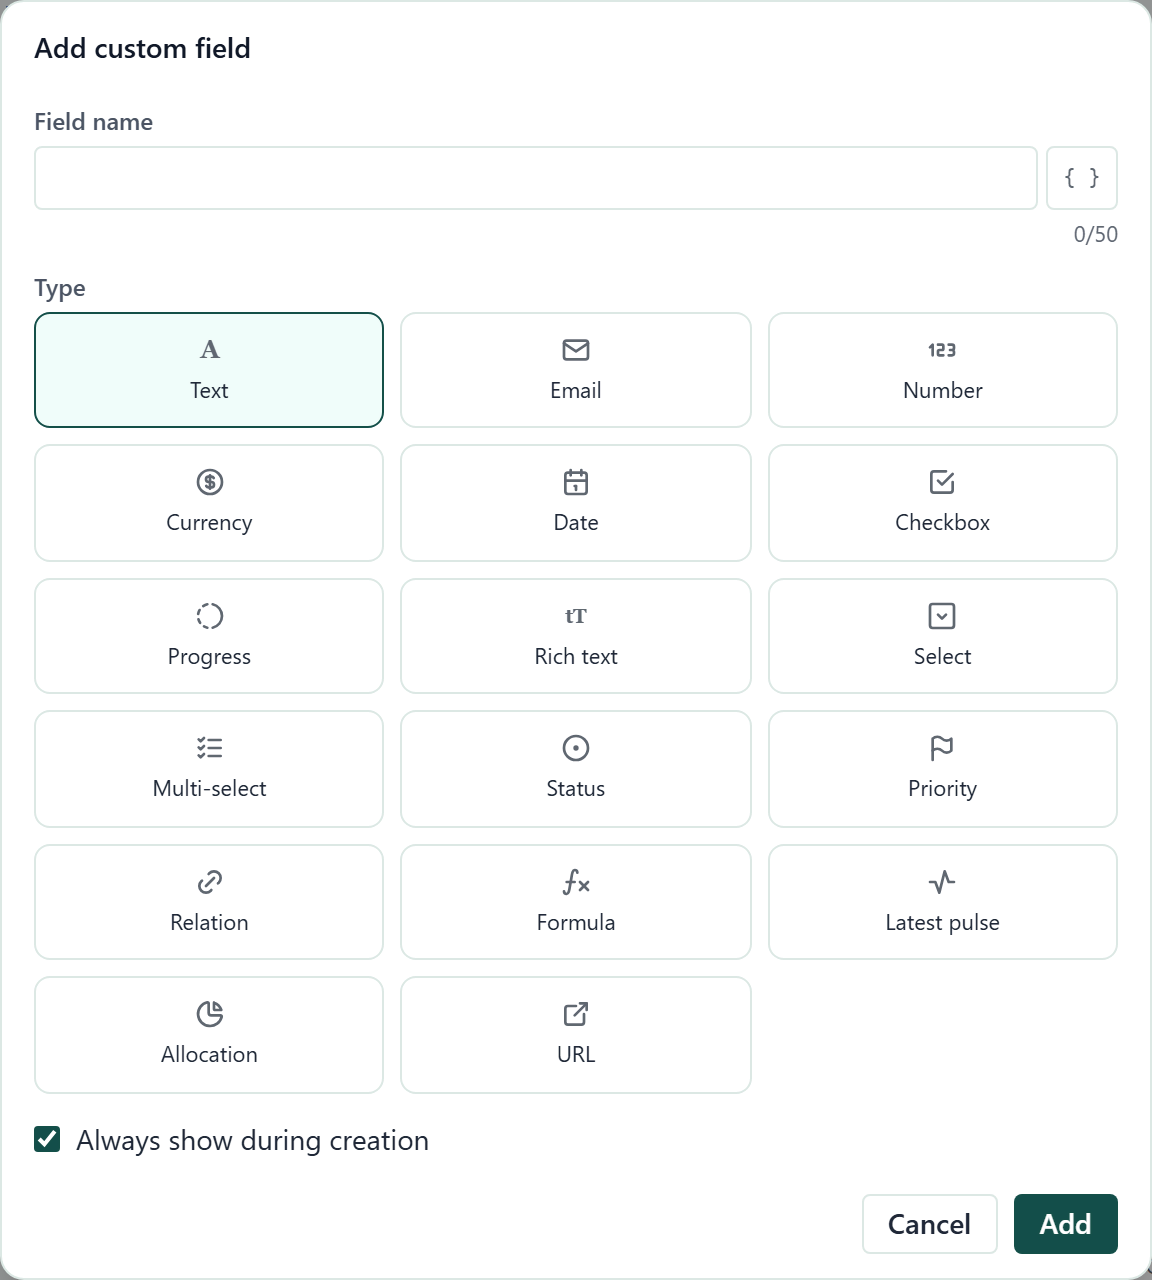
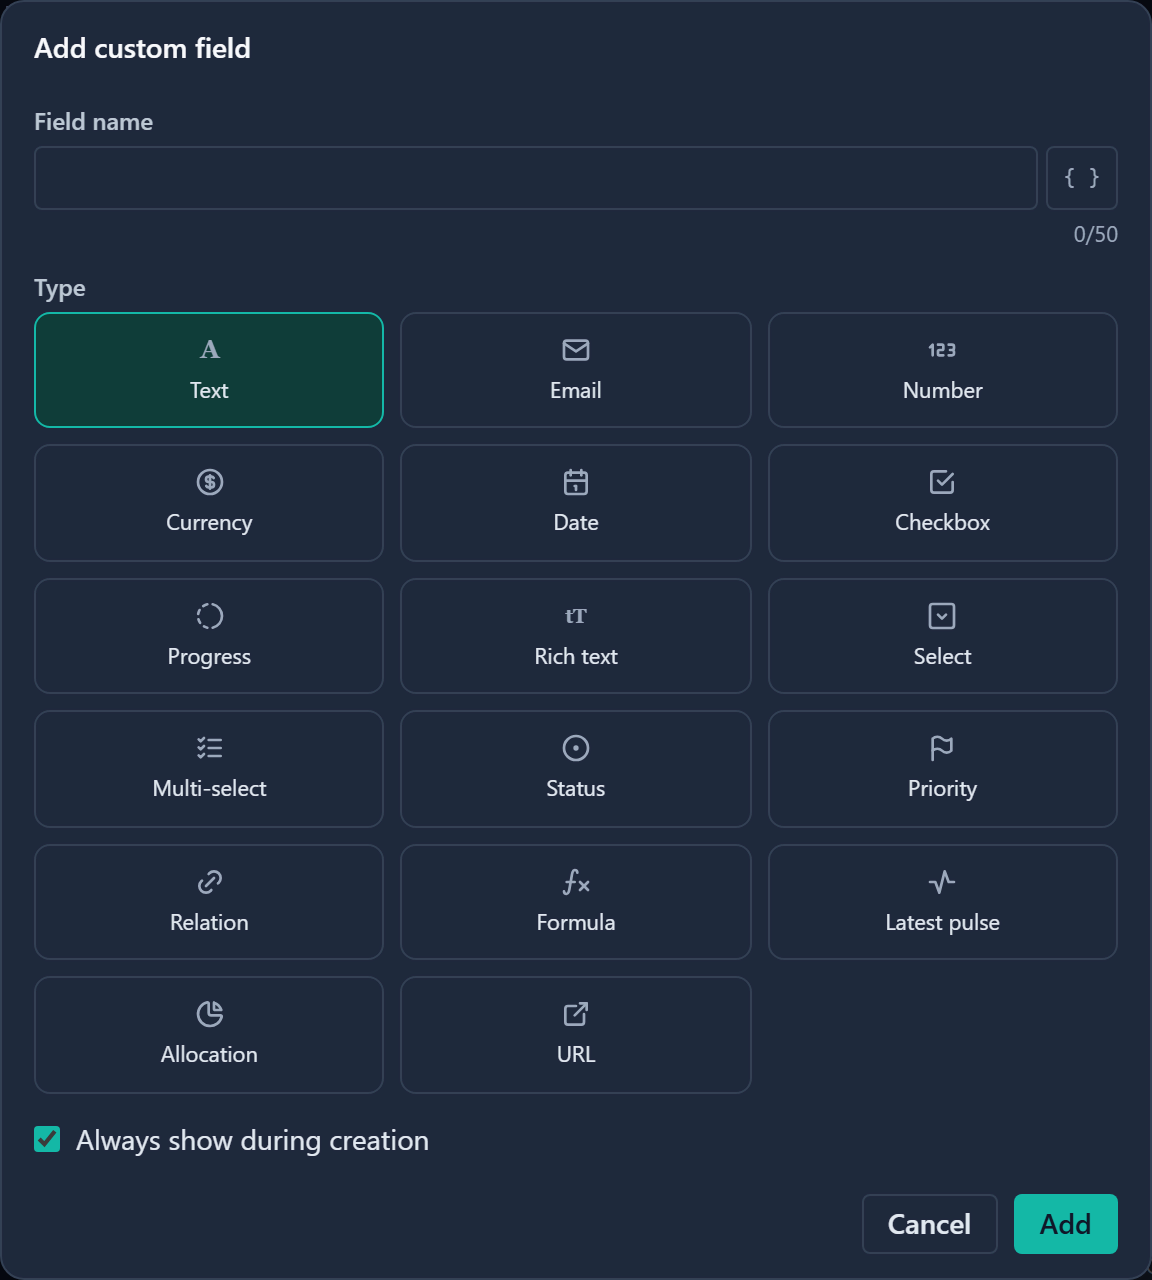
- In Add custom field, enter a Field name (up to 50 characters).
- Choose a Type tile. Hover over a tile to read what the type does.
- If the field is a relation, choose the Linked entities it points to.
- Optional: to keep the field out of the first view of the Add dialog, clear Always show during creation.
- Click Add. The field appears at the end of the section.
A relation to one entity is a plain relation. A relation to several entities can link to records of any of them, and the record picker then searches all of them.
The new field is added to the end of that section and is immediately available as a column in the entity's tables. It starts as optional, with Always show during creation ticked. To adjust it, open its settings (see below).
Field types
The picker shows the types as one grid of tiles, in the order of this table, without group headings. How people fill each one in is described in Field types.
| Kind | Types |
|---|---|
| Basic | Text, Email, Number, Currency, Date, Checkbox, Progress, Rich text |
| Choice | Select, Multi-select, Status, Priority |
| Relational | Relation |
| Computed | Formula, Latest pulse, Allocation, Current Rate, Skills |
| Media | URL |
Some types are offered only where they apply:
- Latest pulse: only on entities where Pulse is turned on.
- Allocation: only on Staff, Team, Project and Program.
- Current Rate and Skills: only on Staff.
- Any module's type: not while that module is switched off in Turn features on or off.
Rollup is not a type you pick here: you turn an ordinary field into a rollup on its Rollup tab (see below). The type, and a relation's linked entities, cannot be changed after the field is created.
Find a field
Use Search fields above the Header section to find a field on a long page. The box stays under the entity tab bar as you scroll.
- Click Search fields and type part of a field's label, type or description. Rows that do not match are hidden, and each section shows how many fields match, for example "2 of 9".
- Optional: to clear the search, click Clear the field search or press Esc.
If nothing matches, the page reads No matching fields. Dragging is switched off while a search is active, and the search clears when you switch to another entity tab. The settings cards are not filtered.
Edit field settings
Click a field row, or open its Field actions menu and choose Edit. The Field settings panel opens with tabs.
General
| Setting | What it does |
|---|---|
| Name and Description | Names must be unique within the entity. You can rename any field, see Rename a field. |
| Section | Where the field shows. In a section with two columns, you can also choose the column, for example Overview › Large left. Sections used by the platform are listed but disabled, with a note that the tab is specialised and cannot hold custom fields. |
| Required | When on, every record must have a value. A required field cannot be removed. Turning it on also ticks Always show during creation. |
| Always show during creation | Under Required. When ticked, the Add dialog asks for this field upfront. See Choose which fields the Add dialog shows. |
| Type | Shown for reference, set at creation. |
Some types add their own settings here. A relation has Links, either Multiple records or A single record. A URL field can use Bind redirect to to turn another text field into a link to the URL. On Staff, the name field can use Display name badge to show a choice of the person beside their name.
Click Save and close to keep your changes. If you try to leave with unsaved edits, Discard changes? asks you to confirm.
Options
Select, Multi-select, Status and Priority fields have an Options tab.
- Click Add option and type the label.
- Optional: pick a colour for the option.
- For a Status field, choose a Status category for each option: To do, In progress, Issue or Closed. The category is required and decides the option's colour and meaning.
- Optional: for Select, Status and Priority fields, set a Default value that pre-fills new records.
- Optional: drag options to reorder them.
- Click Save and close.
A new Priority field starts with five levels, Highest to Lowest.
Under Display as, choose how the field looks in tables: Coloured pill, Coloured text or Plain text. Each option has an Option colour. Leave it on Auto (from label) to let Gembaa pick one. Priority options also have a Priority icon, from Highest to Lowest.
When you rename an option, existing records, saved views and presets follow the new name. When you remove an option that records use, Gembaa asks where those records move. Choose another option or, if the field is optional, Leave empty. A required field must keep at least one option, so you cannot remove its last one.
Progress and Currency settings
A Progress field has two handles, Lower threshold and Upper threshold, that set the low, middle and high bands. Drag a handle, or select it and use the arrow keys, Home and End. Each band has a colour, which can stay on Auto (default colour). Preview shows the result.
A Currency field has these settings:
| Setting | What it does |
|---|---|
| Symbol | Pick a symbol from the list, or choose Custom… to type your own. |
| Decimal places | How many decimals show. |
| Symbol position | Before the amount ($1,234) or After the amount (1 234 €). |
| Preview | Shows an example amount with your choices. |
Formula
A Formula field calculates its value from other fields in the same record, or from one field of a linked record, for example the days left until an end date. People never edit a formula field's value directly.
- Open the field and select the Formula tab.
- Choose the result type and write the expression.
- Click Evaluate to test it. The result appears under the button.
- Click Save and close.
A Number formula also has a Display format, for example #,##0.00, that sets how the result is written. Choose one from Presets or type your own, and check it in Preview.
The Formulas section covers the steps in full: Formula basics, Functions and operators, Common formulas and Fix formula problems.
Rollup
A rollup totals a value from child records, for example a Project's Budget as the sum of its budget lines. It is a mode you switch on for an existing field, not a field type. Most fields have a Rollup tab; Formula, Relation and the module fields (Latest pulse, Allocation, Current Rate, Skills) do not. It is off by default.
- Open the field and select Rollup.
- Turn on Compute from child records.
- Choose the Child records, meaning the entity whose records you are totalling.
- If more than one field links those records to this entity, choose Linked by.
- Choose the Field to total and the Calculation.
- Click Save and close.
The field keeps its own type and formatting. Its stored value is kept and comes back if you turn the rollup off. Child fields that cannot be totalled are shown disabled with the reason.
Module fields
Latest pulse, Allocation, Skills and Current Rate show data from another module. Open the field's settings to choose what it shows.
| Field | Settings |
|---|---|
| Latest pulse | Indicators shown: All indicators follows the entity's Pulse setup, so new indicators appear by themselves; Selected indicators shows only the ones you tick. Also Overall and Show forecast arrows (cell only; the hover tooltip always shows the forecast). An entity can have several Latest pulse fields. |
| Allocation | Show as: Total allocation or Allocated capacity (Staff only, and it needs a period). Also Scenario, Period, Unit, Decimals and Scale (None, Thousands (k) or Millions (M)). A relative period is worked out each time the field is shown. |
| Skills | Show: Skills or Skill categories. Then Show which to pick the skills or categories. |
| Current Rate | Show: Hourly rate or Daily rate. Also Decimal places and Rounding: Half up (0.5 rounds away from zero), Always up or Always down. See Finance. |
Choose which fields the Add dialog shows
A long Add dialog is slow to fill in. Decide which fields people see first and which wait behind a Show all fields button. Every field starts ticked, so the Add dialog is unchanged until you clear one.
- On the entity's tab, click the field's row. The Field settings panel opens on the General tab.
- Clear Always show during creation. The row loses its On create badge.
- Click Save and close.
In the Add dialog, the ticked fields come first. The cleared fields sit behind Show all fields (N more), where N is how many there are. When someone clicks it, they appear under a More fields divider and the button reads Show fewer fields. See Create, edit and delete records.
Some fields cannot be changed. The box is greyed out and a tooltip says why:
| Field | Box | Tooltip |
|---|---|---|
| Required fields, the record name, and fields the dialog always needs (RAIDD Links, Objective Affects, Knowledge Parent) | Locked and ticked | "The Add dialog requires this field, so it is always shown when a record is created." |
| Formula and Rollup fields, read-only fields and the ID field | Locked and cleared | "This field is calculated or read-only, so it is never entered when a record is created." |
In Add custom field, choosing the Formula type locks the box in the same way.
Reorder fields
Drag a field by its handle to move it within its section. The Header section holds the record name, which is pinned first, plus at most three other fields.
Move to another section
- Open the field's Field actions menu, or right-click the row.
- Choose Move to section. Every section that can hold fields is listed in page order. A two-column section lists each column, for example Overview › Large left.
- Choose the destination. The field goes to the bottom of that section.
The field's current place is greyed out and marked Current. Header is greyed out when it is full, with the note that it already holds the record name plus three fields.
Move to section is not offered on the record name, the Key Result progress block, or second- and third-level entities. You can also change Section in the field's settings.
For Overview and Details you can also pick the column layout of the tab: 1 column, Large left, small right, Small left, large right or 2 equal width.
Rename a field
- Click the field's row. The Field settings panel opens on the General tab.
- Change the Name.
- Click Save and close. The new name shows wherever the field is listed.
Renaming a field never unlinks it. The Gantt's Start, End and Status fields and its milestone fields keep working, and so do the RAIDD, OKR and Tasks columns, saved tabs and presets, link rows, the Kanban status field and the Allocation project lookups. A setting that was lost because a field was renamed in the past does not come back.
Two things still depend on the name:
- Formulas that use the field by name stop working, see Fix formula problems.
- The directory (SCIM) sync of Staff finds its fields by name. If you rename Job title, Email, Location, Employee ID, First name, Last name, Work phone number 1 or Work phone number 2, the sync stops writing that field. Keep those names as they are. See Members, SSO and provisioning.
Duplicate a field
Open the field's Field actions menu and choose Duplicate. A copy named after the original with "(copy)" added appears directly below the original with the same type, options, description, required setting and Always show during creation setting. Locked fields cannot be duplicated.
Remove a field
- Open the field's Field actions menu.
- Choose Remove field.
- Click Remove to confirm. The field disappears from the page.
Fields marked Required or locked show Protected field and cannot be removed. Locked fields are ones the platform depends on. You can still rename them, move them and change their settings.
Set related list sort
The related lists on a record, such as an entity's Milestones or Knowledge list, have their own settings. Some of them, such as a team's Members, are locked rows you click to open. The Links row has no settings, because the records listed there have no columns or sort to set.
- On the entity's tab, click the row for the list, for example Milestones.
- Optional: in the same panel, change the Columns and Highlights, as users do in Customise.
- Choose a Default sort and a Sort direction.
- Click Save.
To replace every user's own setting for that list with this default, click Push to everyone. To go back to the columns the product ships with, click Restore shipped default, which appears once an admin default exists. Users who customised the list keep their own until you push.
Change the ID prefix
Every record has an ID made of a prefix and a number, such as RISK-12. The locked ID field is read-only: Gembaa sets its value. It starts at the top of Details (or Main on a Team). You can move it to any section, including Header, where it counts towards the three-field limit.
- On the entity's tab, click the ID row. The field panel opens with only Name and ID prefix.
- Optional: change the Name, for example to "Reference".
- Enter the new ID prefix, 1 to 10 characters. Each entity needs its own prefix, whatever the letter case.
- Click Save and close. A toast confirms Updated the record key and shows examples such as "PFX-1, PFX-2 …".
You cannot duplicate or remove the ID field. Tables show the ID as a column. See Customise your table view.
Good to know
- Renaming an entity is done through Terminology, not here. The ID prefix is set on the ID field, not on the Terminology card.
- On the Staff tab, the Skills row has two locked rows beneath it, Current role and Target role. They show here instead of under Details, because the record panel puts them at the top of the Skills tab. Click one to open its field panel.
- The Allocation disabled card, which lists people who cannot be allocated, is on the Allocation tab only. See Allocation settings.
- Field changes are recorded in the Admin activity log.
- Pulse, OKR and Finance settings appear as cards on the tabs of the entities that use them.
- If a module is switched off in Turn features on or off, its entity tabs, section rows and settings cards stay listed but show Feature disabled and no settings. Open one and click Open Features to turn the module back on. The module's own field types are not offered either.
- Key Result progress fields move together: drag Progress type to move the whole group.
- A Milestone's Category field must stay required, because the Gantt colours milestones by it.
- A field's settings panel shows its Field ID.
- Who can see or edit a field depends on Access control.