
Preset tabs
- Purpose
- Create ready-made tabs for each page, choose whether they are pinned, given to new users or offered as options, and keep them tidy.
- Who is this for
- Admins
- Prerequisites
- Know which pages your teams use most and which tabs they rebuild by hand.
- Permissions
- Admin role.
A preset is a named tab setup that you create once for a page, such as "At-risk projects" or "Overdue risks". It saves everyone from building the same filters and column layout by hand. You choose how each preset reaches people: pinned, given to new users, or offered as an option.
How it works
You manage presets in Administration → Presets. The page has a tab for each destination in the left menu: Dashboard, each table, RAIDD, OKRs, Gantt, Knowledge, Pulse, Skills and Allocation. Select a tab to see and manage the presets for that page, grouped by type.
| Type | What happens |
|---|---|
| System | The built-in starting tab of a page, such as All. Nobody can delete or rename it. It is listed at the top of the Pinned group. |
| Pinned | Always at the front of everyone's tab strip. Members cannot delete, rename or reorder it. |
| Default | Given to new users as their starting tabs. After that it is the member's own tab. |
| Suggested | Not added automatically. Members choose it from the gallery when they add a tab. |
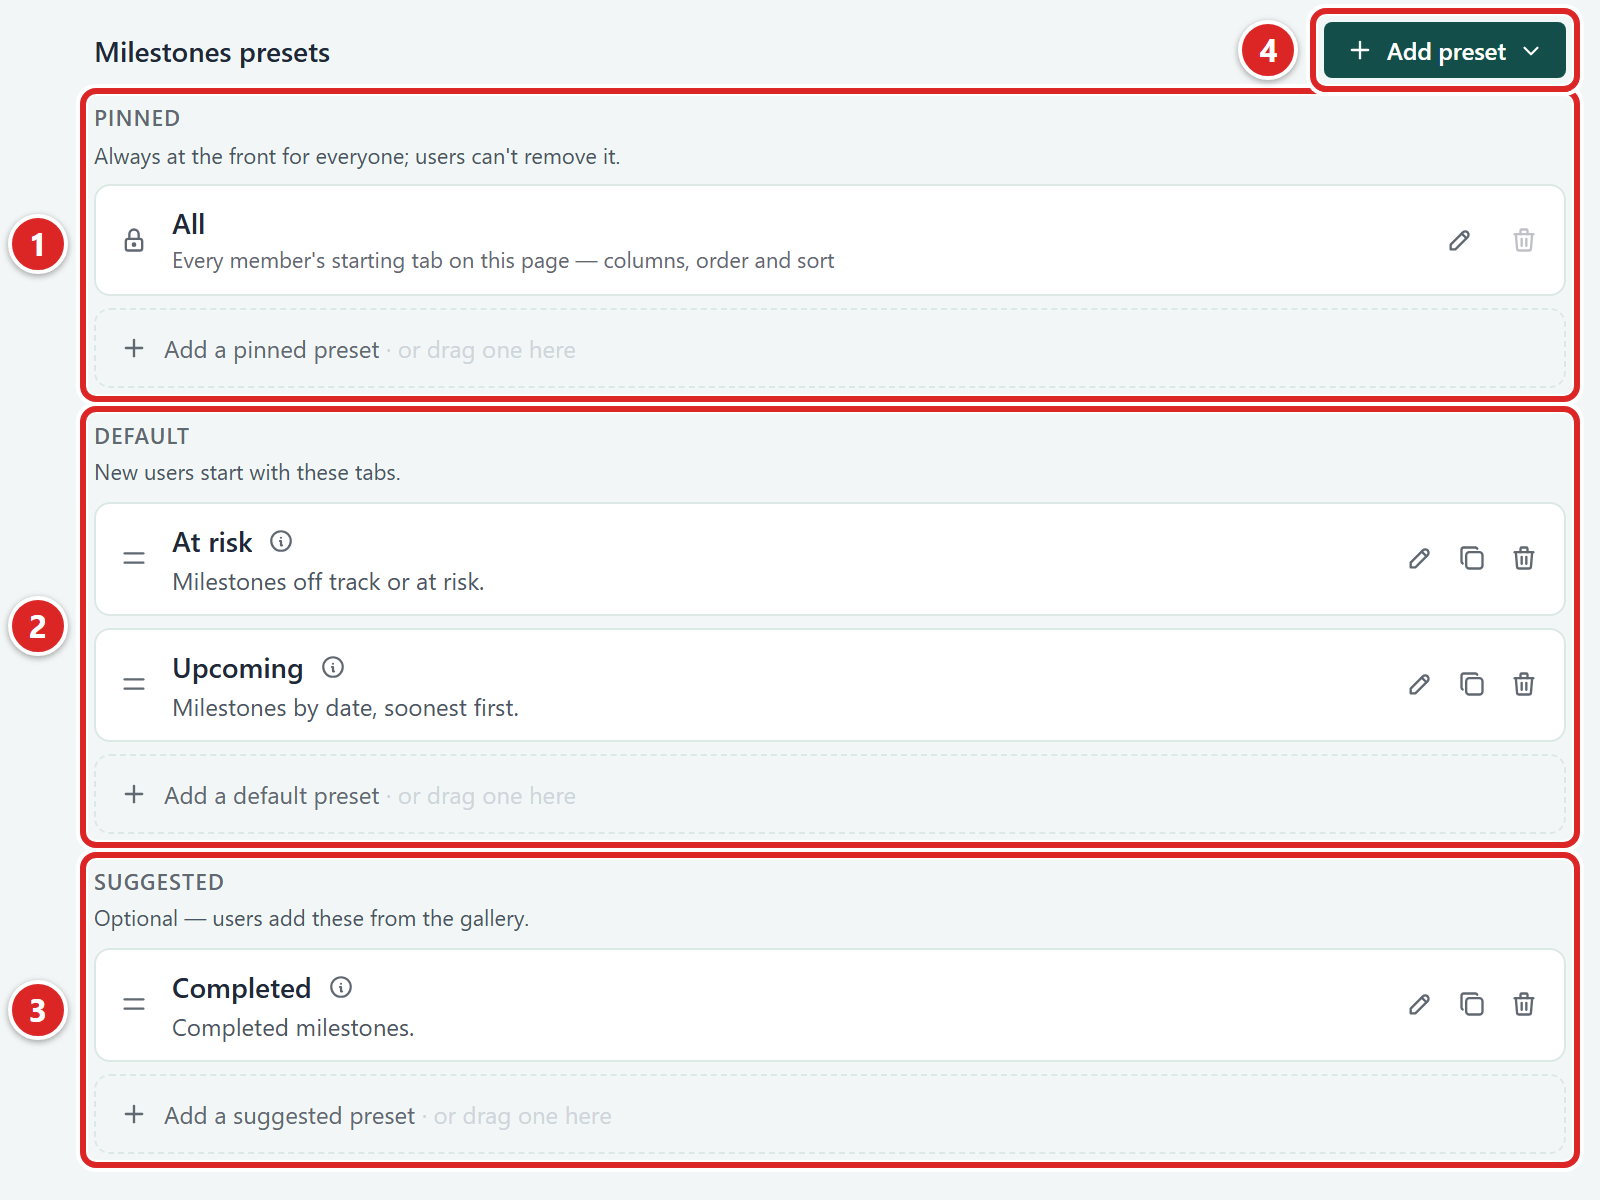
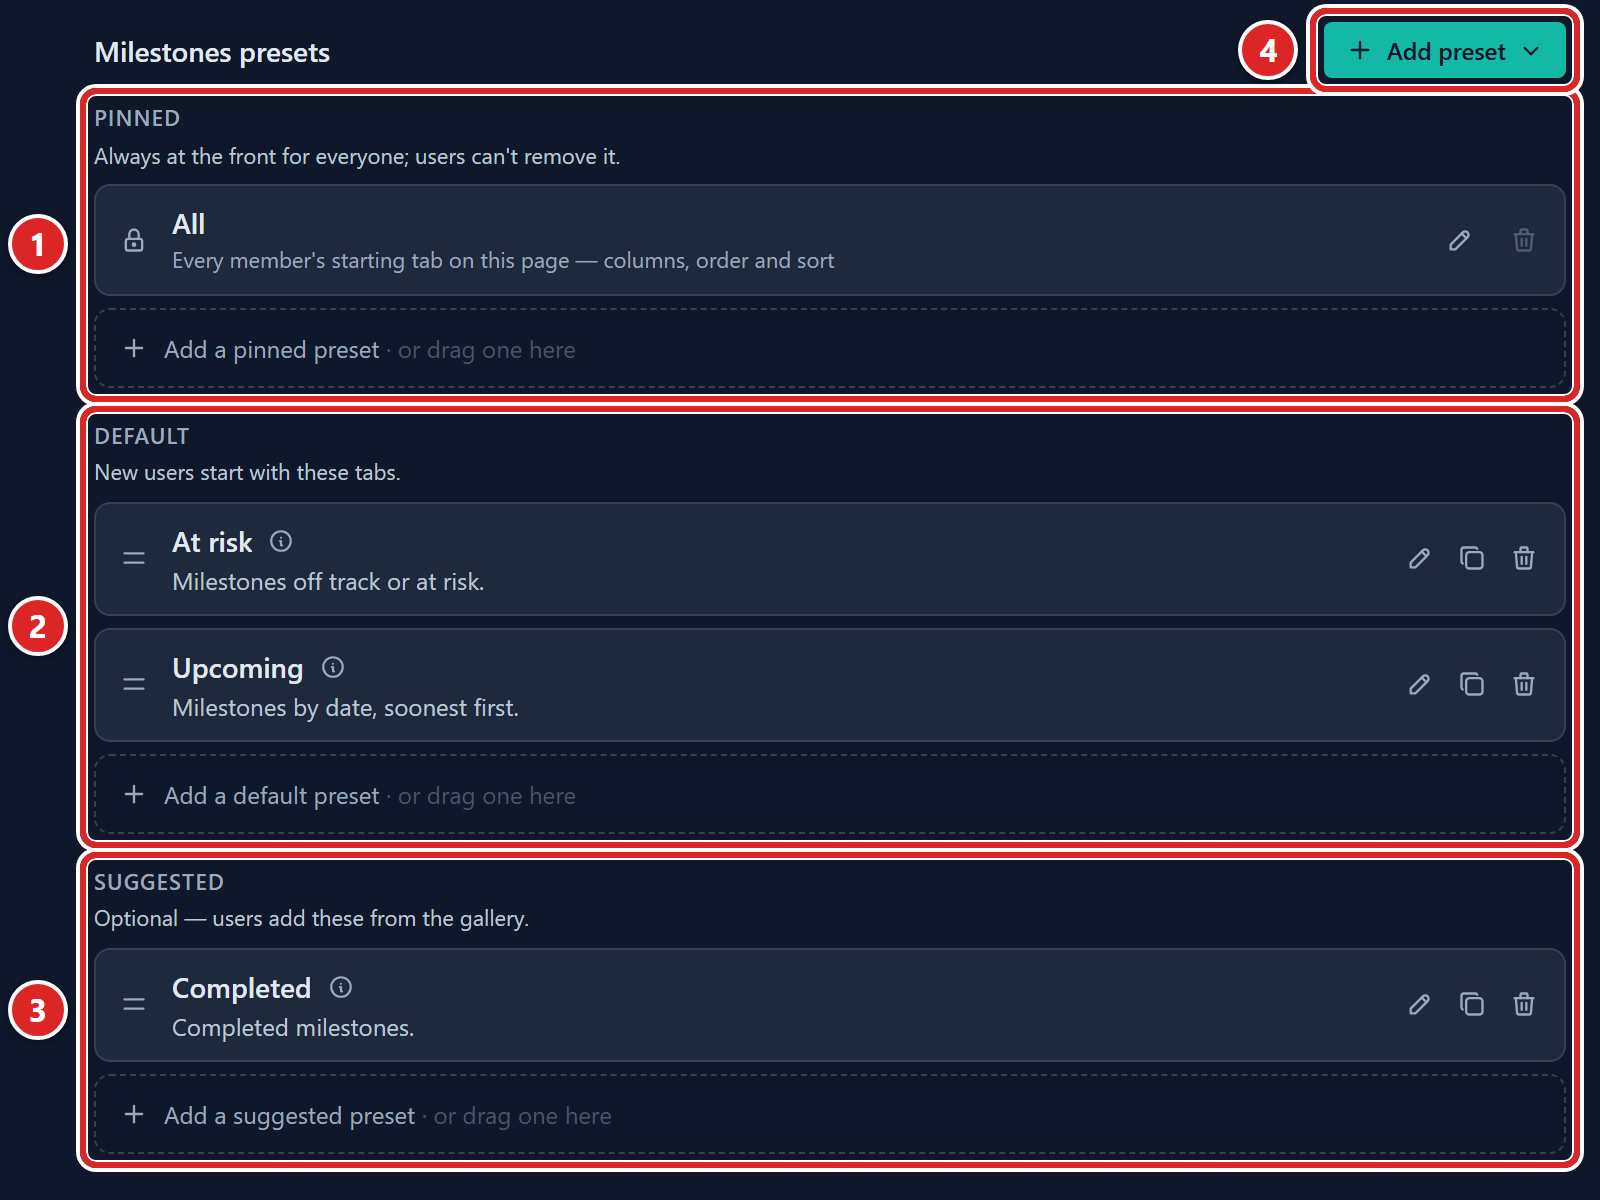
- Pinned: the All system tab sits at the top, and a dashed row adds a pinned preset.
- Default: presets given to new users, here At risk and Upcoming.
- Suggested: presets members choose from the gallery, here Completed.
- Add preset: starts a new preset of the type you pick.
A preset holds a Name, an optional Description, a type and a configuration. The configuration is the same as a saved tab: filters, sort and display settings such as column order and visibility. An Allocation preset also holds the time period and scenario settings. A Dashboard preset holds a set of widgets.
Pinned presets are live. When you edit one, everyone's copy changes. Default and Suggested presets are copied once. Editing or deleting one does not change tabs that members already have. It only affects people who add or are given it later.
Add a preset
- Open Administration → Presets.
- Select the page you want, for example Projects.
- Click Add preset and pick Pinned, Default or Suggested.
- Enter a Name. Names must be unique on the page, whatever the type, and cannot match a built-in tab.
- Optional: add a Description that helps members decide whether the tab is relevant.
- Set the filters, sort and columns with Filter, Sort and Customise. Table pages have all three.
- Click Save. A toast confirms Added preset.
You can also click the dashed row at the end of a group, such as Add a pinned preset, instead of Add preset. Pages that are not tables show their own controls in place of step 6:
| Page | Configuration controls |
|---|---|
| RAIDD | RAID type, plus Sort, Filter and Customise |
| Pulse | Pulse entity, plus Sort, Filter and Customise |
| OKRs | Sort, Filter and Customise, where Show is All, Objectives only or Key Results only |
| Skills | Sort, Filter and Customise, where Visualisation is Skills matrix or List and, for the matrix, Columns show sets the axis |
| Gantt | Dates, plus Customise, where the Gantt tab has a Links setting for the link arrows: Selected, All or Off |
| Allocation | Shown as a summary only (see the note below) |
| Dashboard | A widget layout (see Build a Dashboard preset) |
Choose which milestones a tab shows
On the Milestones page, Customise also offers Visible milestones. It is a multi-select of the parent entities a milestone can belong to, all selected by default.
- In the Milestones preset editor, click Customise.
- In the Customise view panel, find Visible milestones.
- Remove the parent entities whose milestones the tab should leave out, by clicking the x on their chips.
- Close the panel.
- Click Save.
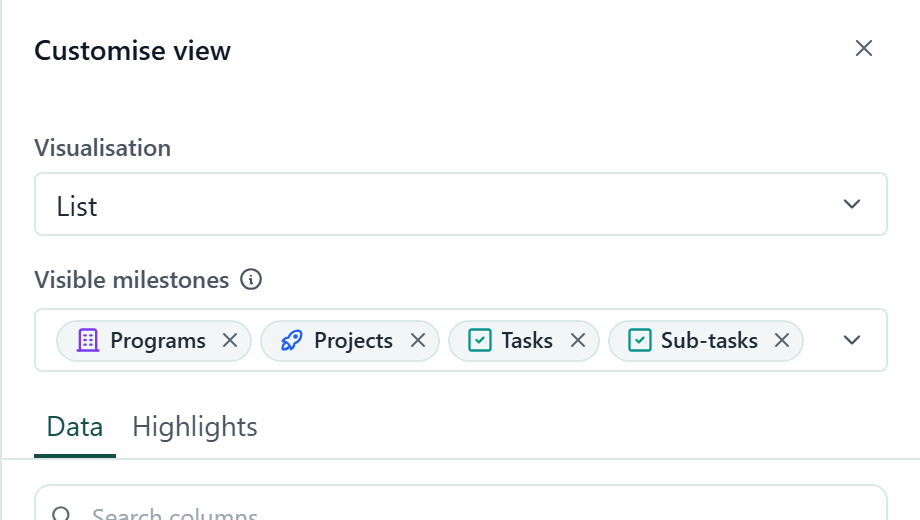
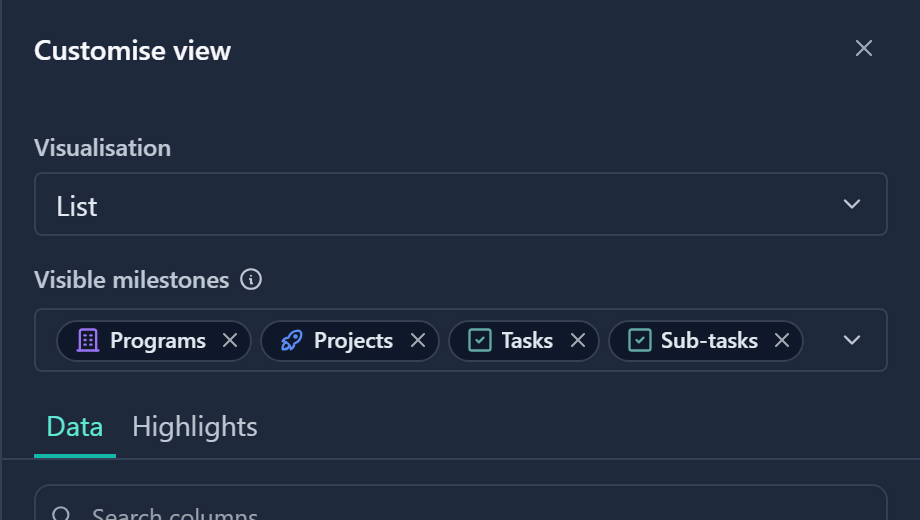
The tab then leaves out the milestones of the parents you removed from the table, the board, the count badge and exports.
Build a Dashboard preset
A Dashboard preset is a layout of widgets rather than filters.
- In the Dashboard preset editor, click Customise to set the number of columns.
- Click Add widget and choose a widget. Repeat to build the layout.
- Optional: click Preview to see the layout in a dialog.
- Click Save.
The preview shows sample data (marked Sample data), not your live records, because every member fills the preset with their own.
Save tab as preset
If you already have a tab set up the way you want, you can capture it.
- Open the page and set up the tab with the filters, sort and columns you want.
- Right-click the tab and choose Save as preset. Only Admins see this item.
- Enter a Name.
- Choose the Type. Suggested is selected by default because it pushes nothing onto anyone.
- Optional: add a Description and a Persona.
- Click Save.
A toast tells you which type was made, for example Saved as a pinned preset.
Style the tab
On table pages the editor has a Tab appearance section. Choose a colour for the count badge, or untick Show record count on the tab to hide the count. Members can still change these on their own copy.
Target a persona
The Persona control in the preset editor limits who receives a Pinned or Default preset. Leave it on All personas to reach everyone. Otherwise only people whose Staff record holds one of the chosen personas get it. Personas are the choices of the Persona field on Staff, which you can edit like any other field choices.
Targeting only narrows what is pushed. Suggested presets still show in every member's gallery, with a badge showing who they were curated for. Targeting is for curation, not security.
Edit a preset
Each preset row ends with three icon buttons, named by their tooltips: a pencil (Edit), a copy icon (Duplicate) and a trash can (Delete). A System row has Edit and a disabled Delete.
- Click the pencil icon (Edit) on a row. Its editor expands in place.
- Change anything you need.
- Click Save. A toast confirms Edited preset.
To reorder or retype presets, drag them:
- Drag a preset by its handle within a group to reorder it. For Pinned this sets the tab order, for Default the order new users receive them, and for Suggested the order in the gallery.
- Drag a preset into another group to change its type. Changing a Pinned preset to another type releases it: it stays in every member's strip as an ordinary tab they can edit and delete.
Edit a System tab
Every System tab, such as All, has a workspace baseline: the columns, order, sort and display that members start from.
- Click the pencil icon (Edit) on the System row.
- Click Customise and set the columns, order, sort and display you want members to start from.
- Click Save. A toast confirms the baseline is saved.
Members who saved their own version keep it. A System tab never carries a filter. To remove your baseline, click Clear baseline.
Duplicate a preset
Use this to start a new preset from one that is nearly right. Pinned, Default and Suggested rows can be duplicated. System rows cannot, because a System tab is built in.
- Find the preset in its group.
- Click the copy icon on the row. Its tooltip reads Duplicate. The editor opens below the row, filled in with everything from the source preset.
- Optional: change the Name. It starts as Copy of and the source name. If that name is taken, a number is added: (2), then (3), and so on.
- Optional: change the Description, the type or the Configuration.
- Click Save. A toast confirms Duplicated preset.
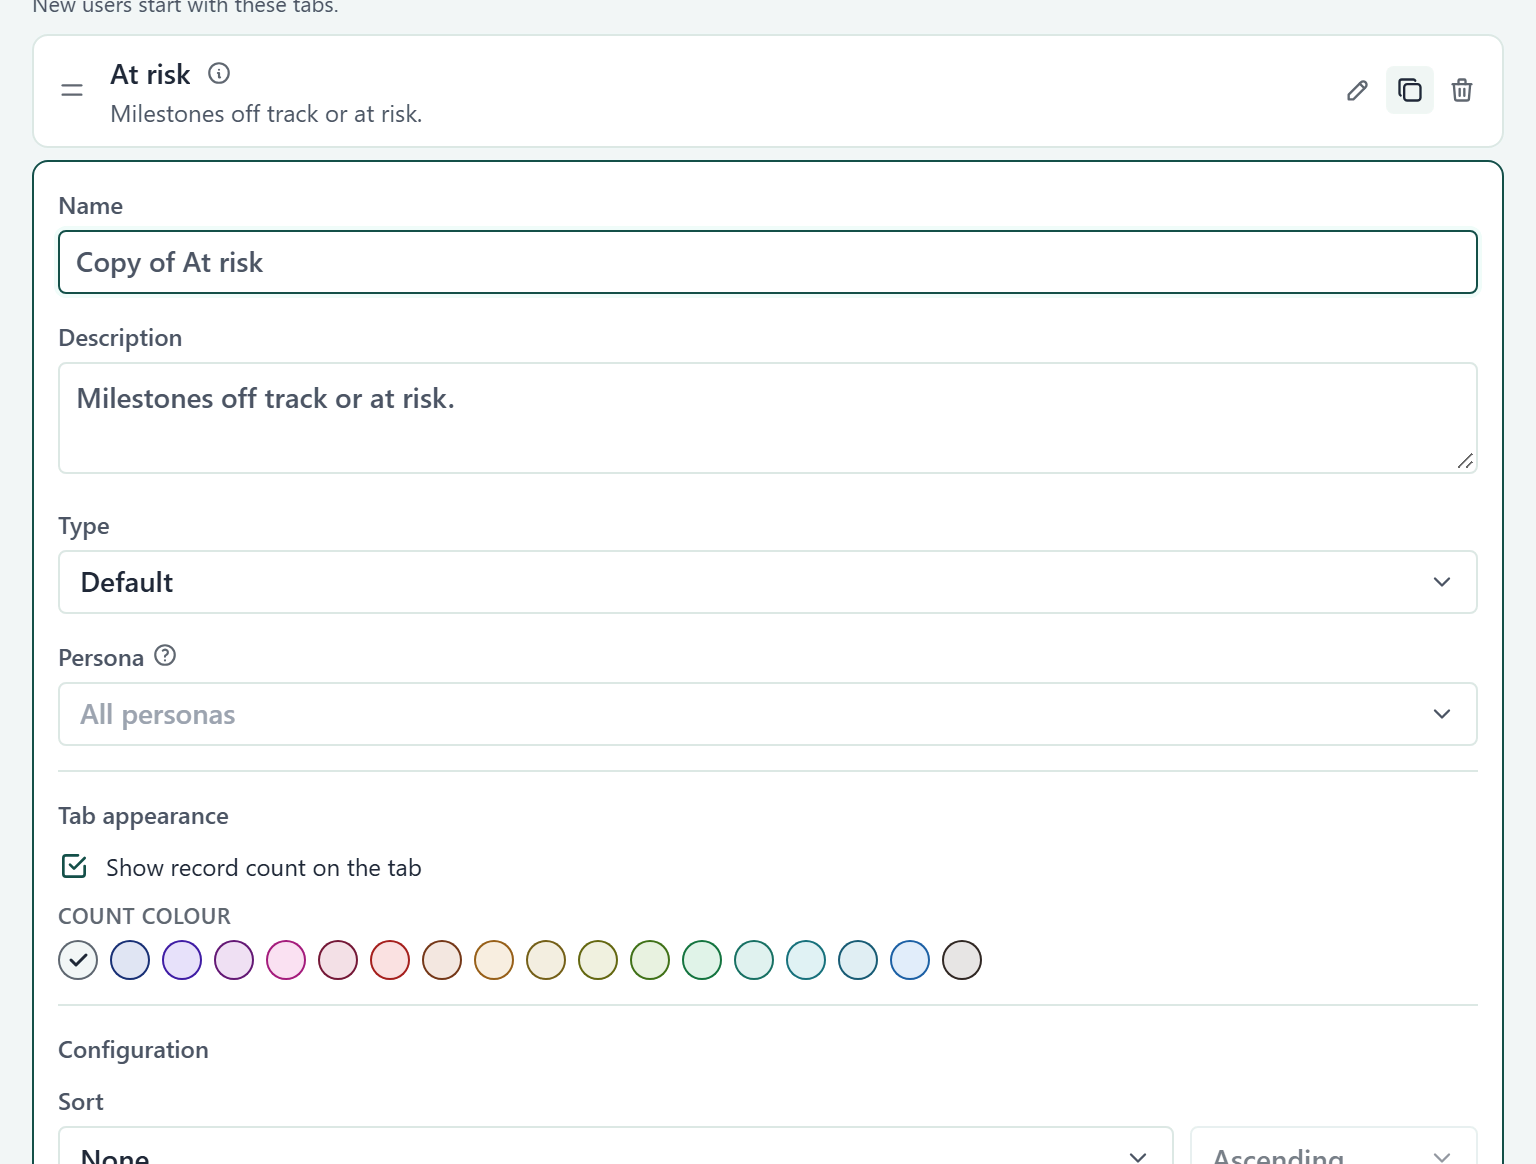
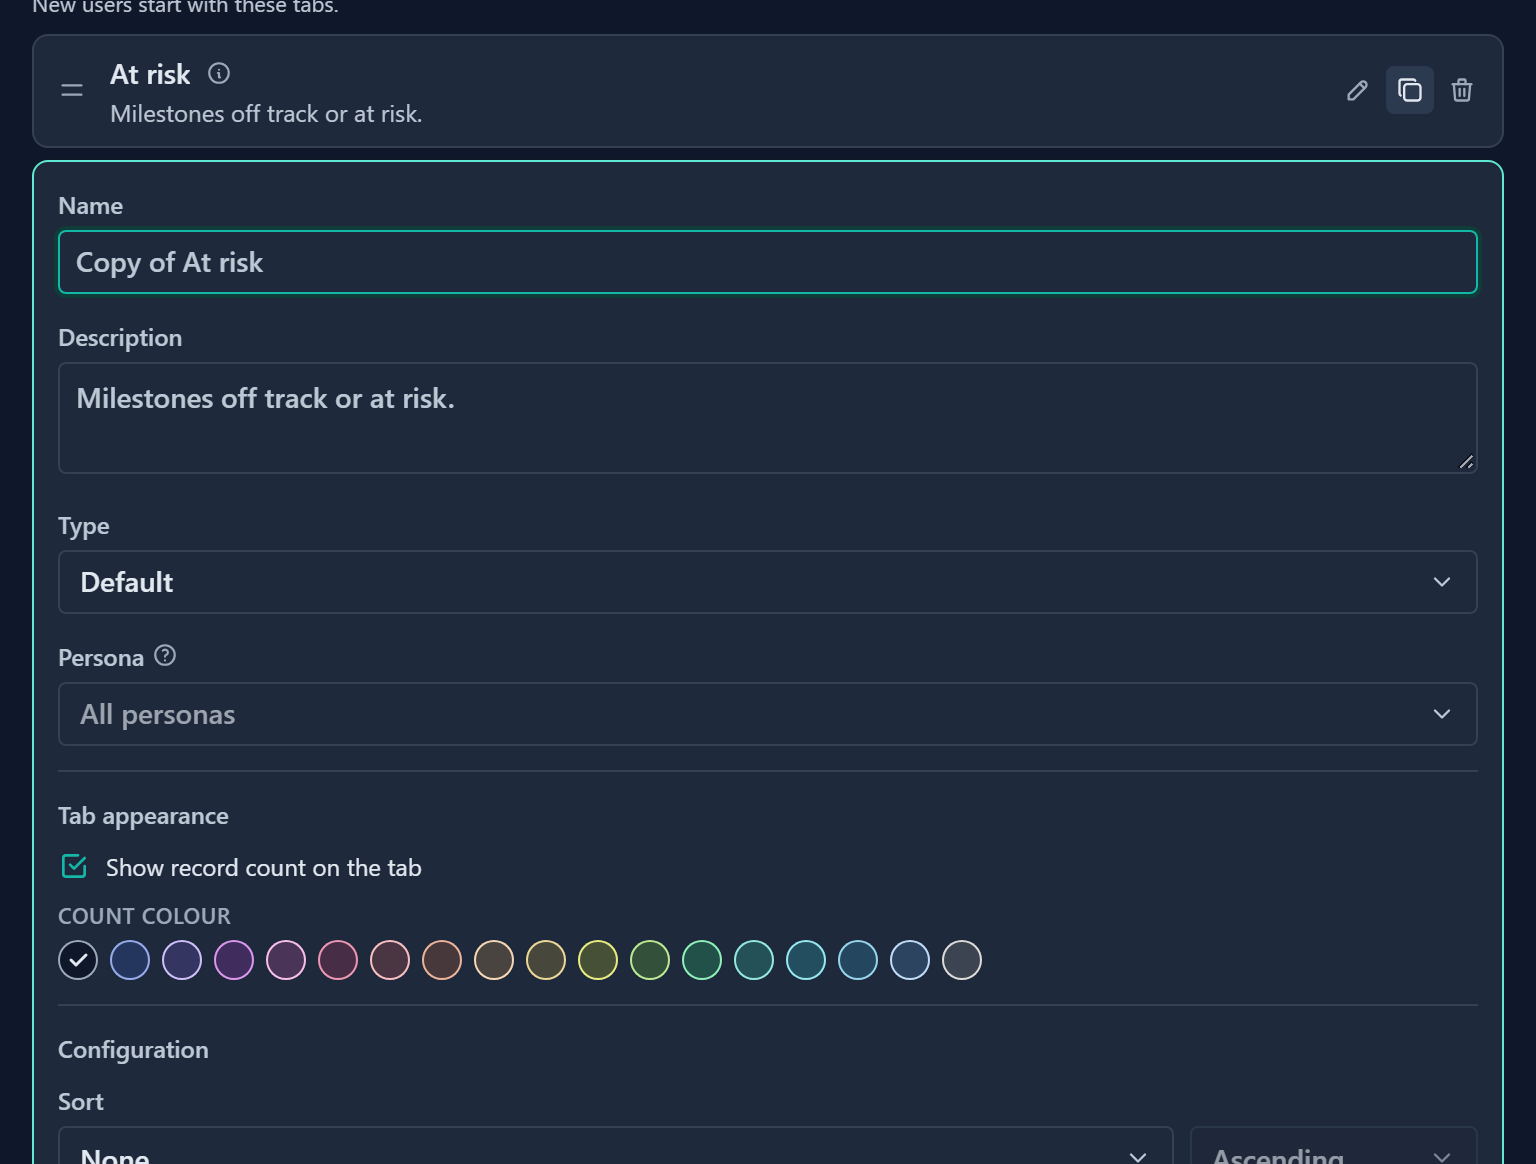
The copy is added directly below the source. If you changed the type in step 4, it goes to the end of that type's group instead. Click Cancel to close the editor without adding anything.
Delete a preset
Click the trash icon (Delete) on the row and confirm the prompt. Deleting a Pinned preset removes the tab from every member's strip. Deleting a Default or Suggested preset leaves existing member tabs alone and removes it from the gallery. A System row shows a greyed-out Delete icon. Hover it to see why: the tab is the page's mandatory baseline and cannot be deleted.
Good to know
- A Stale badge on a row means the preset refers to a field that no longer exists. Edit it or delete it.
- Once a page has more than three Pinned presets, a warning reminds you that pinned tabs appear for everyone. It does not block you.
- Existing members are not given a new Default automatically. They can use Reset tabs to defaults to replace their own tabs with the current System, Pinned and Default presets, which is how they pick up a new Default.
- If a page's module is switched off in Turn features on or off, its presets stay listed, greyed and marked Feature disabled. Open the page and click Open Features to turn the module back on.
- Duplicating a preset is recorded in the Admin activity log as Preset duplicated.