
Knowledge
- Purpose
- Keep notes, references, decisions and process documents attached to the records they belong to, and browse them all in one place.
- Who is this for
- Everyone
- Prerequisites
- None.
- Permissions
- View access to the parent record to read an entry. Your access to Knowledge on that record decides whether you can add, edit, duplicate or delete entries.
Attach written information to any record, such as meeting notes on a Project, a reference document on a Task or a process description on a Team. The same entries also appear on the Knowledge page, where you can search and filter across every record. Your workspace may use a different name for Knowledge, for example Documents.
How it works
Each entry belongs to exactly one parent record and has these fields:
| Field | Notes |
|---|---|
| Name | Required. |
| Category | Required. Nothing is chosen for you, so pick one deliberately. |
| Content | Optional rich text. Links live here: use the editor's link control. |
| Parent | The record the entry is attached to. |
| Creator | Filled in for you and not editable. |
Default categories are Meeting note, Reference, Decision, Process and Other. Admins can change the list. Your admin may also add custom fields.
A link to another website is just a link in Content. Clicking it shows a confirmation before you leave Gembaa.
Files cannot be attached to entries yet.
See Knowledge on a record
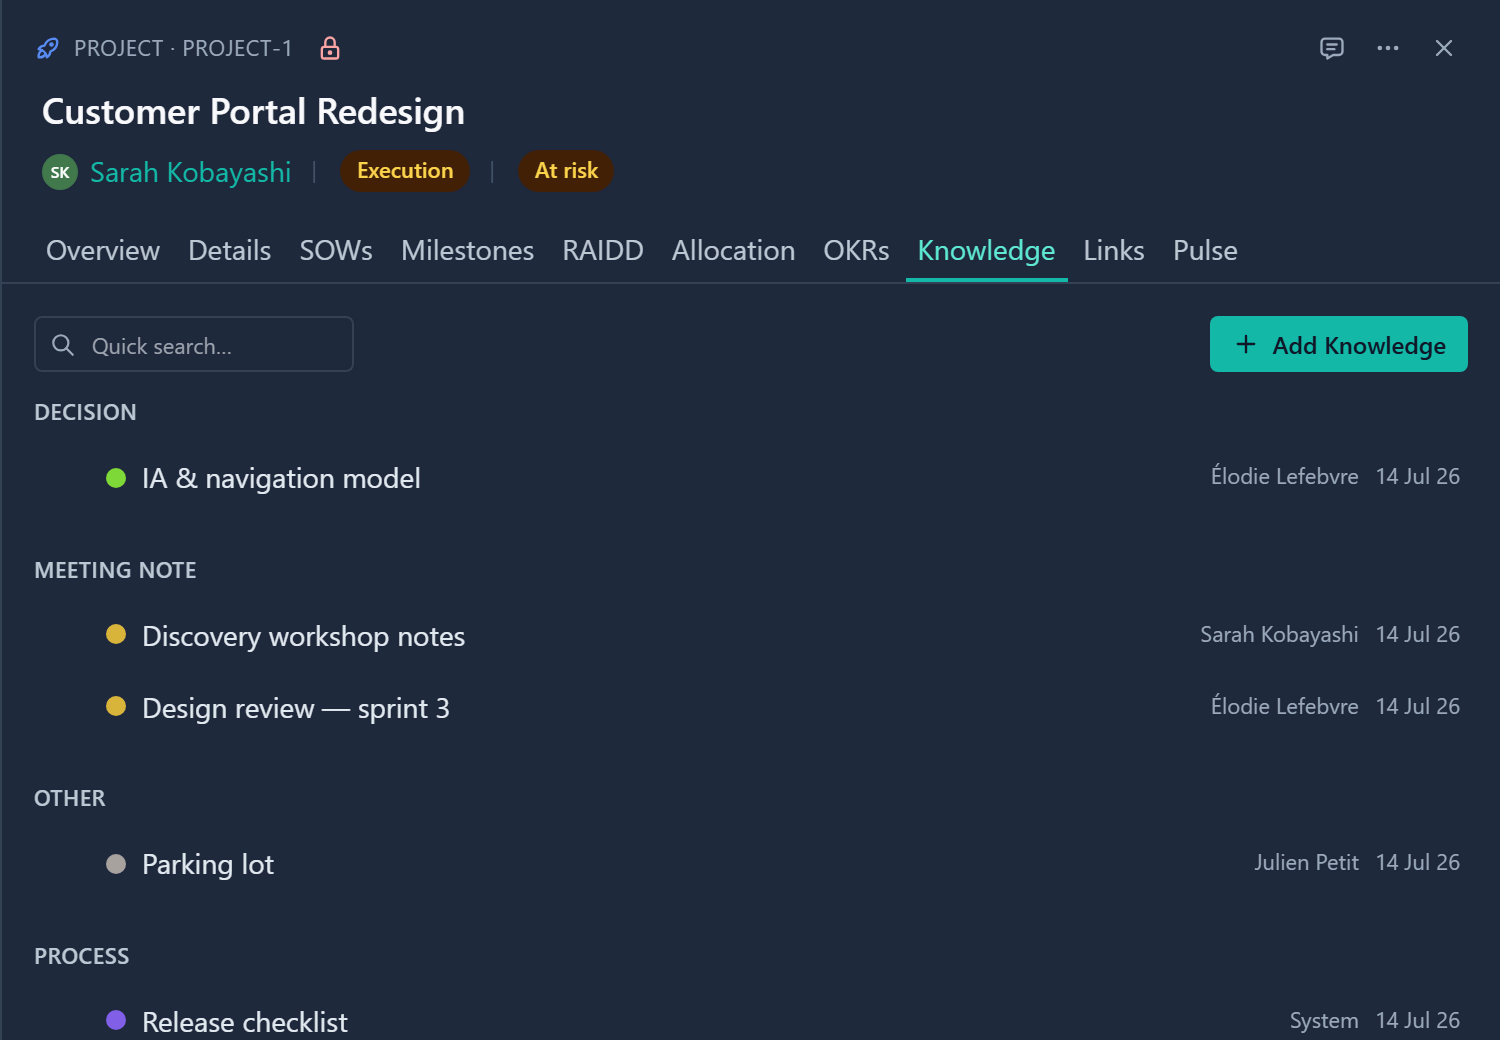
Open any record and click its Knowledge tab. Entries are grouped by category, with the groups in alphabetical order. Each row shows a colour dot for the category, the entry name, its creator and the date.
Use Quick search at the top to search names, categories and the text inside Content. When an entry matches only in its Content, a short excerpt shows under the name with the match highlighted.
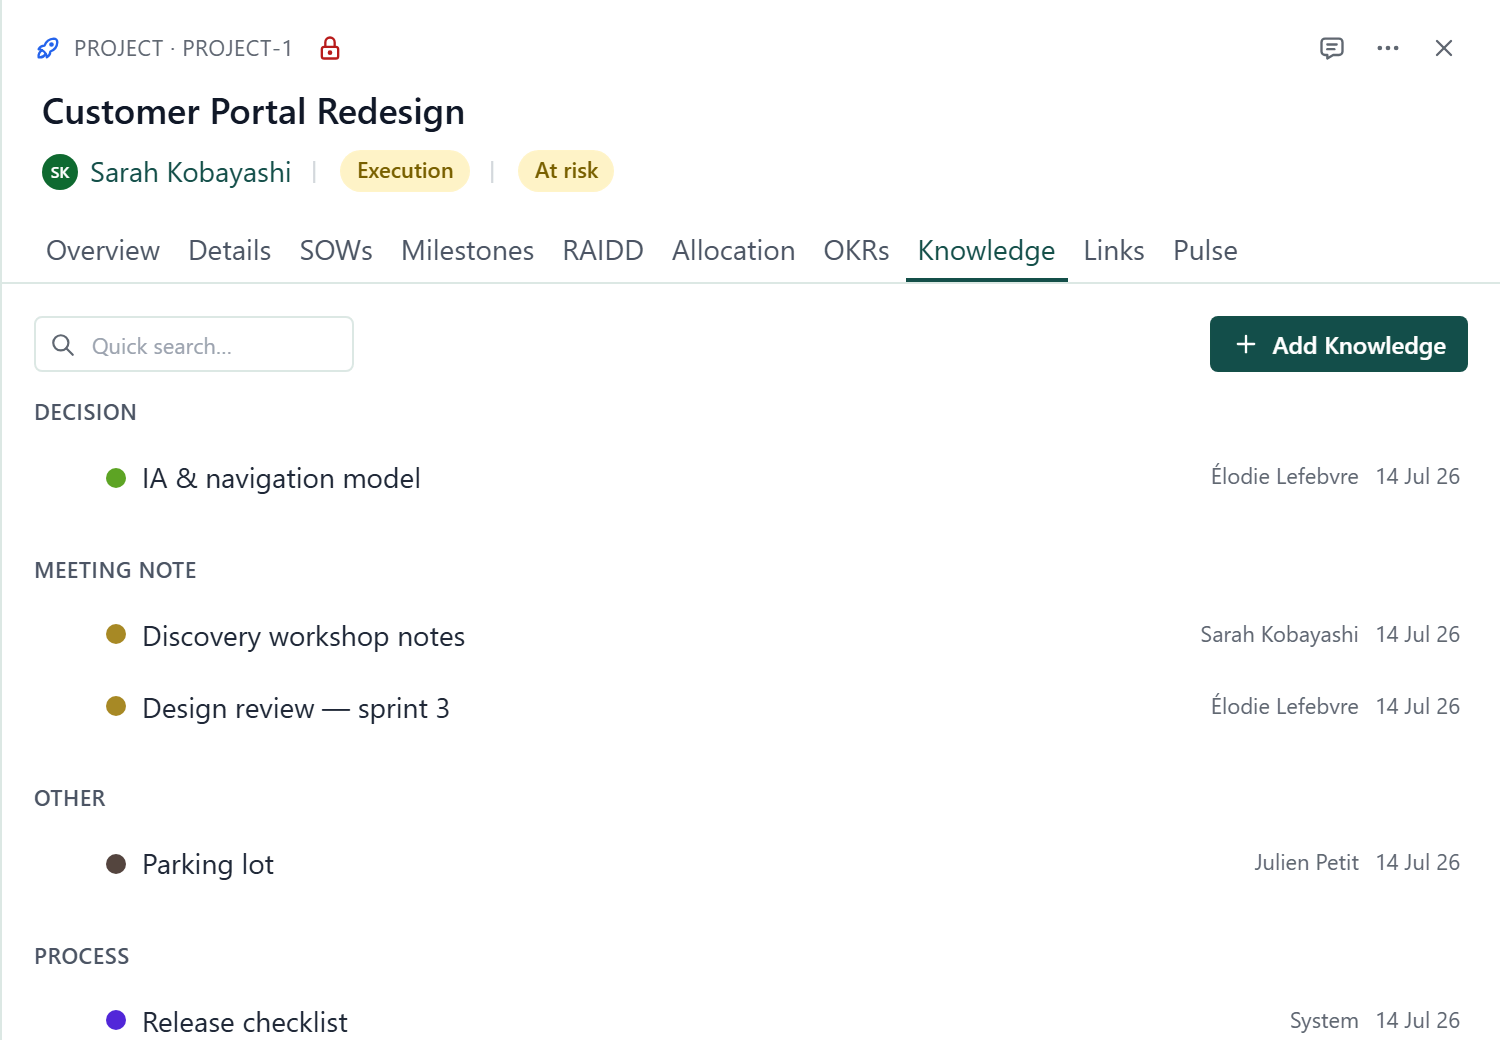
Click an entry's name to open it in a side panel. Every field can be edited there and saves when you leave the field. Click the Parent chip to open the parent record.
Add an entry
- Open the record and go to its Knowledge tab.
- Click Add Knowledge. (The button uses your workspace's name for Knowledge.)
- Enter a Name.
- Choose a Category.
- Optional: Add Content.
- Optional: Fill in any custom fields.
- Click Add. The entry appears under its category.
The parent is filled in and locked to the record you are on.
An admin can keep Content and custom fields out of the first view of the dialog. In that case, steps 5 and 6 sit behind Show all fields (N more). Click it, and the fields appear below a More fields divider, Content first, then the custom fields. Name, Parent and Category are always shown.
The dialog starts with the extra fields hidden every time. What you type in them is kept, and a custom choice field's default still applies. If a hidden field has an error when you click Add, the dialog opens More fields and moves the cursor there. The Edit knowledge entry dialog shows every field. See Show all fields in the Add dialog.
Edit, duplicate or delete an entry
Hover a row and click its Knowledge actions button.
- Edit opens the Edit knowledge entry dialog, filled in. You can move the entry by changing its Parent, but only to another record of the same type. The dialog says "Locked to" the type when you try otherwise.
- Duplicate makes a copy straight away, named "Duplicate of" followed by the original name. You become its Creator.
- Delete asks you to confirm and removes the entry permanently.
An entry is also deleted when:
- Its parent record is deleted, including a child record deleted along with it. The parent's delete confirmation counts these entries under Knowledge.
- A date field is removed, for the entries on that field's milestones.
- An admin deletes its Staff record from Administration → Members.
Use the page
Click Knowledge in the left menu to see every entry from every record in one table. Columns are Name, Category, Parent, Creator and Updated, and you can add Content from Customise. Click a row to open the entry. Click a Parent to open that record.
The page works like any table: saved tabs, search, Filter, sort, Customise and download. See Customise your table view, Filter, sort and group and Export data.
To add an entry from here, click Add Knowledge. Because you are not on a record, you also choose the parent: pick the type of record first, then the record itself.
Manage categories (admins)
- Open Administration → Entity & fields.
- Open the Knowledge entity.
- Open the Category field and edit its options as you would for any select field. See Entities and custom fields.
Removing a category does not delete any entries. To rename Knowledge itself, see Terminology.
Good to know
- Every entry must have a parent. When importing from CSV, set the parent in the form
Project:P-1001, meaning the record type, a colon and the record's key. See Import from CSV. - Entries created before Category became required may appear under Uncategorised.
- The Knowledge tab appears on most built-in record types (not on SOWs), at every panel level.
- An admin can switch Knowledge off for one type of record on Administration → Features. That record type loses its Knowledge tab, and the Parent picker no longer offers it. Entries return when the switch is on again. See Turn features on or off.
- Knowledge entries have a Comments icon in their record panel. See Comment on a record.
- Entries restricted to certain roles show as Restricted entry to people who cannot read them. Who can read, add and change entries is set in Access control.