
- Who is this for
- Admins, and members whose role has access to Automations
- Permissions
- Admins can do everything. Members need the Automations permission on the record types a rule names.
An automation is a rule that does something for you when something happens. It starts with a trigger (when), can check conditions (only if) and then runs actions (then). For example: when a record is updated, and its status is Done, add a comment.
Why use it
Some changes are the same every time: set a field, add a comment, create a child record. An automation makes that change for you, on every record that matches, so nobody has to remember it.
Example: A PMO admin wants every new Risk to start with a standard comment asking for an owner. They open Automations in the left menu, click Create automation and choose the trigger Risk created. They add the action Add a comment with the wording they want, click Review and then Create automation. From then on, each new Risk gets that comment.
Turn on Automations
Only admins can turn the feature on.
- Open Administration → Features.
- Find Automations and turn it on. A dialog titled Turn on a Beta feature? asks you to confirm.
- Click Turn on. The switch stays staged until you save.
- Click Save.
Two things then appear:
- A fixed Automations row with a Beta tag at the bottom of the left menu. It sits below the menu you arrange yourself and cannot be moved. See Arrange the left menu.
- Administration → Automations, straight after Features.
Under Automations the Features page shows a second switch, Automation branches. It is also Beta and also starts off, even when Automations is on. It does one thing: it shows Add branch in the editor (see Act on related records with a branch). Rules that already contain branches keep running when it is off.
If you turn Automations off, the menu rows, the Automations button on lists and the record icon disappear and no rule runs. Nothing is deleted. Runs that were waiting resume when you turn it back on.
How it works
Each automation has three parts.
| Part | What it does |
|---|---|
| Trigger | The event that starts the rule. Every automation has one. |
| Conditions | Optional checks. Every condition must match: there is no "or". With no condition, the rule runs on every record its trigger fires on. |
| Actions | What Gembaa does. They run in order, and each shows its place as Runs as step with a number. |
A rule runs as the person who created it, with that person's access. A rule can therefore never do more than its creator could do by hand.
Triggers
| Group | Triggers |
|---|---|
| By hand | Run by hand |
| Date and time | Once, on a date and time, Recurring, Days before or after a date field |
| Record events | Record created, Record updated, Record deleted. When you pick one record type, the trigger reads with its name, for example Risk created. |
| Allocation | Allocation added, Allocation changed, Allocation transferred, Allocation removed, Allocation starts, Allocation ends, Days before or after an allocation starts or ends |
| Pulse | Pulse becomes due, Pulse becomes overdue, Pulse check-in added, Pulse check-in edited, Pulse check-in deleted |
| Finance (Staff only) | Finance entry added, Finance entry edited, Finance entry deleted, Finance entry ends in N days (no replacement) |
Allocation, Pulse and Finance triggers appear only when those modules are on.
Run by hand never starts by itself. It runs only when someone chooses Run automation on the Automations list. It is not offered from a record or from a list's Automations button.
For a record event, the Affects picker chooses which record types the rule watches. A Record updated rule can also be limited with Only when these fields change. Leave it empty to run on every update.
A recurring schedule runs at most every 5 minutes. Schedules use the time zone an admin sets on Administration → Automations.
Actions
| Action | What it does |
|---|---|
| Set a field on this record | Sets a field, or clears it. |
| Create a child record | Adds a child record under this one. |
| Add a record | Adds a record of a type you choose. |
| Delete this record | Deletes the record and its child records. It must be the last action. |
| Add a comment | Posts a plain-text comment of up to 10,000 characters, as the creator. |
| Add an allocation, Edit an allocation, Remove an allocation | Changes allocations. Needs Allocation on. |
| Add a pulse check-in | Adds a check-in with a status and a trend. Needs Pulse on. |
Add a comment needs Comments on. Actions that Gembaa knows would always fail, for example because the creator cannot create that record type, are greyed with the reason, and saving the rule refuses them.
Find your automations
There are four places to look.
- Automations in the left menu opens the full list. Admins always see the row. Members see it when their role gives them access to Automations on at least one record type.
- Administration → Automations opens the same list, plus a Time zone card where an admin picks the zone that schedules run in. A change to the zone saves at once.
- The Automations button in a list's toolbar, next to Filter, shows the rules for that record type with their last result. It also offers Create automation, Manage automations and Audit log.
- The lightning icon in a record's header, labelled Automations or Automations with a count, lists the rules that may affect that record.
The list has the usual saved tabs, a fixed Audit log tab and a Create automation button. Its columns are Name, Entity, Trigger, Enabled, Owner, Last triggered, Last run status, Scope, Description and Last updated.


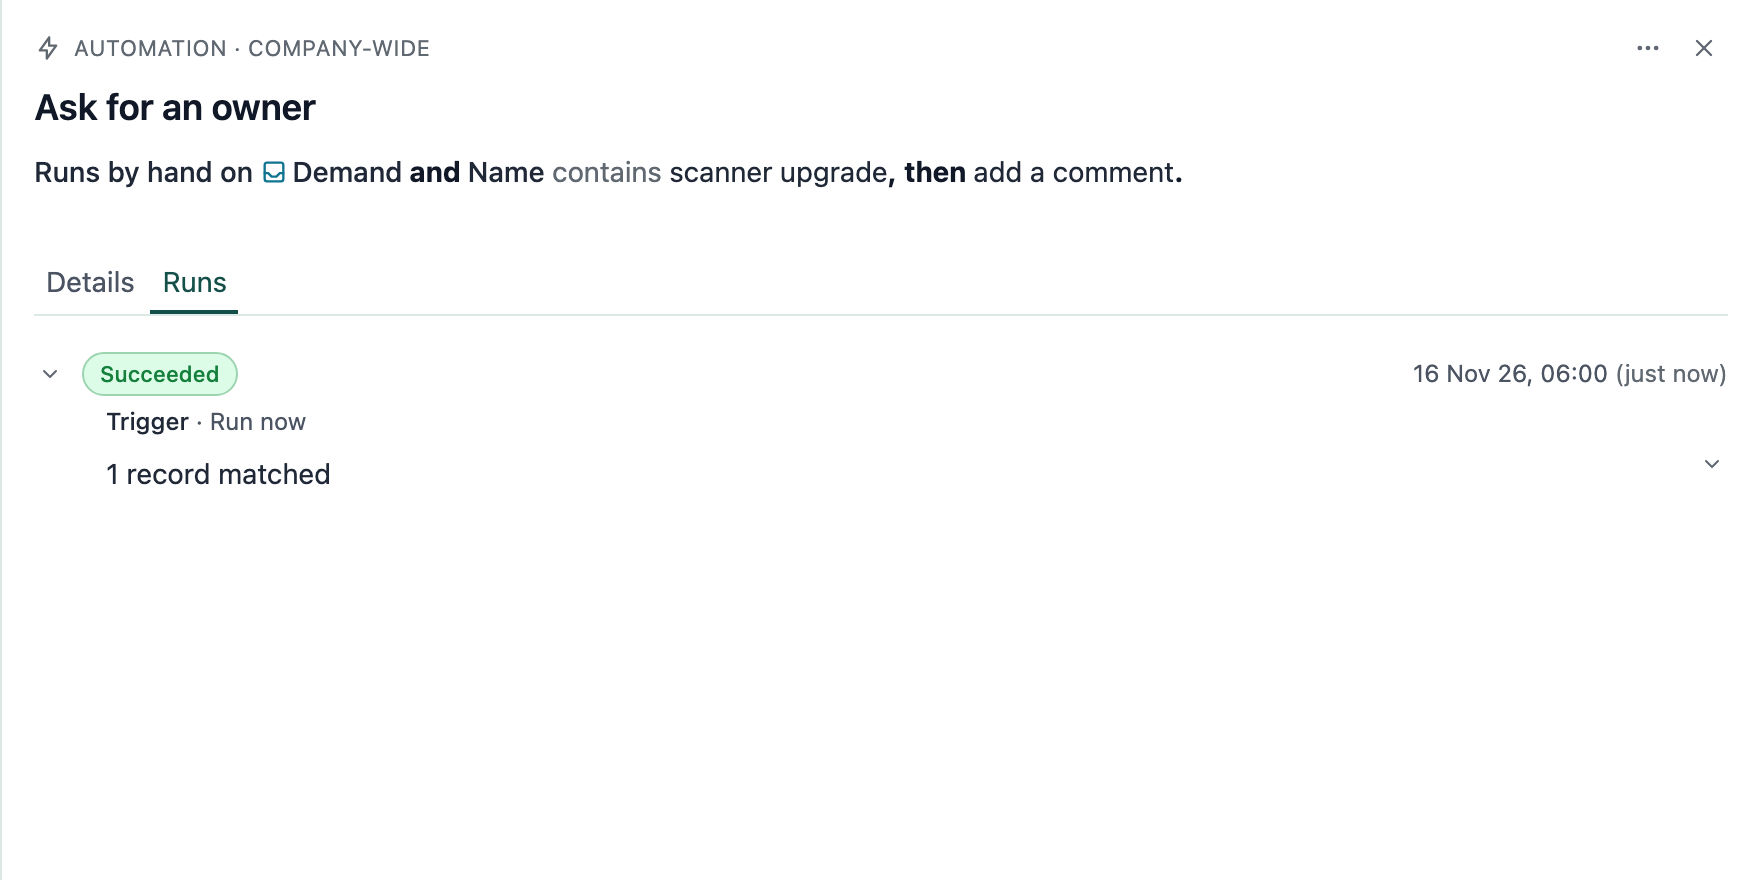
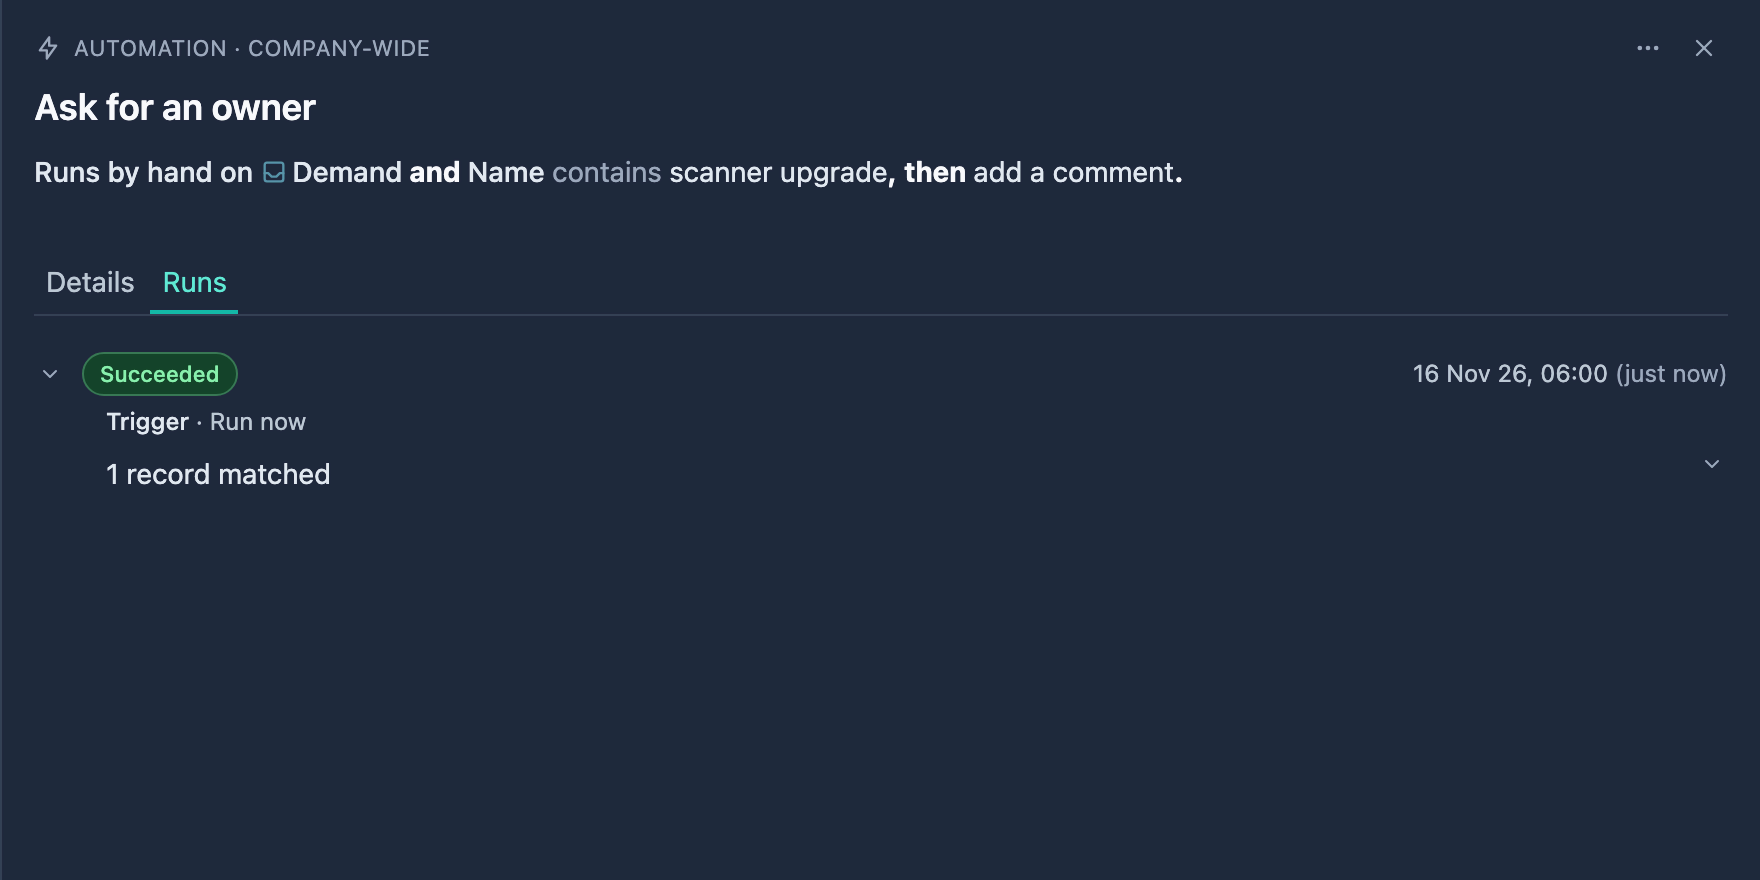
Select a rule to open its side panel. It shows the rule as one sentence, such as "When any Risk is created, then add a comment", over two tabs: Details and Runs.
Scope tells you who owns the rule. Company-wide rules are made by an admin. Personal rules are made by a member, and only that member and admins can see them.
Create an automation
- Open Automations in the left menu and click Create automation. The trigger list opens beside the canvas.
- Optional: enter a Name and a Description. If you leave them blank, Gembaa writes them.
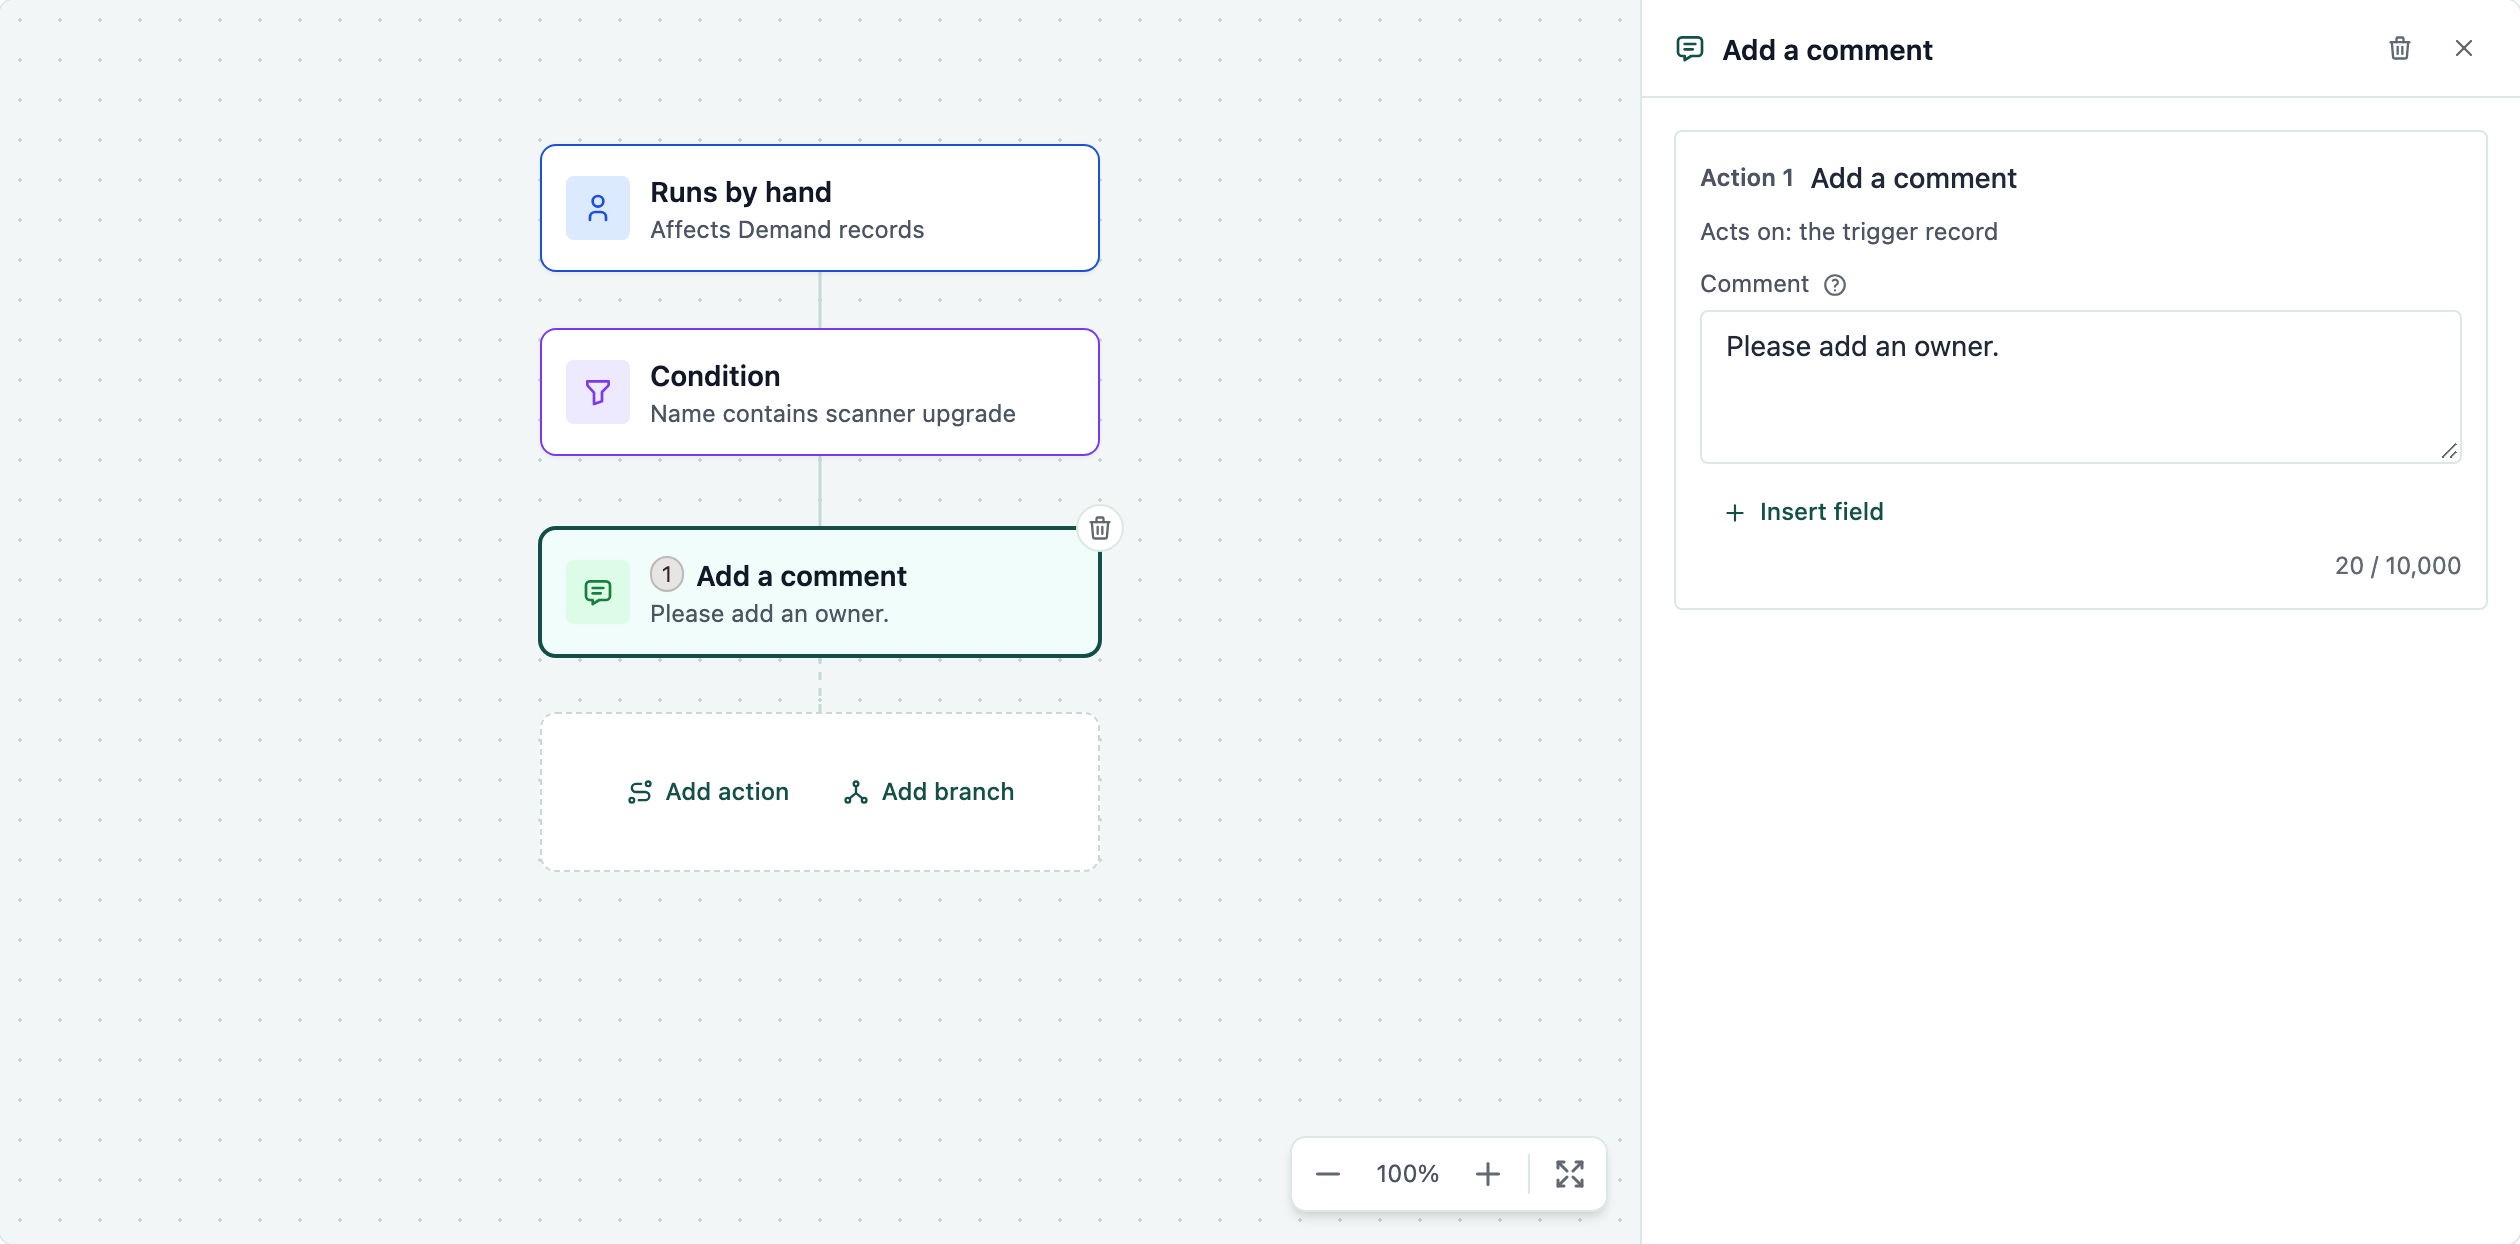
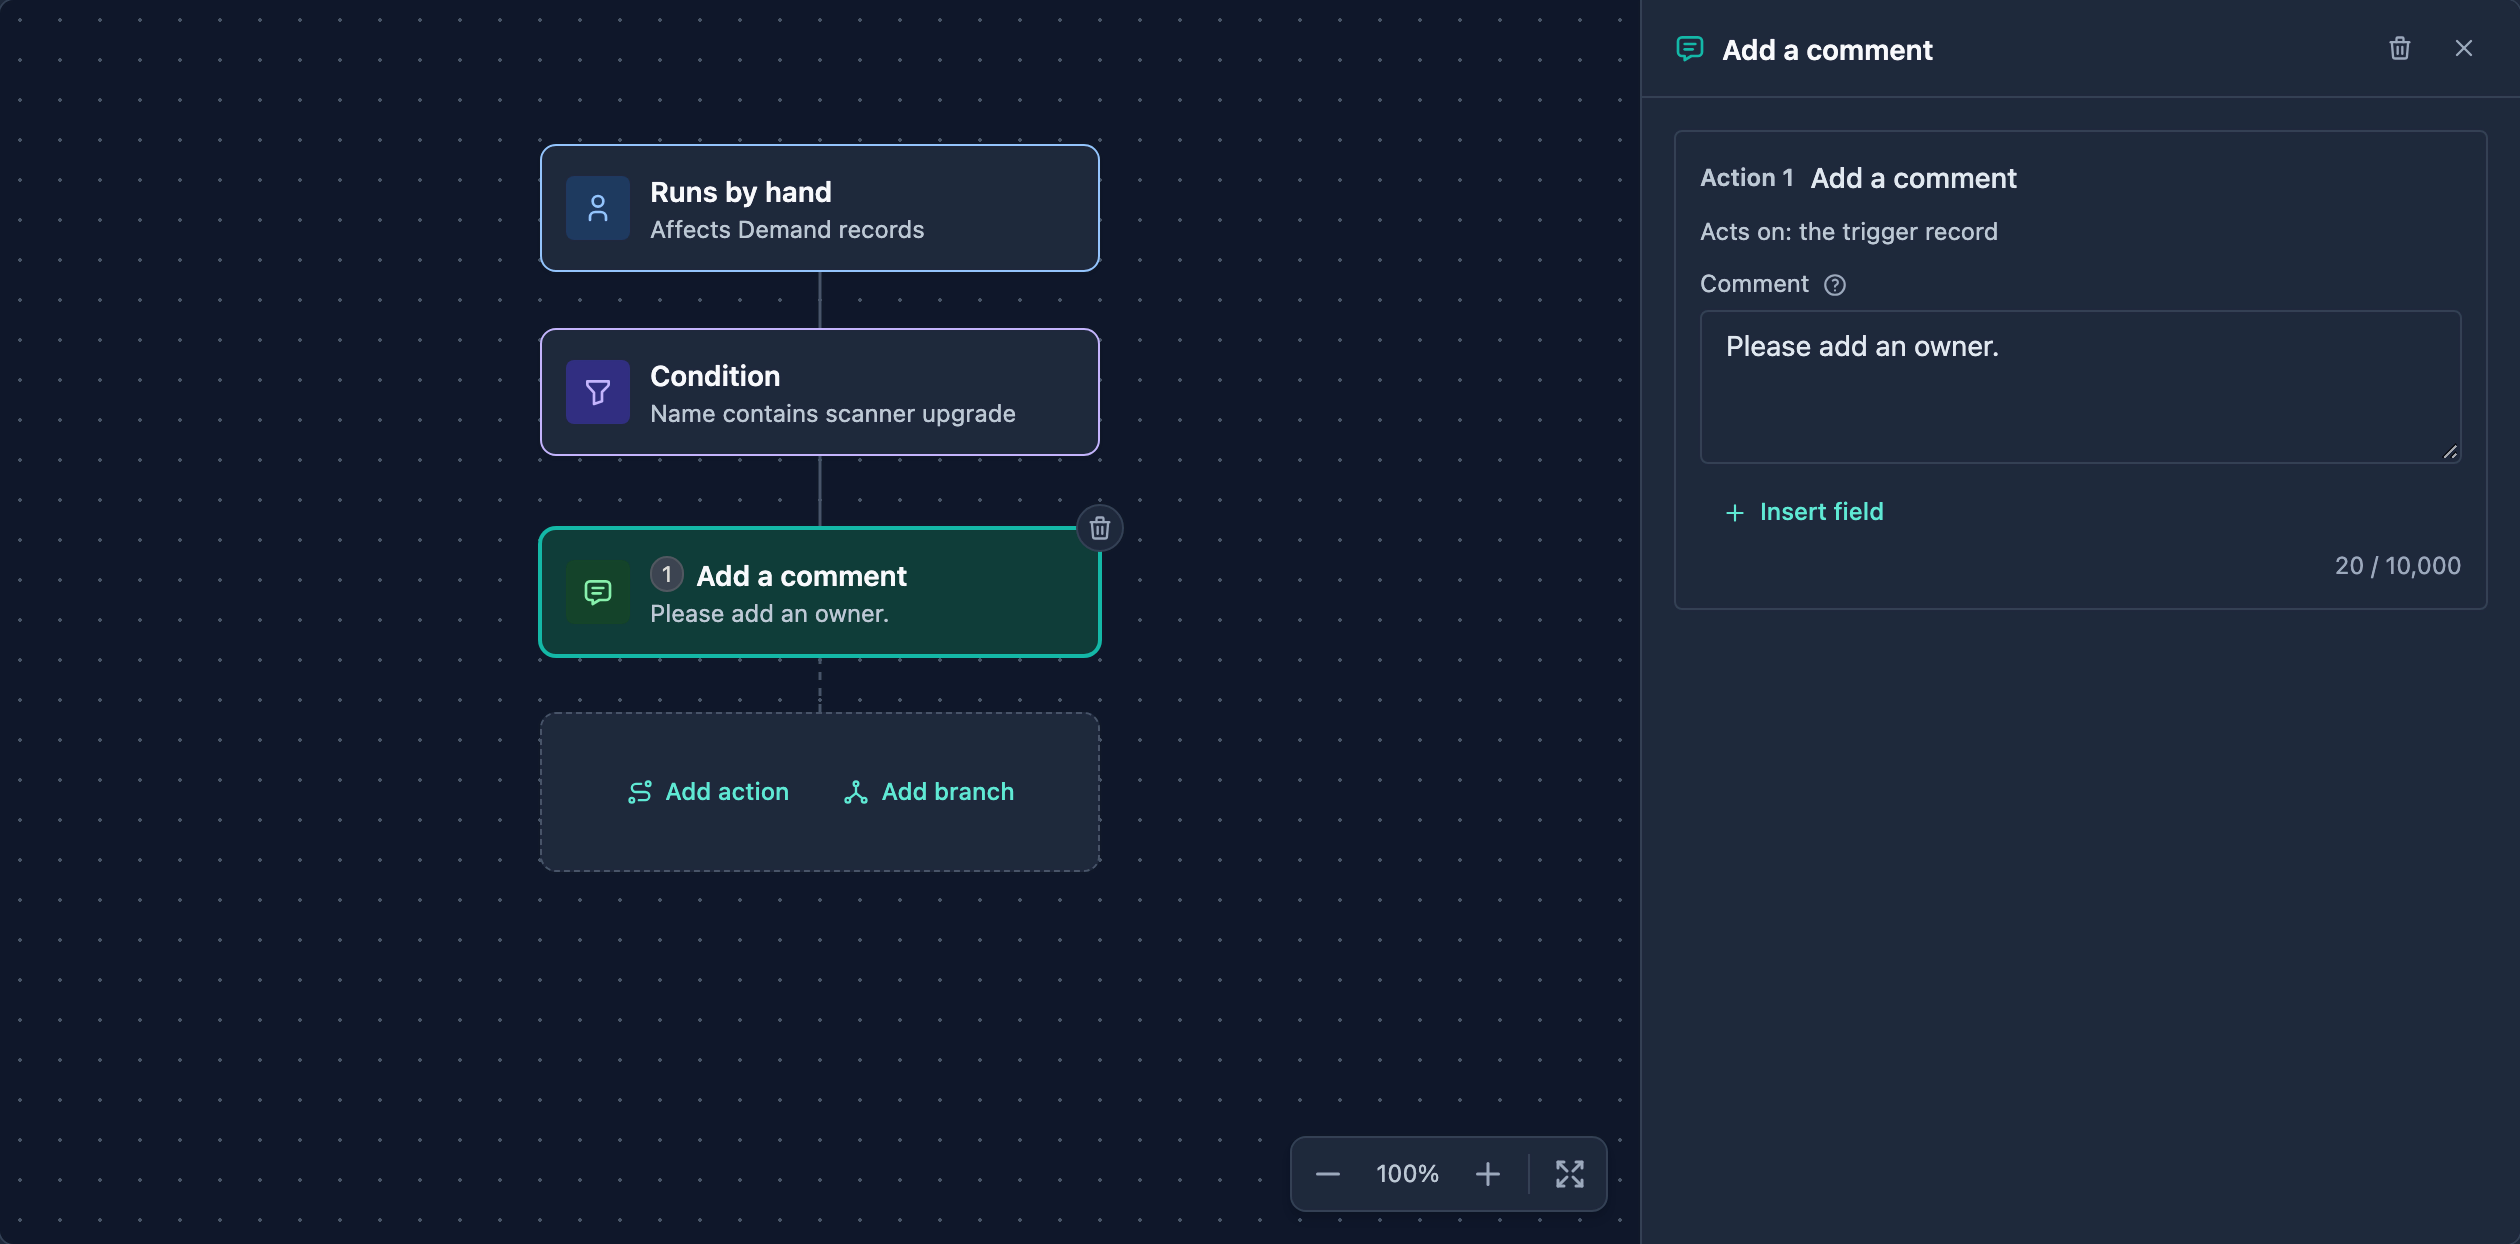
- Choose a trigger. Use Search triggers to narrow the list. A record trigger such as Risk created sets the record type for you. For Run by hand and the date triggers, choose the record types under Affects. The canvas shows the trigger as its first step.
- Optional: in the Next step bar under the selected step, click Add condition, pick a field and set its test, such as Name contains a word.
- In the Next step bar, click Add action, choose an action and fill it in. Each action shows its place in the run order.
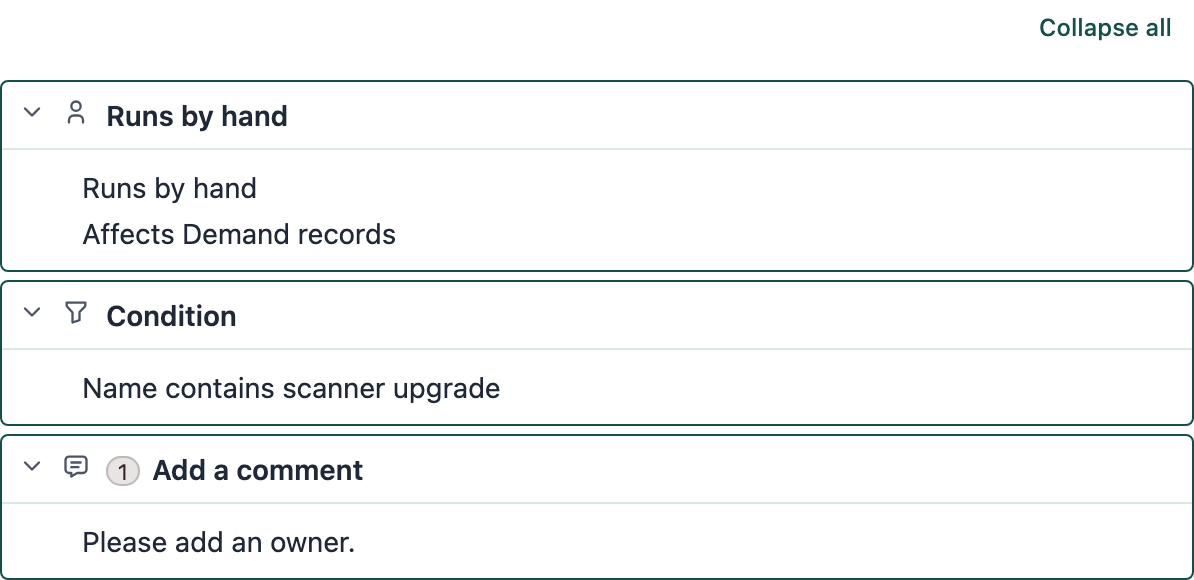
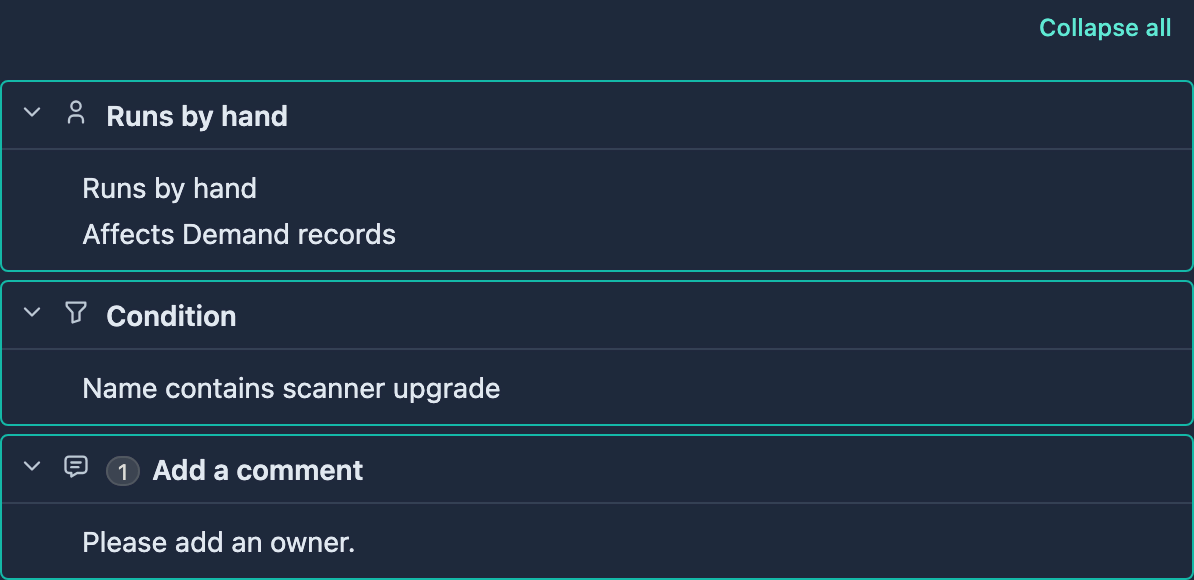
- Click Review to read every step in order. Click Back to edit to change something.
- Click Create automation. A toast confirms Created the automation with the name, and the rule appears in the list, turned on.
To change a rule later, choose Edit in its ⋯ menu. The editor then ends with Save automation.
If something is missing, the editor lists what to fix and marks the step Needs a fix. A name must be 1 to 200 characters, a rule needs at least one valid action, and an action after Delete this record is refused.
Work on the canvas
The editor shows the rule as a chart that reads from the top down: trigger, conditions, then actions. Click a step to select it and edit it in the side panel.
- Add condition, Add action and Add branch appear in the Next step bar under the selected step. Only the choices that fit that step are offered.
- Use Zoom in, Zoom out and Fit to screen to move around a large rule. Drag the background to pan.
- Undo and Redo reverse and restore your edits.
- Each step has a delete button. A deleted step can be brought back with Undo.
Review lists every step in one expandable row, with its run order, a summary and any issue. Use Expand all and Collapse all to open or close the rows. Warnings appear here too, for example when a schedule deletes every matching record each time it runs.
The editor has these keyboard shortcuts.
| Keys | Effect |
|---|---|
| Ctrl + Z (⌘ + Z on a Mac) | Undo |
| Ctrl + Shift + Z (⌘ + Shift + Z on a Mac) | Redo |
| + or =, -, 0 | With the canvas selected: zoom in, zoom out, fit to screen |
| Ctrl + mouse wheel, or pinch | Zoom at the pointer |
| Delete or Backspace | With a step selected on the canvas: delete that step |
| Esc | Close the side panel. Press it again to close the dialog. |
Inside a text box, Ctrl + Z undoes your typing, not the canvas.
Act on related records with a branch
If your admin has turned on Automation branches, you can click Add branch to make a rule act on records around the trigger record: the parent, the children, every child, the siblings, or linked records such as Risks linked to this record. A branch holds its own conditions and actions. A branch condition decides whether the whole run happens.
With Automation branches off, Add branch is hidden, but conditions on related records and the child and sibling versions of Set a field still work. Ancestors can be used in conditions only: no action runs on ancestors yet.
Run, turn off, edit or delete an automation
Open the ⋯ menu on a rule's row in the Automations list.
- Edit opens the editor. It reads Open if you can only read the rule.
- Run automation runs the rule once, now, on every record that matches its conditions. The trigger is not checked. The dialog first counts the matching records. If an action deletes records, it says so. Click Run automation to start. The result appears in the rule's activity log.
- Turn on or Turn off switches the rule. A rule that is off never runs, and runs it missed are not made up later.
- Activity log shows the rule's history.
- Delete automation stops the rule for good. Its activity log stays.
Run automation is greyed when it does not apply, and says why: for example when the rule is off, or when its trigger is a deleted record or a staff access change.
If a rule turned itself off because its creator was deactivated, blocked, erased or stopped being an admin, Turn on shows who owned it and why it is off. Turning it on makes you its owner, and the rule becomes company-wide.
Read what a rule has done
Each run ends with one result.
| Result | Meaning |
|---|---|
| Succeeded | The conditions matched and every action made its change. |
| Some errors | Some actions made their change, then one failed. The run stopped there. |
| Failed | The run failed, or every action failed. |
| No actions performed | The conditions did not match, or nothing needed to change. |
| In progress | The run is queued or running. |
On a rule's side panel, Details shows its trigger, conditions, actions, Owner, Scope and state, and a Last run block with the result, the time and the records affected. Click All runs to jump to the Runs tab.
The Runs tab lists runs newest first, 50 at a time. Click Load more for older ones. Expand a run to see its trigger, whether the conditions matched and what each action did, or why it could not. A scheduled run that matched many records shows how many, with Show the runs.
The Audit log tab, on the Automations list and from a list's Automations button, shows the runs of every rule you can see. Filter it by rule, time, action and trigger, and click What do the statuses mean? for help.
A run that changes records leaves a trail. Each change carries the chip via automation with the rule's name, and the creator is shown as the person who made it. Rule changes themselves are logged too: Automation created, Automation edited, Automation turned on, Automation turned off, Automation deleted and Automation triggered. See Activity history and the Admin activity log.
Who can see, run and edit
Access to automations is its own permission. In Administration → Access control, each record type's permissions grid has an Automations row with three levels: Hidden, Read only and Full Access. No role has access until an admin grants it. The row is disabled while the feature is off.
| Who | What they can do |
|---|---|
| Admin | Everything. Their rules are Company-wide. |
| Member with Read only | See Company-wide rules that name only record types they can read, plus their own Personal rules. They cannot change any. |
| Member with Full Access on every record type a rule names | Create Personal rules, and edit, run, turn on and off and delete only their own. |
A member never sees another member's Personal rule. A Company-wide rule can be changed only by an admin: members see "Only an Admin changes a company-wide automation. You can read it." and a Read-only badge.
Someone whose Automations level is Hidden on a record type does not see the Automations button on that list. See Access control.
Go further
- Turn the feature on: ask your admin to turn on Automations, and Automation branches for rules that act on parents, children or linked records. See Turn features on or off.
- Give people access: ask your admin to set the Automations row on a role. See Access control.
- See what automations changed: changes made by a rule are tagged in each record's history. See Activity history.
- Review rule changes: creating, editing and turning rules on or off is logged for admins. See Admin activity log.
Good to know
- A deployment holds at most 200 automations, counting Company-wide and Personal rules, on or off. At the limit, delete one before adding another.
- Day offsets in date triggers reach at most 365 days before or after the date.
- Changes made by an automation do not start other automations, and CSV imports start none.
- A run that makes no progress for 30 minutes is marked Failed.
- A schedule missed while a rule is off, or while Automations is off, runs once when it is back on. It is not repeated.
- If you delete a rule, runs that had not started are dropped. Its activity log stays.
- When an admin edits someone else's rule, the original creator stays the creator, and the rule still runs with that person's access.
- Condition operators such as "is" and "contains" are shown in English in every language.
- Times in the list are shown in the deployment's time zone, which an admin sets on Administration → Automations.