
Quick start
- Purpose
- A first session in Gembaa: sign in, create a project with a milestone and a task, save a tab and find out where to go next.
- Who is this for
- Everyone
- Prerequisites
- A Gembaa account and at least one program, or permission to create one.
- Permissions
- Creating records needs the Add permission on each module. If a button is greyed out, hover over it to see why.
This walk-through takes about ten minutes. You sign in, create a project, give it a milestone and a task, save a tab and see where to learn more. Each stage links to the full page.
Your workspace may use different names. An admin can rename Project, Task and the other modules in Terminology, and the new names appear on every button and menu. The steps are the same.
Sign in
- Open the Gembaa address your organisation gave you.
- If your organisation's sign-in page appears, enter your work account details. You return to Gembaa.
- If the first-time setup opens, choose a language and click Next.
- Choose a theme and a mode, then click Next. The photo step opens.
- Click Next again to skip the photo.
- Click Finish. The setup closes.
- Optional: to leave the setup for later, click Skip setup on any step instead.
The left menu now lists the places you can go. See Sign in and your account, First-time onboarding and Find your way around.
Create a project
Every project belongs to a program. Open Programs in the left menu and check that one exists. If none does, see Programs and create one before you continue.
- Open Projects in the left menu.
- Click Add Project. A dialog opens.
- Enter a Name and choose the Program. Both are required.
- Optional: fill in Project manager, Start date and End date.
- Click Add. The project appears in the table.
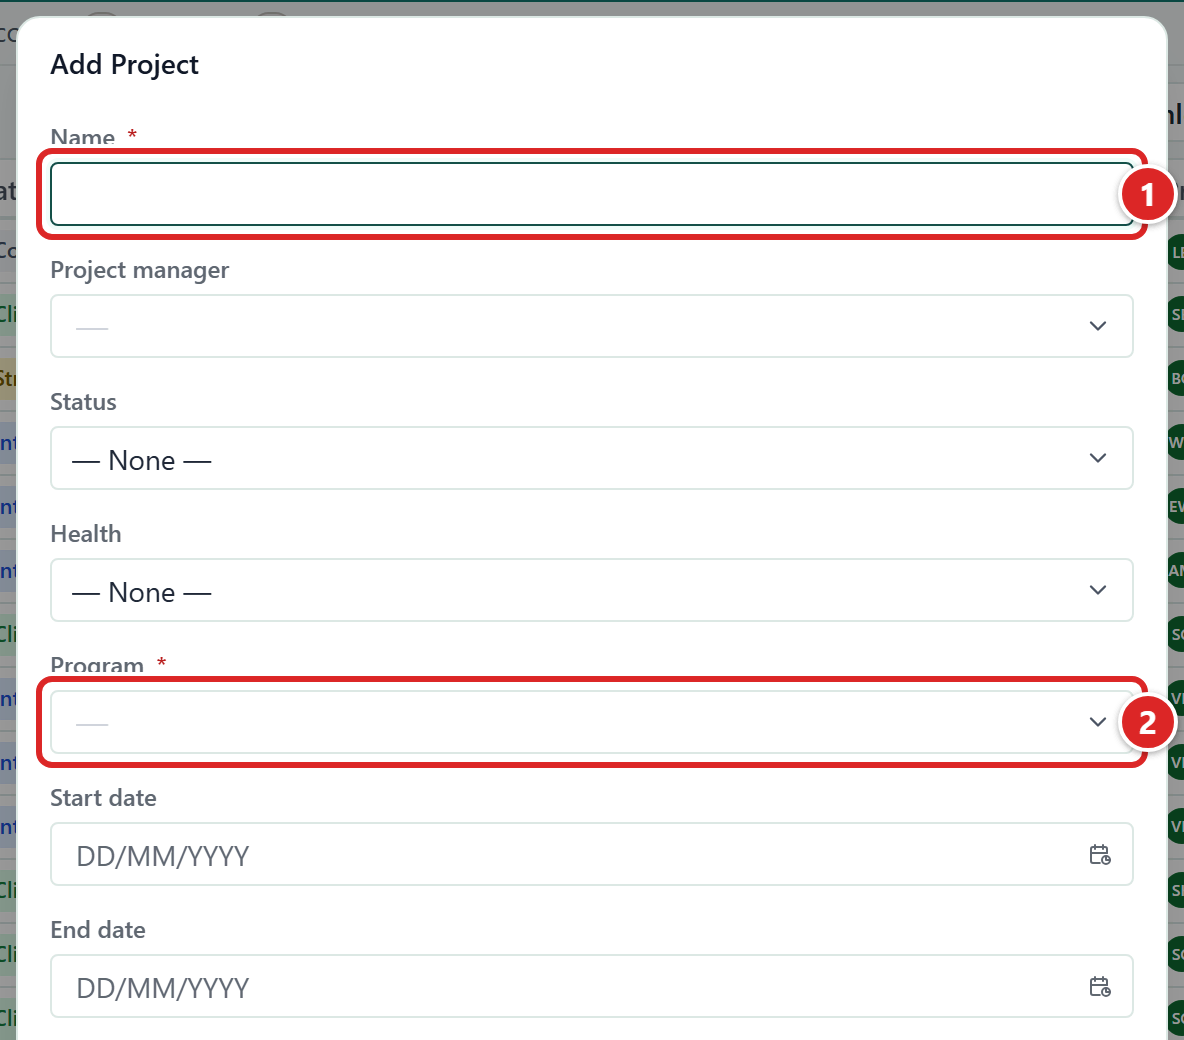
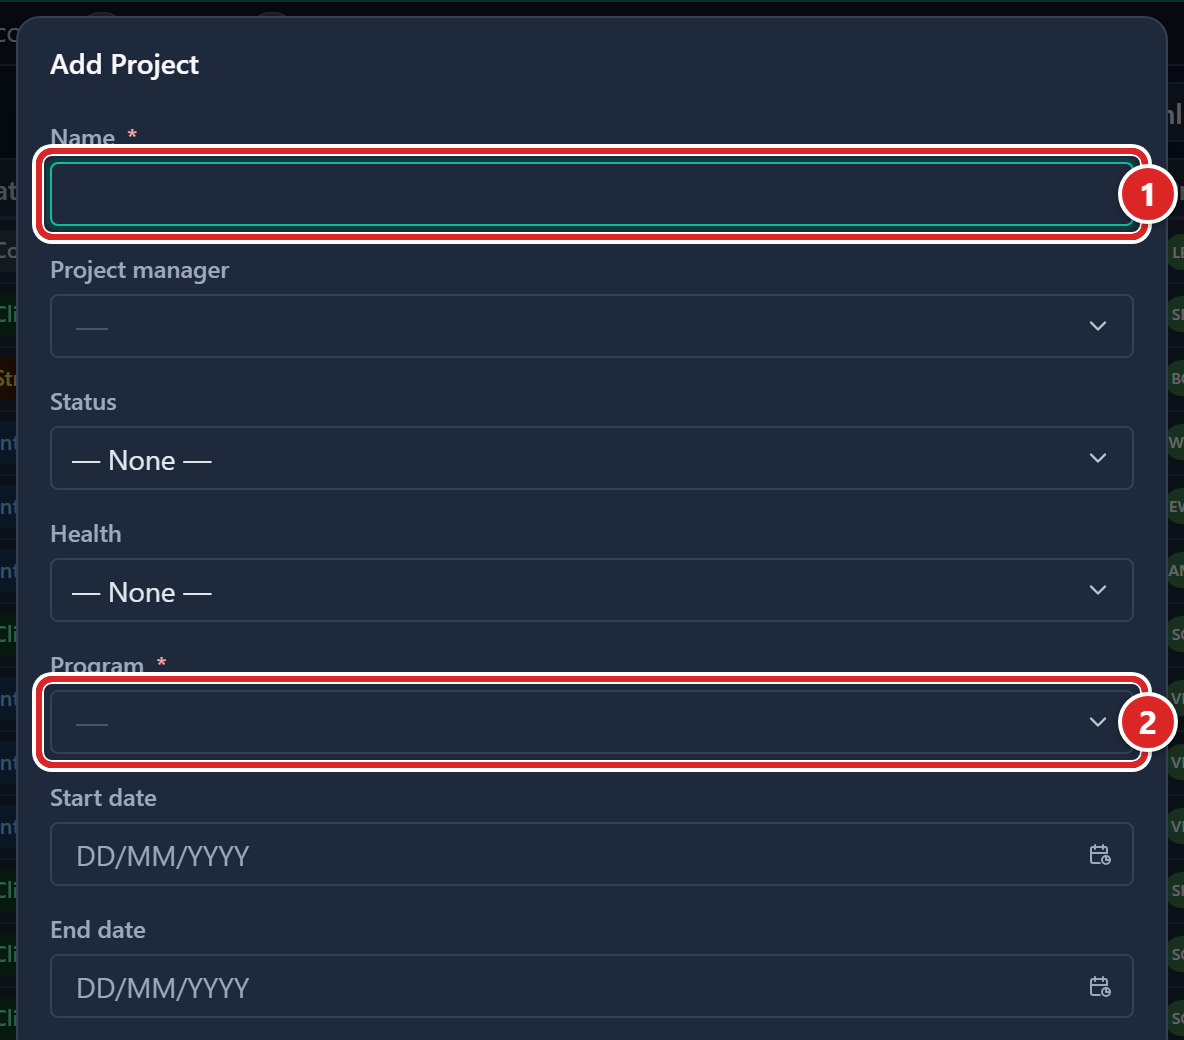
- Name, required.
- Program, required.
If Add Project is greyed out, you cannot create projects. Ask an admin. See Projects.
Add a milestone
- In the Projects table, click the project's row. Its record panel opens.
- Select the Milestones tab.
- Click Add Milestone. The Parent is filled in for you.
- Enter a Title, a Date and a Category.
- Click Add. The milestone appears in the tab, in date order.
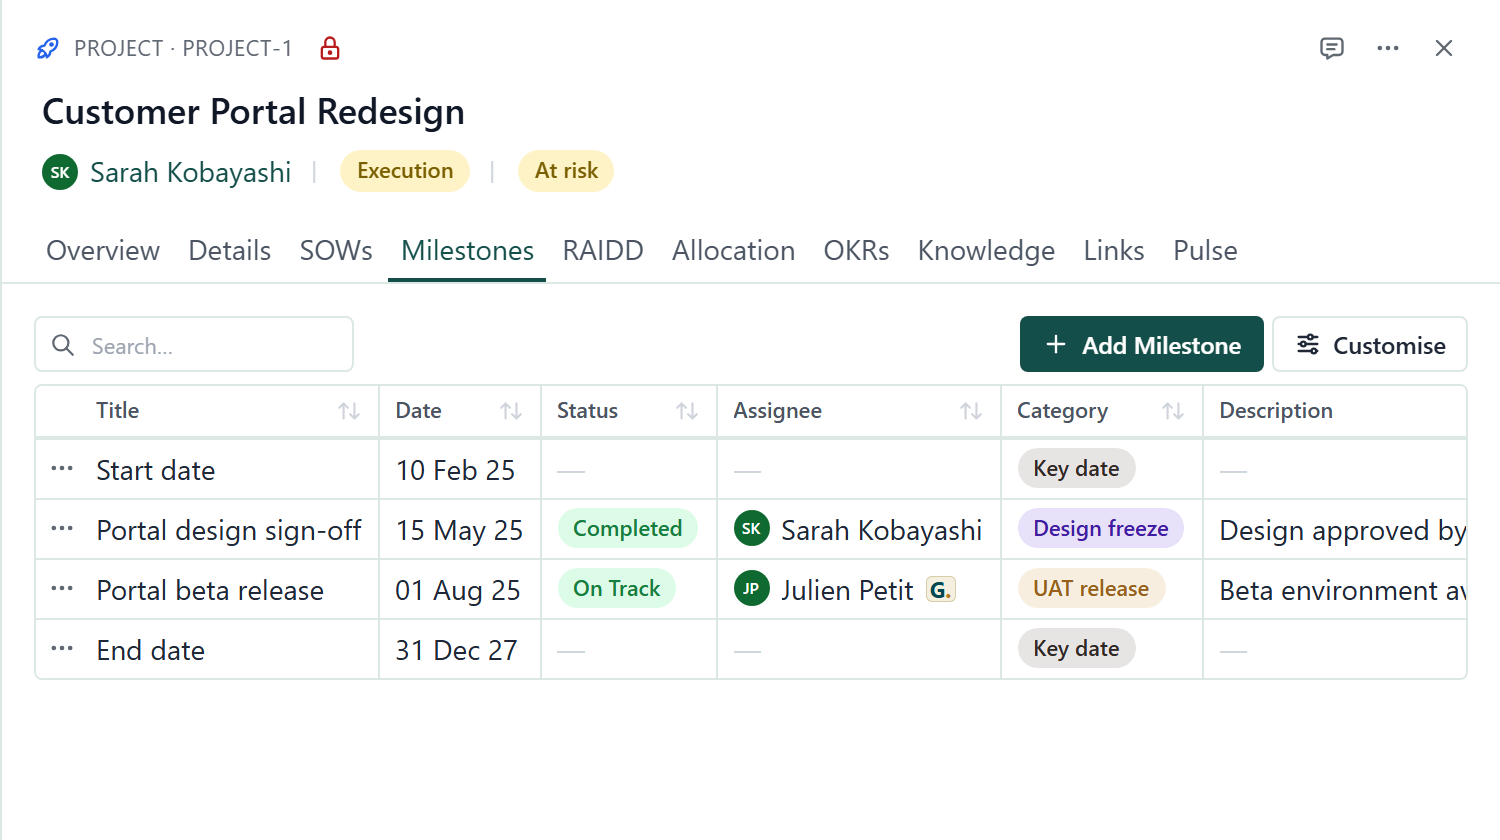
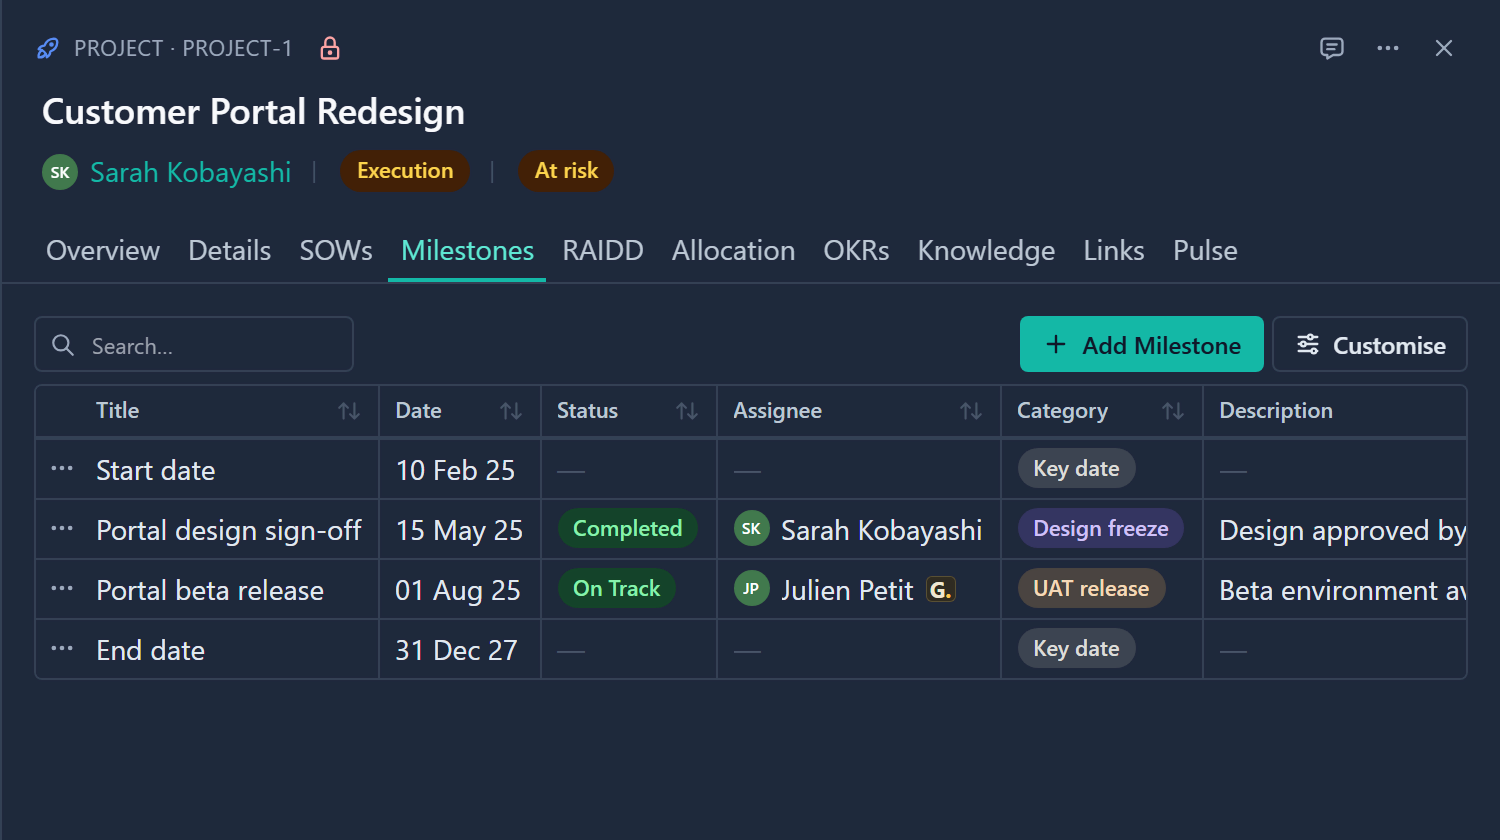
Milestones also show as diamonds on the Gantt. The Comments icon in the panel header opens a thread for the project, as described in Comment on a record. See Milestones and The record panel.
Add a task
Tasks are created on the Tasks page, and you choose the project there.
- Close the record panel.
- Open Tasks in the left menu.
- Click Add Task. A dialog opens.
- Enter a Name and choose the Project. Both are required.
- Optional: choose an Assignee and a Due date.
- Click Add. The task appears in the table.
Open the project again and select its Links tab. The task is listed under Tasks.
To change a value later, double-click it in a table or click it in the record panel, then press Enter. See Tasks and sub-tasks and Create, edit and delete records.
Save a tab
A tab is a saved layout of a table. Start your own tab, filter the Projects table, then save the filter into it.
- Close the record panel.
- Open Projects in the left menu.
- At the end of the tab row, click the plus button. The Add tab dialog opens.
- Click Start from defaults. The Add view dialog opens.
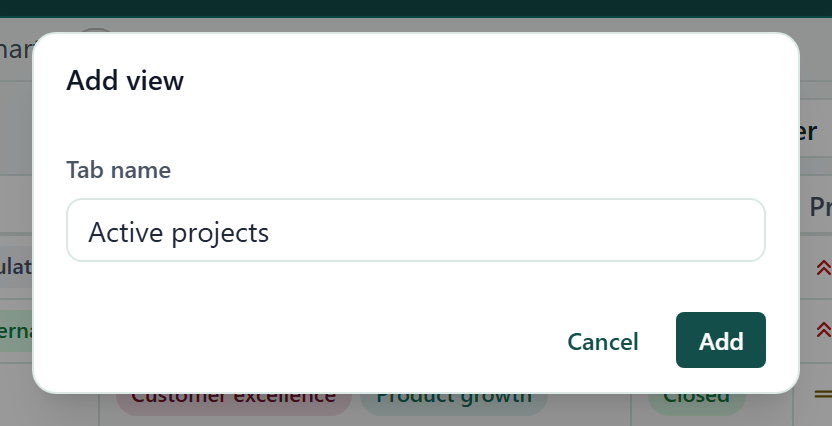
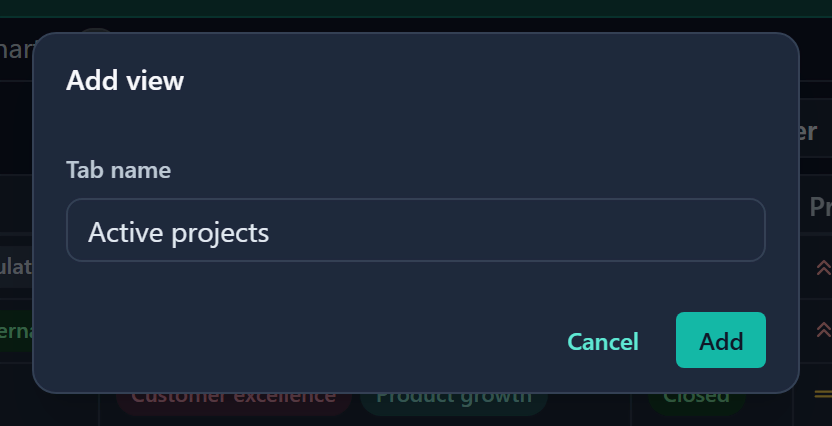
- Enter a Tab name, for example "Active projects", and click Add. The new tab opens with that name.
- Click Filter in the toolbar.
- Choose a field, an operator and a value, for example Status, is any of, then one status.
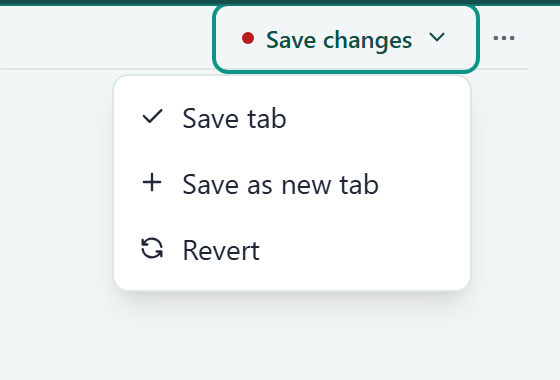
- Click Apply. The table shows only the matching rows, and Save changes appears at the right of the tab row.
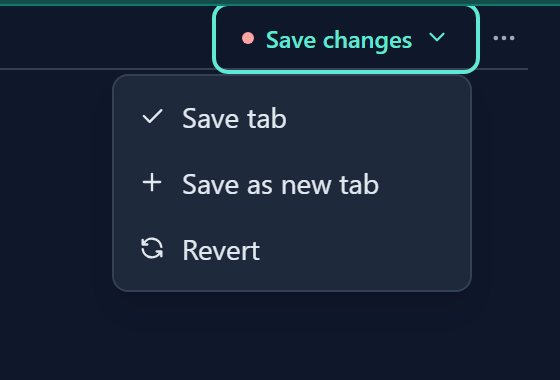
- Click Save changes. A menu opens.
- Choose Save tab. The tab keeps the filter.
The All tab never keeps filters, which is why you start a new tab instead. Your tabs belong to you, so nobody else sees them. See Filter, sort and group and Create and manage tabs.
Where to go next
| You want to | Read |
|---|---|
| Choose columns, pin them and resize them | Customise your table view |
| Send a colleague the view you are looking at | Share a link to any view |
| See the plan on a timeline | Gantt |
| Discuss a record with colleagues | Comment on a record |
| Book people onto the project | Allocation |
| Look up a word you do not know | Glossary |
| Work faster from the keyboard | Keyboard shortcuts |
| Fix a problem | Troubleshooting |
Good to know
- A change in a table or the record panel saves when you press Enter or Tab. Clicking away discards it. A tab needs an explicit Save changes.
- Hiding a menu item never removes access. If a page or record is missing, ask an admin. See Access control.