
Allocation settings
- Purpose
- Set the working calendar, scenarios, closed-project statuses, pinned columns and extra fields that every planner in the workspace shares.
- Who is this for
- Admins
- Permissions
- Admin role.
Allocation settings apply to every planner in the workspace. They decide how time is stored, which scenarios exist, which projects count as closed and what extra details you capture on each allocation. For how people book and review allocations day to day, see Allocation.
Open Administration → Entity & fields and click the Allocation tab in the tab bar (it sits between Milestone and Risk). The tab has an Import allocations button, five setting cards and a Fields section. If your workspace renames Project or Staff, the page uses your names.
How it works
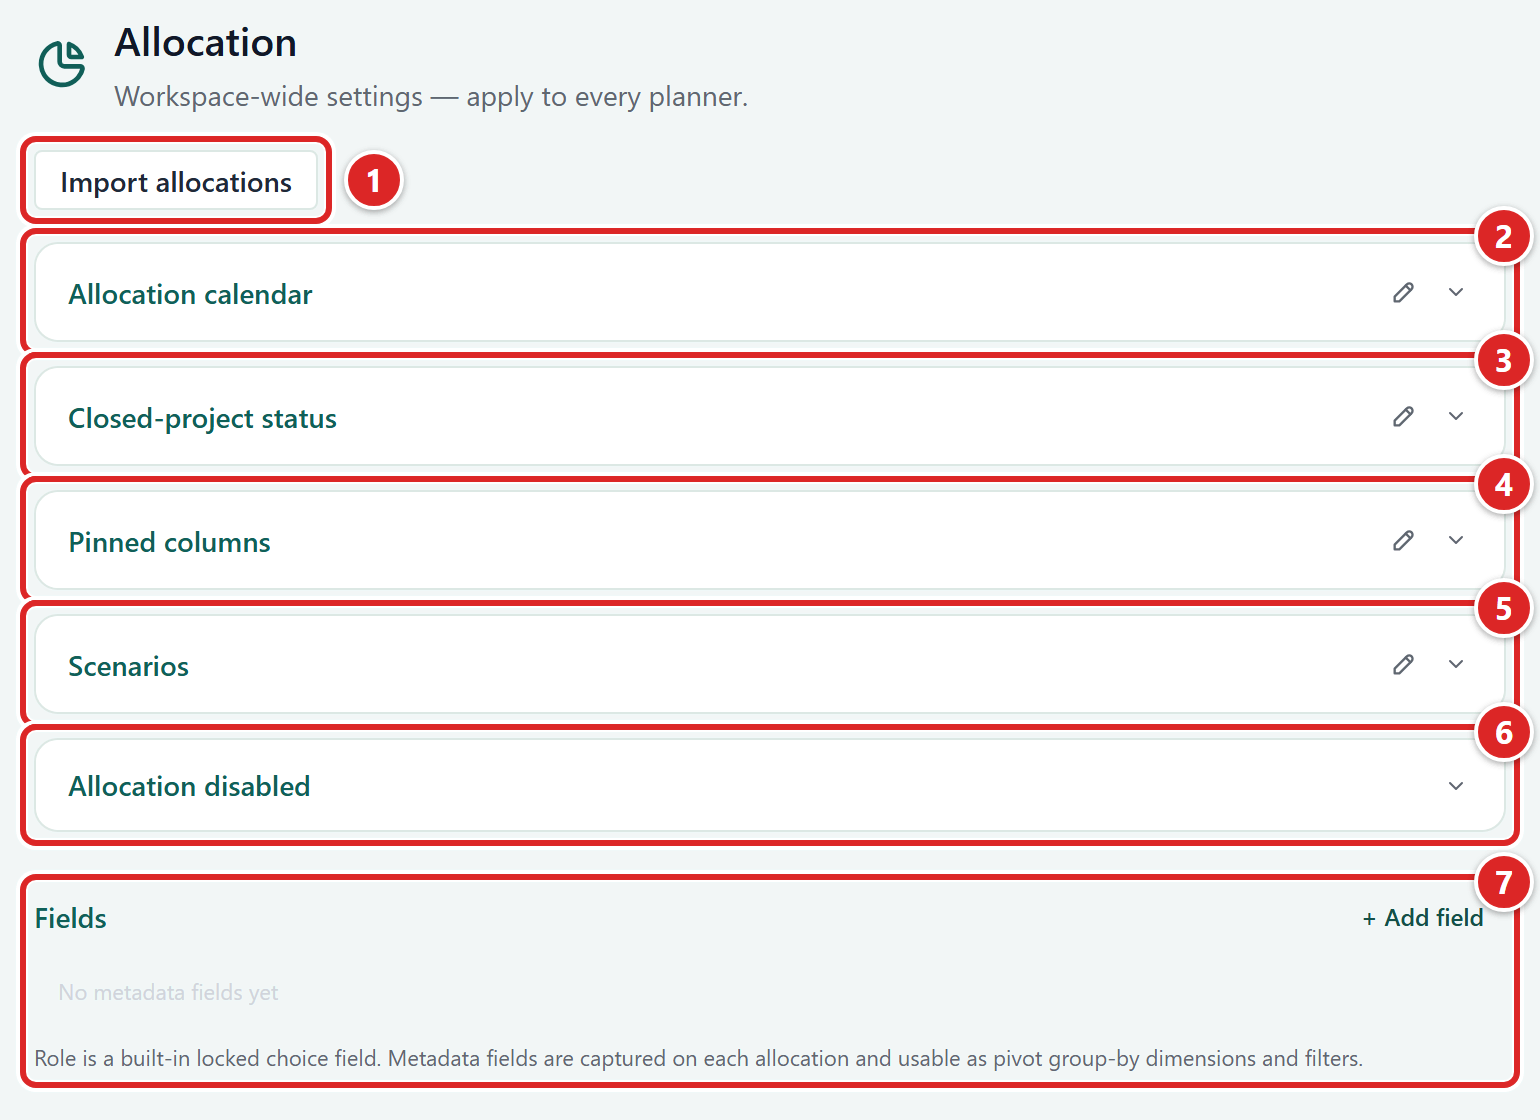
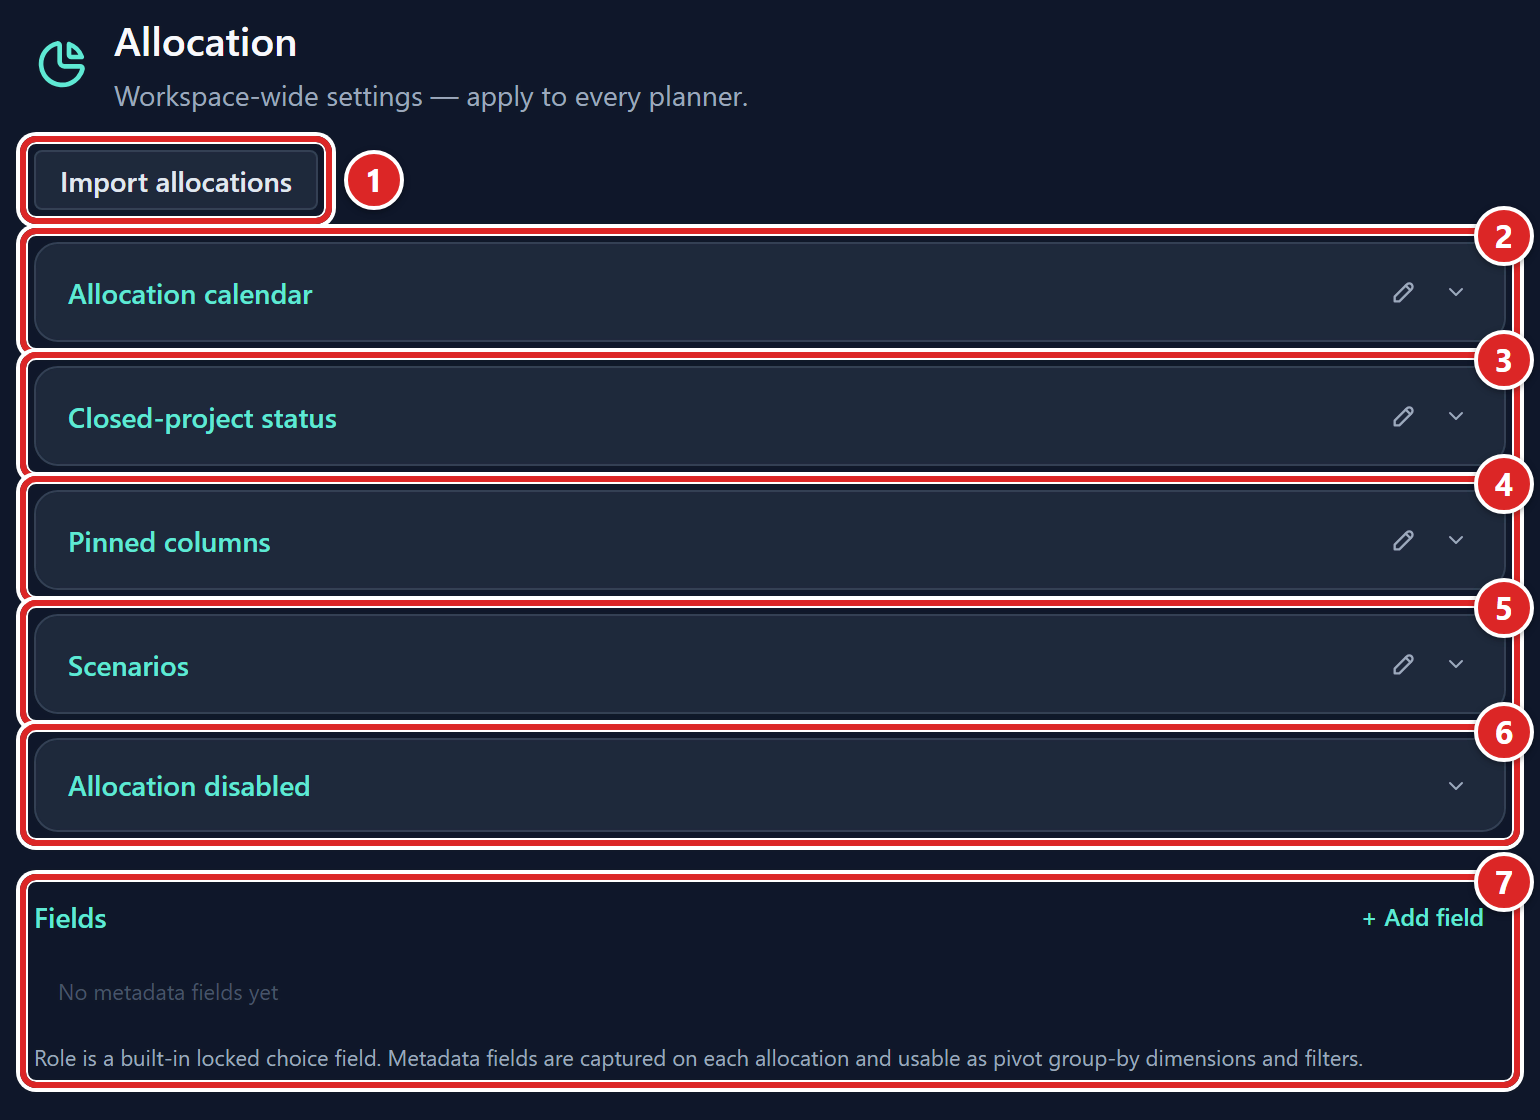
- Import allocations: a button that loads a plan from a CSV file.
- Allocation calendar
- Closed-project status
- Pinned columns
- Scenarios
- Allocation disabled
- Fields: the section for extra details on each allocation.
Each setting is a card, and it shows its current value. To change it, click the pencil (Edit) at the top right of the card and make your change. Then click Save settings, or Cancel to discard. The card says Saving… and then confirms it has saved.
Two cards work differently:
- Scenarios: changes apply as soon as you make them, and the button is Done.
- Allocation disabled: it has no pencil, because each change is its own confirmed action.
To load a resourcing plan in bulk, see Import allocations from CSV.
Set the calendar
The Allocation calendar card sets the unit that hours are stored in and the numbers used to convert between hours, days and FTE.
- On Allocation calendar, click the pencil.
- Under Capture mode, choose Daily or Weekly.
- Fill in Hours / day (H), Days / week (Dw) and Days / month (Dm). Each has a limit, given below the steps.
- In Daily mode, under Weekend, click the days your company treats as the weekend. They are marked in the daily allocation view. The default is Saturday and Sunday.
- Click Save settings.
| Field | Limit |
|---|---|
| Hours / day (H) | Above 0 and at most 24 |
| Days / week (Dw) | Above 0 and at most 7 |
| Days / month (Dm) | Above 0 and at most 31 |
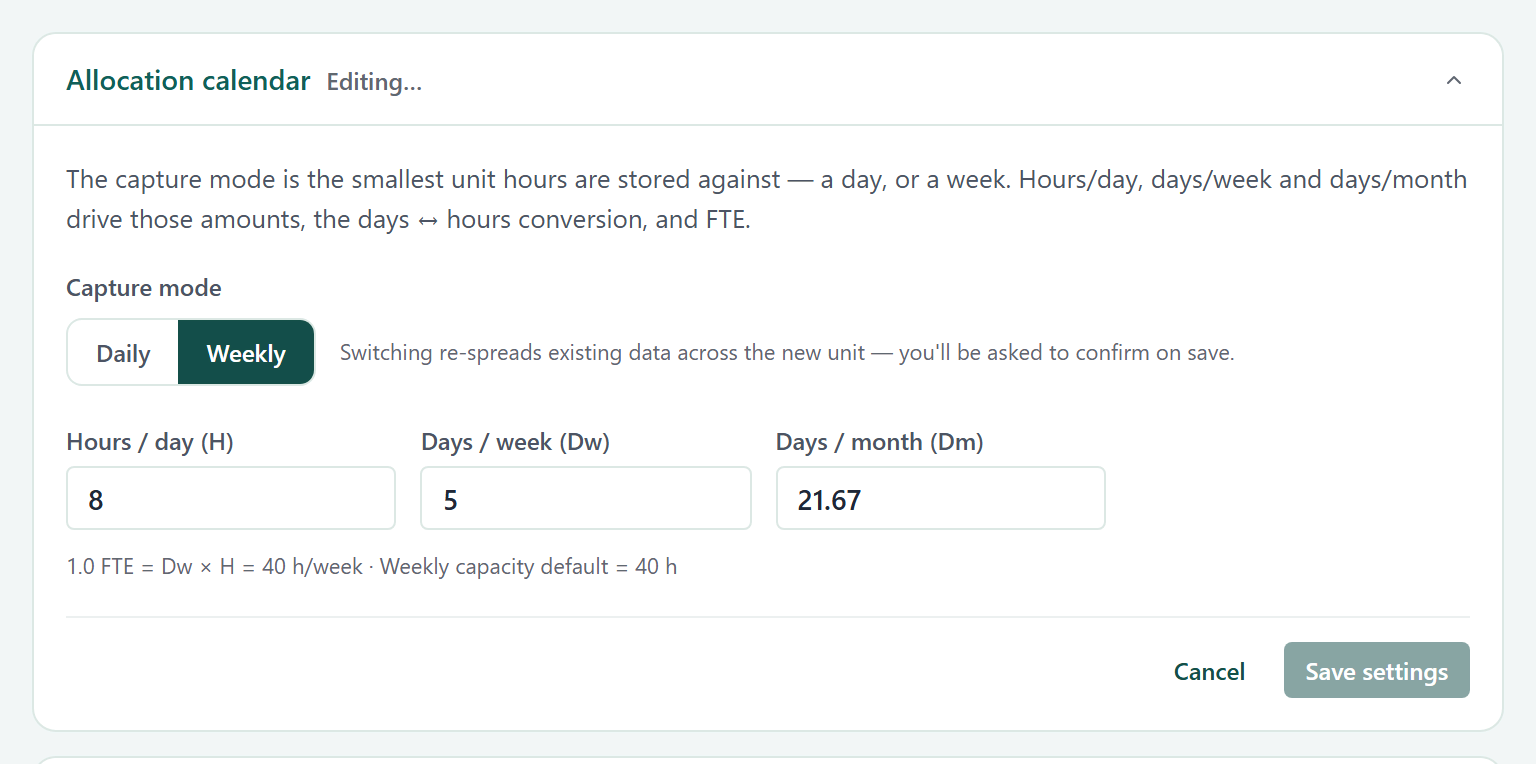
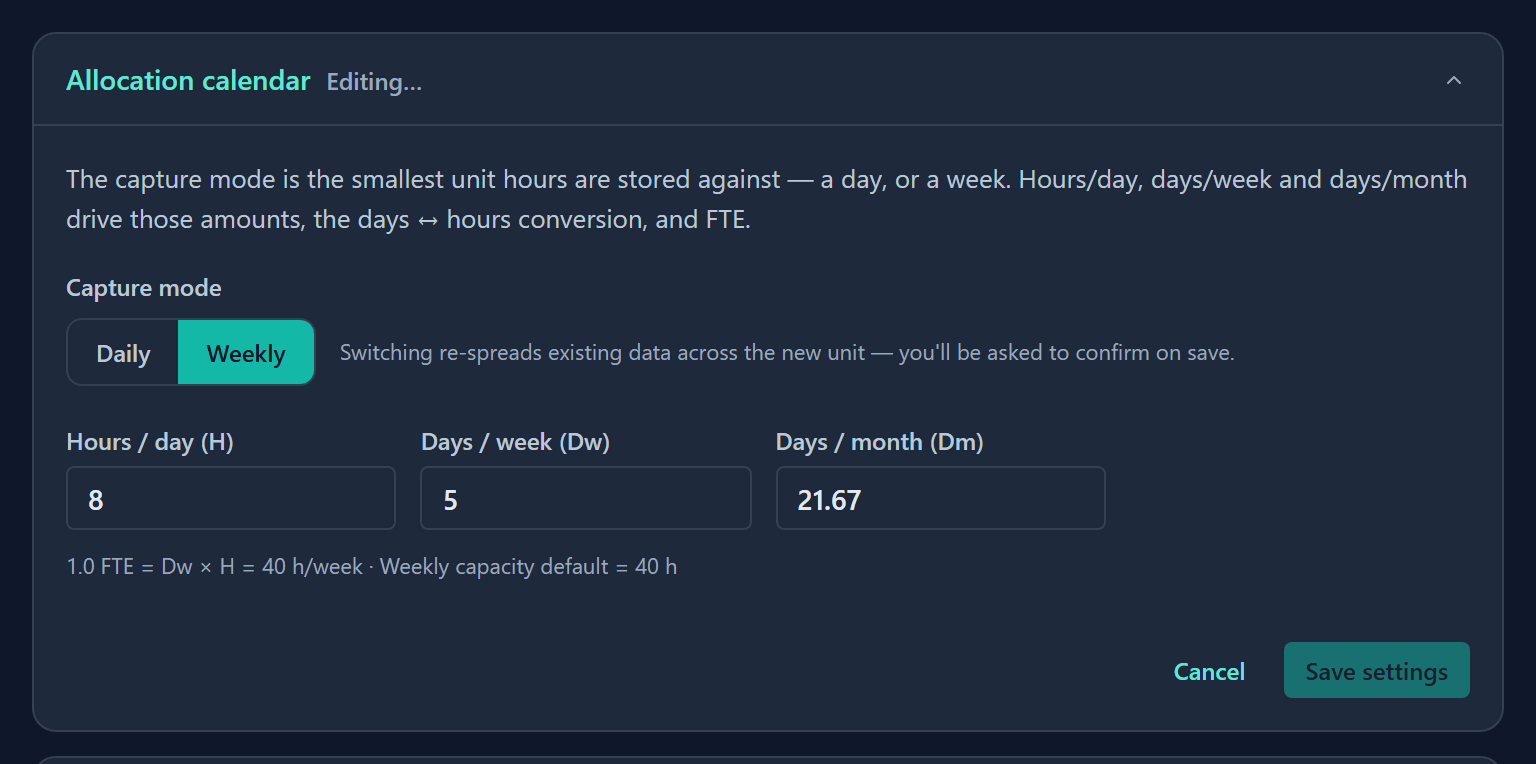
Under the numbers the card shows what they mean: 1.0 FTE equals days per week times hours per day, and that is also the default weekly capacity.
While Finance is switched off, the card adds a line saying capacity uses this working week for every person.
| Capture mode | What is stored | Who it suits |
|---|---|---|
| Daily | One value per calendar day | Teams that plan day by day |
| Weekly | One value per week | Teams that plan in weeks and do not need daily detail |
Capture mode is the smallest unit anyone can view or edit allocations at.
Change the capture mode
Changing the mode rewrites every existing allocation. When you click Save settings, Gembaa asks Change capture mode? and shows a diagram of what will happen. Click Re-spread to continue or Cancel to keep the current mode (your other changes on the card are still saved).
Going from Daily to Weekly adds each week's days into one weekly value, so the per-day differences are lost. Going from Weekly to Daily spreads each week across the working days in whole hours and puts the left-over hours on that person's first working day.
After the change, a message tells you how many allocations were re-spread.
Set closed projects
The Closed-project status card picks the project statuses that mean "closed". Allocations on a project in one of these statuses are flagged in the data-quality highlight. They are flagged, never blocked.
- On Closed-project status, click the pencil.
- Click each status that should count as closed. Selected statuses are coloured.
- Click Save settings.
The list comes from the status field on your Project entity. If you select none, the card says Highlight disabled and nothing is flagged.
Set pinned columns
The Pinned columns card sets how many metadata columns a pivot tab may freeze beside the row label, from 1 to 5. The default is 3.
Frozen columns take space away from the scrolling area for everyone who opens the tab, so this is one limit for the whole workspace rather than a choice for each tab.
- On Pinned columns, click the pencil.
- Click a number from 1 to 5.
- Click Save settings.
Manage scenarios
Scenarios are independent planning layers, such as Forecast or Budget. The same person on the same project can have different amounts in each scenario.
The Scenarios card lists the ones you have.
Actual always exists, is the default for new allocations and is protected. It carries the Default and Protected badges, and you cannot edit or remove it.
- On Scenarios, click the pencil.
- To add a scenario, type a name in Add an option… and click Add (or press Enter). The scenario is added at once.
- To remove a scenario, click the cross beside it.
- In the confirmation, click Remove scenario.
- Click Done.
While only Actual exists, planners do not see any scenario controls. They appear in the allocation module once you add a second scenario.
Stop allocation
The Allocation disabled card lists people who cannot be allocated. They stay on the Allocation page, but they cannot be given new allocations and their capacity no longer counts in totals or unallocated time.
Deactivated staff are listed automatically, tagged Deactivated. The card is on the Allocation tab only, not on the Staff tab.
- On Allocation disabled, click Disable allocation. The Disable allocation dialog opens.
- In Staff, choose the person from Select a person.
- Click Disable allocation. Gembaa asks Disable allocation for (name)?
- Click Disable allocation again to confirm. The person appears in the list with Disabled and the date, and a message says Allocation disabled for (name).
If the person has a current or future allocation in any scenario, Gembaa refuses with Allocation can't be disabled and offers View allocations. Remove those allocations first, then try again. Past allocations stay.
To allow allocation again, click Enable allocation on the person's row, then click Enable allocation in the confirmation. A deactivated person leaves the list only when they are reactivated. If nobody is disabled, the card says Everyone can be allocated.
You can also disable allocation from a person's own panel. See Staff.
Add allocation fields
The Fields section holds extra details planners capture on each allocation, such as a cost centre or a work type. Planners can use these fields as pivot group-by dimensions and as filters.
The allocation Role is not edited here. Roles are records you manage as described in Roles.
Add a field
- In Fields, click Add field.
- Choose a type. Field types that are not supported here are shown greyed out.
- Type a name for the field.
- Click Add. A message tells you the field is added and will be captured on the next allocation.
Field names must be unique in this list. A new choice field starts with no options.
Edit a field
- Click the field's row, or open its menu and choose Field settings.
- On the General tab, change the Field name. The type cannot change after creation.
- For a choice field, open the Options tab to add or remove options. Type under Add an option… and click Add.
- Click Save.
Remove a field
Open the field's menu (the three dots, which appear when you hover the row) and choose Remove field. The field's existing values are kept but hidden.
Import allocations from CSV
The Import allocations button, near the top of the tab, loads a resourcing plan from a CSV file. A long file needs the columns Staff, Project, Role, Scenario, Rate, Unit, Start and End. Import your Staff and Project files first, because each row finds them by the ids those files gave them.
The import also accepts a wide file, with one column per date. When it finds date columns, the dialog asks Each cell is: choose Hours, Days or FTE, so the numbers are read in the unit you mean.
For how CSV import works in general, see Import from CSV.
Good to know
- Switching capture mode, removing a scenario, removing a field and disabling allocation are the only changes here that affect existing allocation data.
- If Allocation is switched off in Turn features on or off, the tab shows Feature disabled with an Open Features link instead of its settings. Nothing is deleted.
- Disabling and enabling allocation are recorded in the Admin activity log.
- The allocation CSV import refuses rows for a person whose allocation is disabled or who is deactivated.
- A scenario name that already exists is refused.
- Settings apply to everyone at once. There are no per-person or per-team calendars.
- If an allocation sits on a closed project, planners see a highlight but can still edit it.