
Allocate a staff to a project
📝Overview
Purpose
- Assign staff members to a specific project for a defined period
- Track who is working on what, when, and in what role
Who is this for
- PMOs managing staffing and resourcing
Pre‑requisites
- Projects is already created in the platform
- Staff member exists and is active
Permissions required
- Access and permission to manage allocations
📹Demo walkthrough
💭How‑to guide
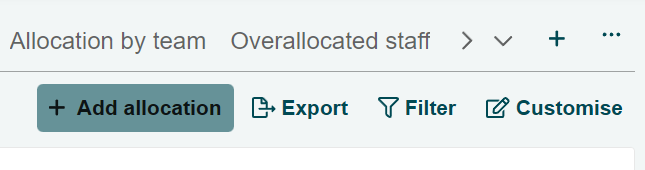
Step 1: Open the allocation modal
Click Add allocation on the top‑right corner of the Allocations page to open the allocation modal.
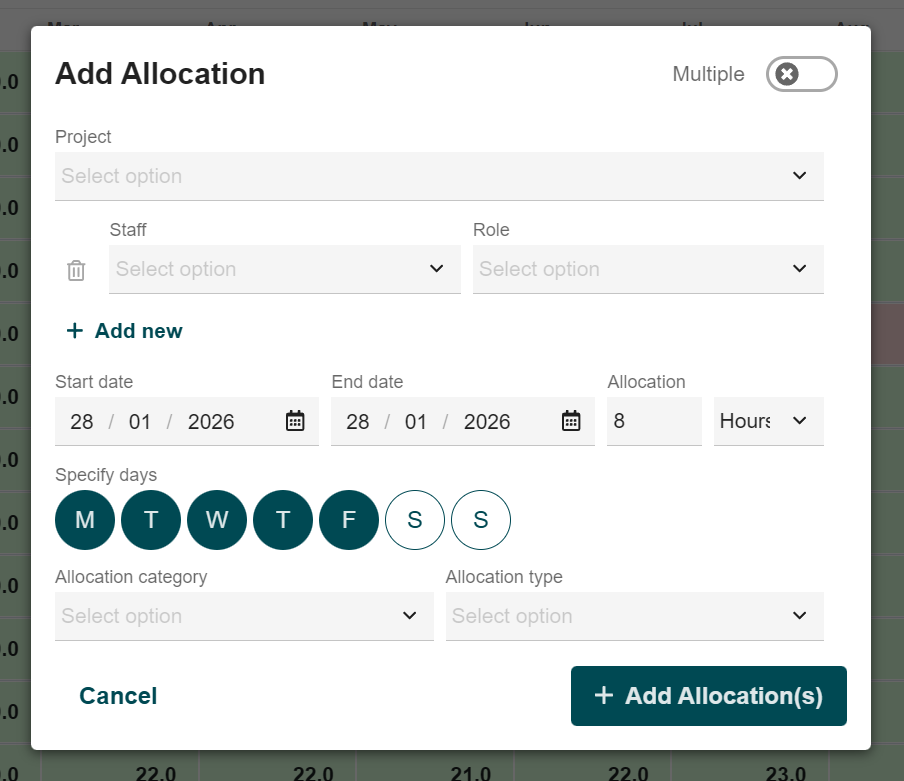
Step 2: Choose allocation mode
For adding allocations, you can keep the default view for a single allocation or toggle on the Multiple icon on the upper right corner of the modal to allocate several staff at once.
Single allocation view:
Multiple allocation view:

Step 3: Enter allocation details
Fill in the required fields for allocations, mainly:
- Project – where the staff will be allocated
- Staff – the person being allocated to the project
- Role – the role the staff will perform on the project
- Period – start and end dates of the allocation
- Allocation - Hours or days the staff is allocated during the selected period
- Specific days - Which days the allocation applies to
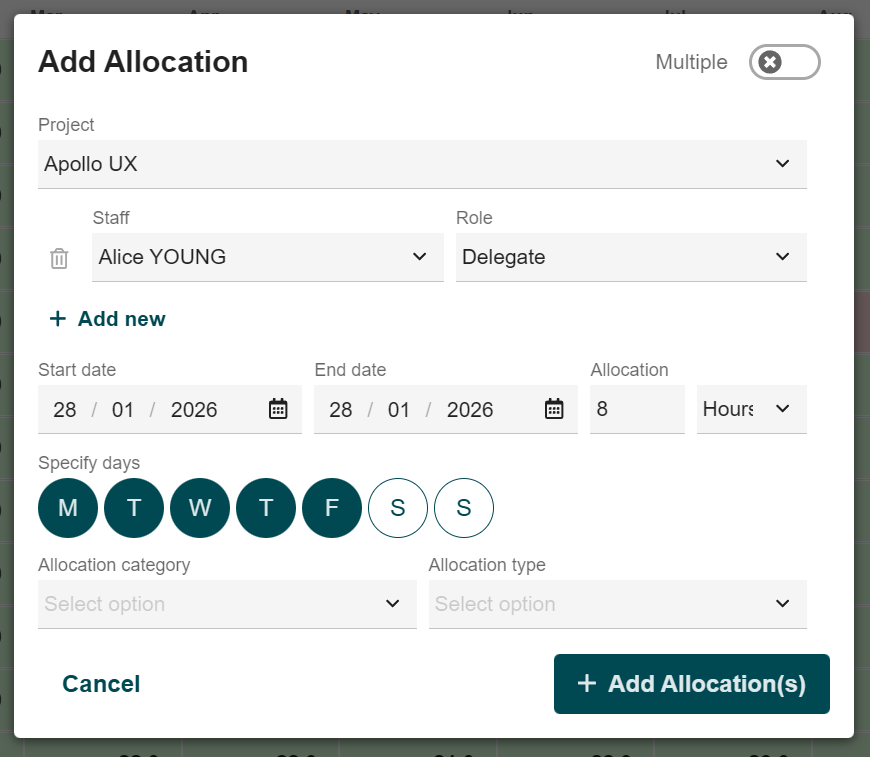
Step 4: Save the allocation
Click +Add allocation(s) on the lower right bottom of the modal to confirm and save your newly created allocation.

Step 5: Review the allocation
Locate the project or staff you just allocated in the data grid and expand the row to view the allocation details.